 |
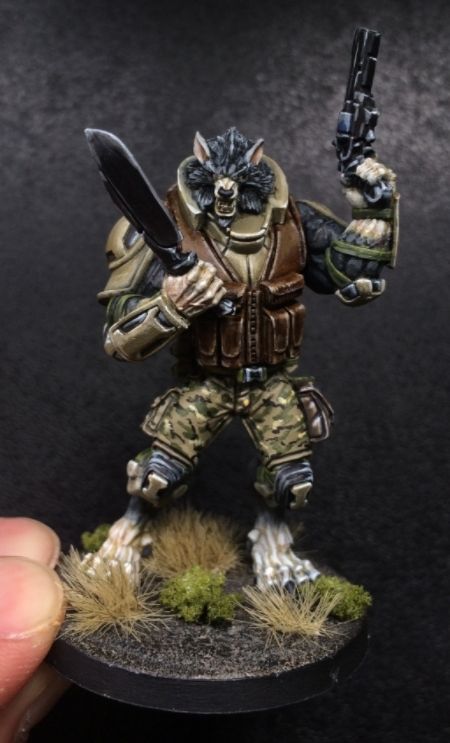
| Finally had enough of being fed kibble. |
Almost finished the USAriadna starter box.
Really happy with how this figure has turned out. Great sculpt and the paint job is quite good too! I have copied
Angel Giraldez' step by step with a few minor tweaks and I'm quite happy with how it has all turned out.
 |
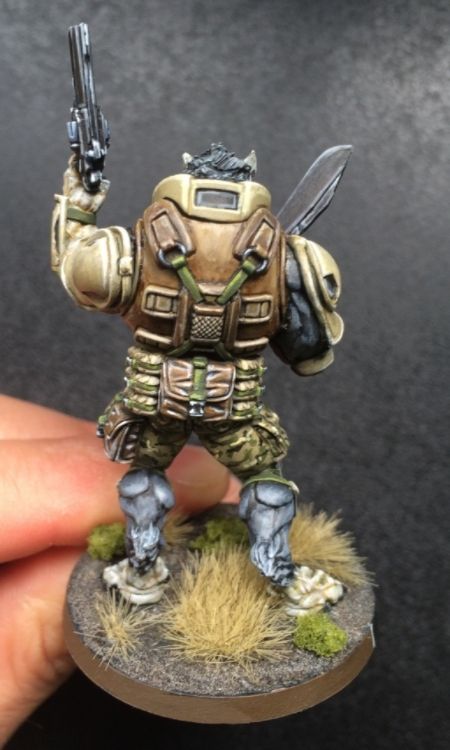
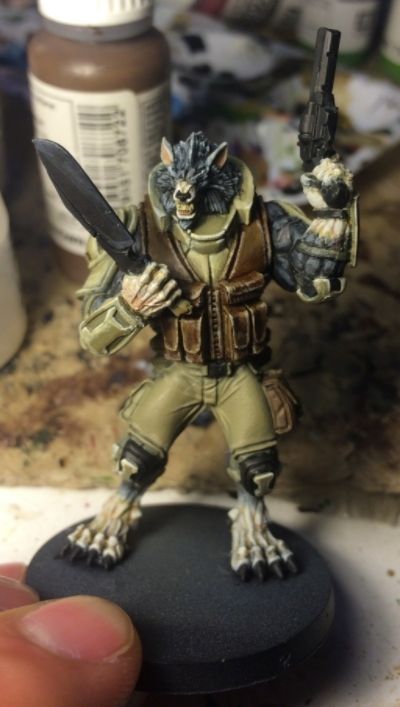
| Revolver |
The weapons were suprisingly easy to paint. The bigger the model the less detailing has to go on.
 |
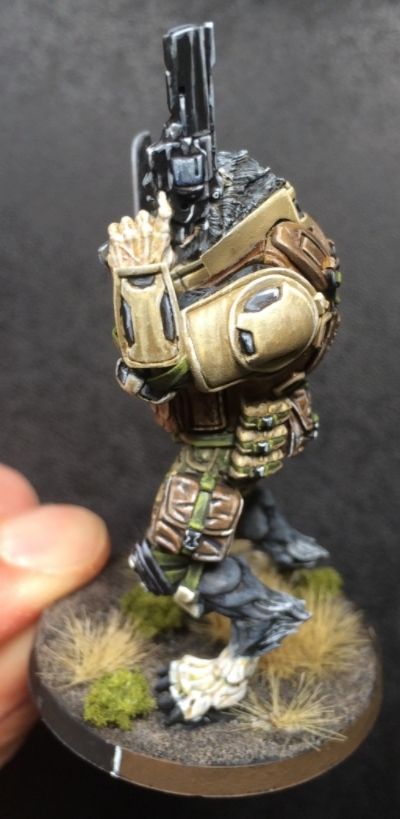
| Black lining saves the day. |
The webbing and straps were a bit unclear but some thinned out black paint allowed me finish the detailing properly.
 |
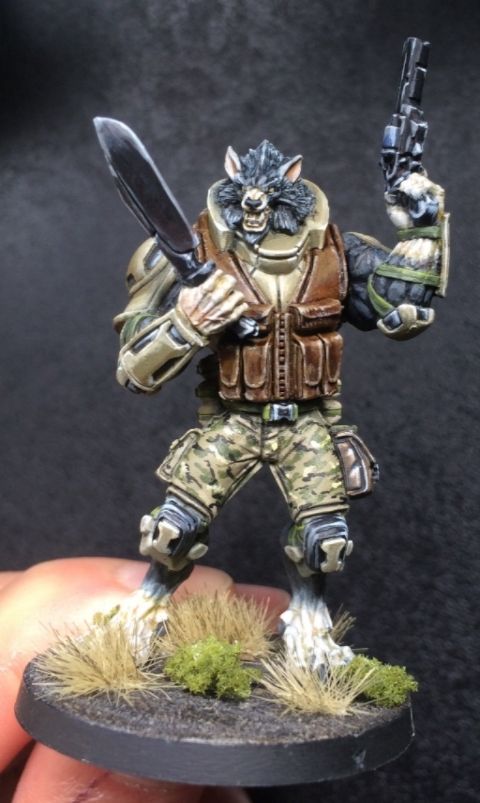
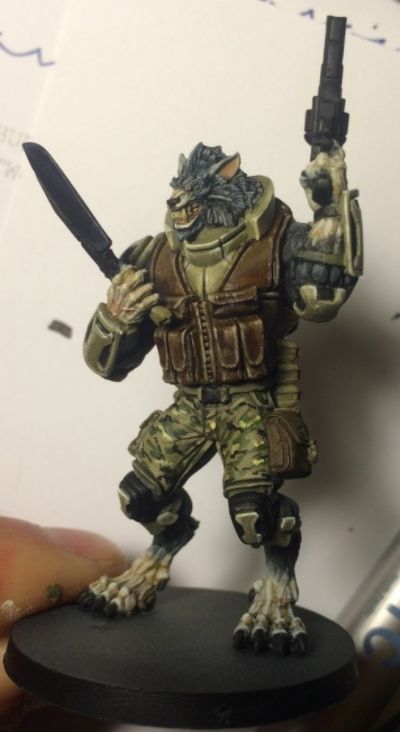
| Alternate side view. |
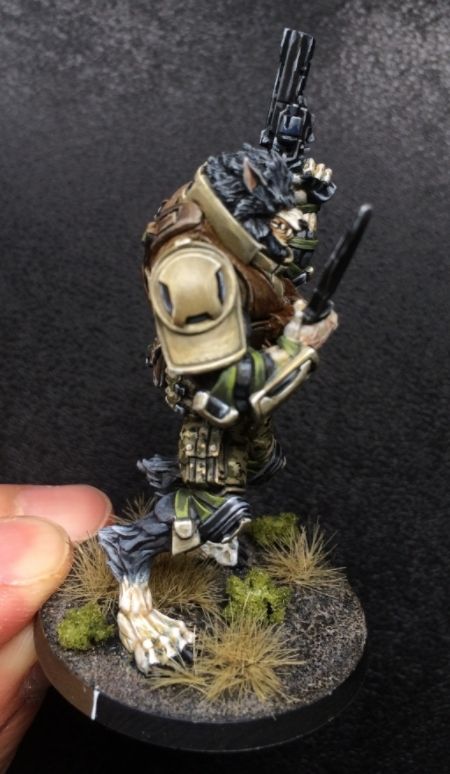
So excited at having finished him. Cannot wait to play!!!
 |
| Can't wait to take the field! |
Now I'll try to remember my sequence of painting....
STEP BY STEP
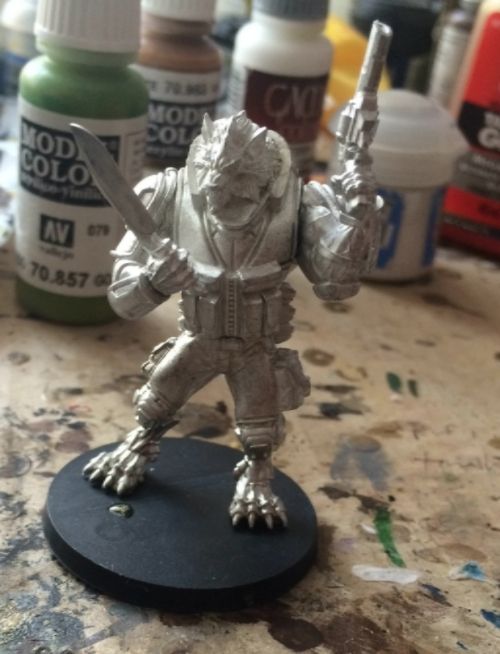 |
| Assembled. |
1. Assemble and Clean
 |
| Airbrushed. |
2. Airbrushed with a base coat of Vallejo Primer- Black and then a subsequent 2 coats of Vallejo Grey Primer. The Grey was sprayed down at about 45 degrees first and then the second coat was done at about 60 degrees. In theory it is supposed to provide natural shadowing but I'm not sure how obvious that is after the painting begins.
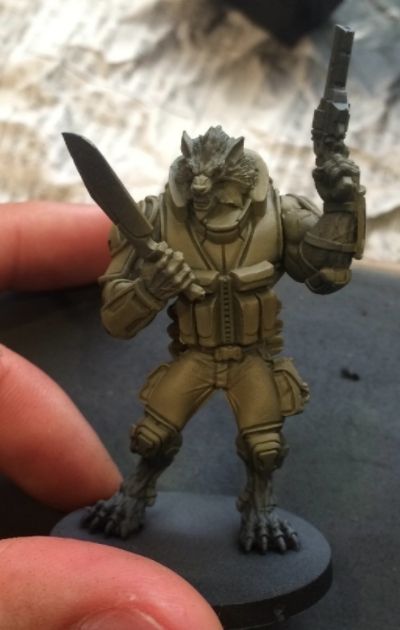 |
| AB- Khaki |
3. Using Vallejo Khaki plus some airbrush thinner- I sprayed the Khaki on. Try to be neater than what I have done.
 |
| Hands and Fur |
4. Vallejo Deck Tan for hands, feet, snout and ears. I then used some very thinned down Vallejo Black to clean up the ruff and arms/ legs affected by Khaki overspray.
 |
| Defining the hands and fur. |
5. I created a wash with German Camouflage Beige WWII for the hands/ feet and snout. Finding that it wasn't dark enough- I then washed it again with thinned down English Uniform.... that was too dark! I had to then re-highlight the hands and feet to cover the mistake. Then highlight the hands and feet/ snout again with Neutral Grey.
6. With the fur, I highlighted with some thinned out Dark Grey.
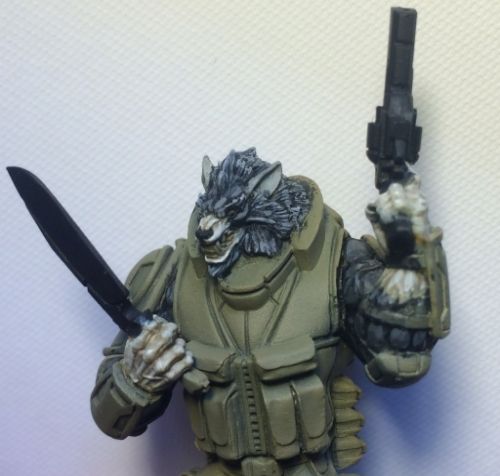 |
| Spending more time on the fur. |
7. I then did a second highlight of the ruff with Cold Grey- leaving the recesses black/ dark grey. Then using some thinned down Ivory, I highlighted the edges of the fur and also some of the knuckles, ridges of the hands, feet and snout.
 |
| Webbing time. |
8. The Webbing was a bit complicated and I'm not entirely happy with it. I first washed it with thinned out English Uniform. Then I found it wasn't dark enough so I used some Citadel Brown Ink which was far too dark! As a result I had to try and rescue it with various mixes of brown paint.
I made various shades of a mixture between English Uniform and Khaki to fix the base coat and then used Medium Grey in a stippling technique to highlight the edges.
9. Armour. Thinned down Dark Sand was applied (sometimes twice) to get a gentle highlight effect on the armour, followed by some edge highlighting with Ivory.
10. Detailing. The veins were washed down with very very thinned out Cavalry Brown. The ears were painted with Brown Sand and then highlighted with Basic Skin Tone. The teeth were painted with Buff and highlighted with Ivory.
11. Camouflage- as per my Grunts. Stripes of Reflective Green, followed with stripes of Black and then (sparingly)- Dark Sand.
12. Left overs. The weapons I painted as per my Grunts/ Marauder and the pouches were done the same way. The straps were painted with Cam. Olive Green, highlighted with Citadel Straken Green and then a final highlight with Vallejo Golden Olive.
 |
| Ready for action! |
Until next time!

No comments:
Post a Comment