
 |
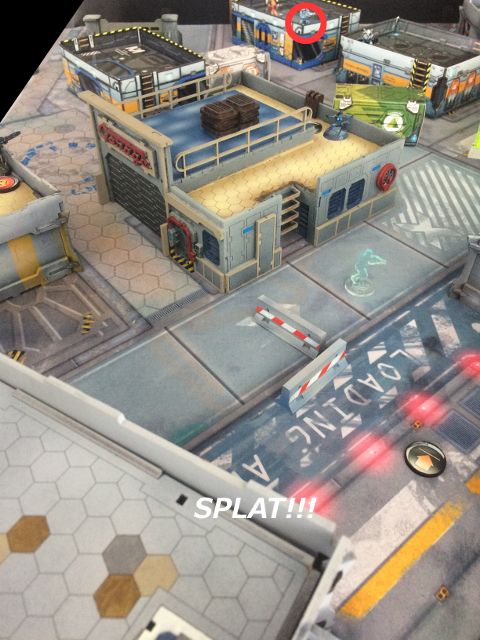
| Credit: Eduardo Gonzalez- "Battle for Yaletown". |
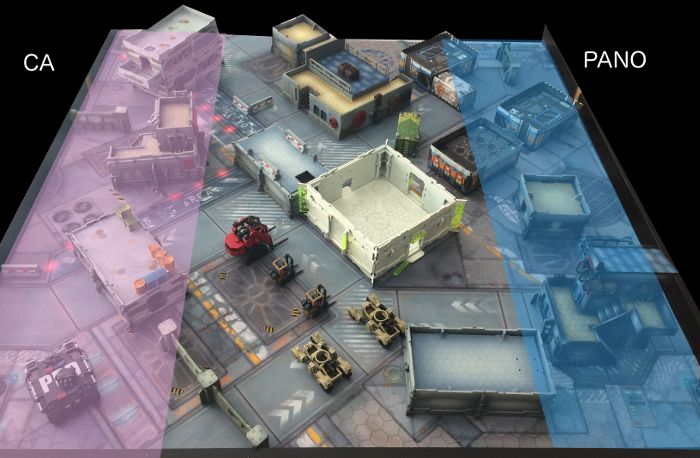
After spending some time painting some Shasvastii figures it was time to try out the Combined Army properly.
As I steadily painted more figures and rebased my Charontid (for N3) I did some further reading up on the Combined Army forums about its performance on the table top. The chatter was not encouraging. Low order pool. Expensive elite units. The consensus was that CA is a difficult faction to play.
Did someone just say difficult faction? So I've moved from Morats to this?!
You're joking right?
ARMIES
The Combined Army- Legio Fretensis
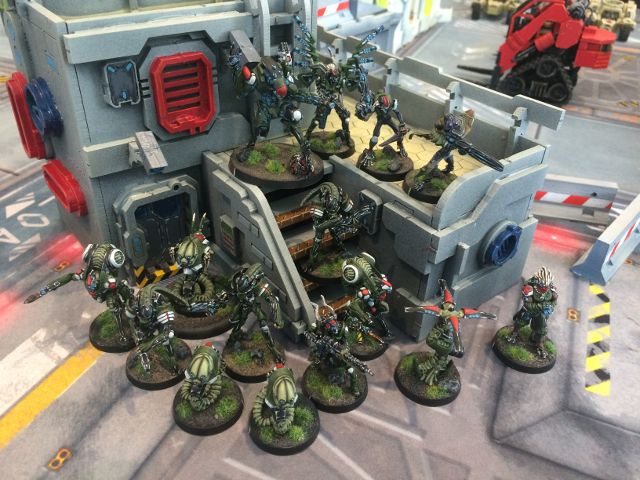 |
| Order pool of peace and prosperity. |
Group 2
5 SWC | 300 Points
My thoughts about this list weren't that profound.
Firstly I had to use my painted miniatures that haven't seen the table top yet. The Fractaa, Malignos (sniper) and Shrouded sniper were auto includes. The Unidrons had been played with once and I was still undecided about their plasma carbines- so they were worthy of inclusion too.
The Maakrep HMG was included because of her very useful MSV2 and because I find sniper rifles in the active turn to suffer from my craptastic dice rolling.
Finally I had to have a G:Mnemonica lieutenant who could hit hard. The internet math hammer suggested that the Charontid Hacker was the man (bot?) to fill that role. Now I have misgivings about a hard hitter who doesn't carry a HMG but the opinions on the Ether were pretty decisive. Hacker with Plasma rifle beats HMG.
We shall see about that...
Editor's note: I have since realised that the Charontid Hacker Lt. does not have MSV3. Apologies!
PanOceania
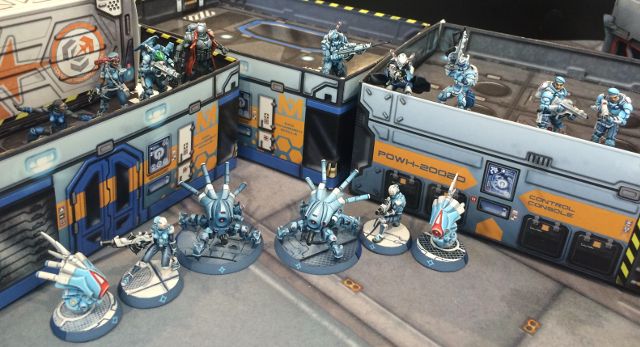 |
| Lots of orders > WIP... we hope. |
Group 1

Group 2
6 SWC | 299 Points
Some proxies:
> Bounty Hunter model- proxied as a Machinist.
> Cheerleader Bunnies x2 (not in the picture)- proxied as Palbots x2.
> Bolt Hacker- proxied as a Fusilier Hacker.
There were plenty of orders here and lots of hard to shift fire power.
I saw the Aquila Guard HMG- the bane of my existence- and cringed. So much MSV on tough models would pretty much negate my TO and Camo protection. Urgh!
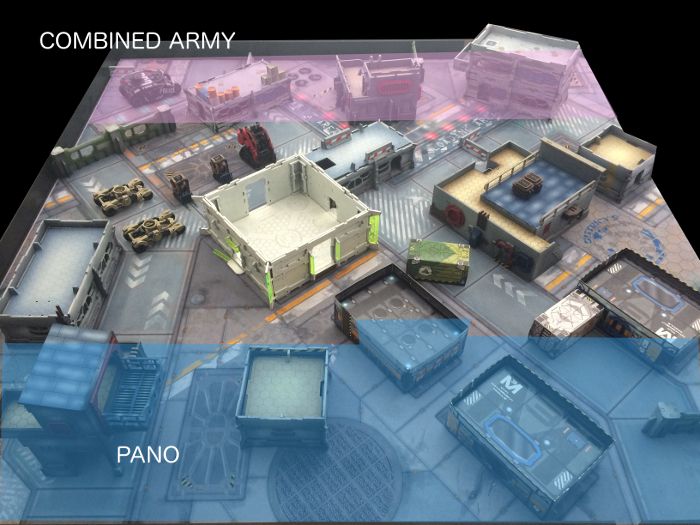
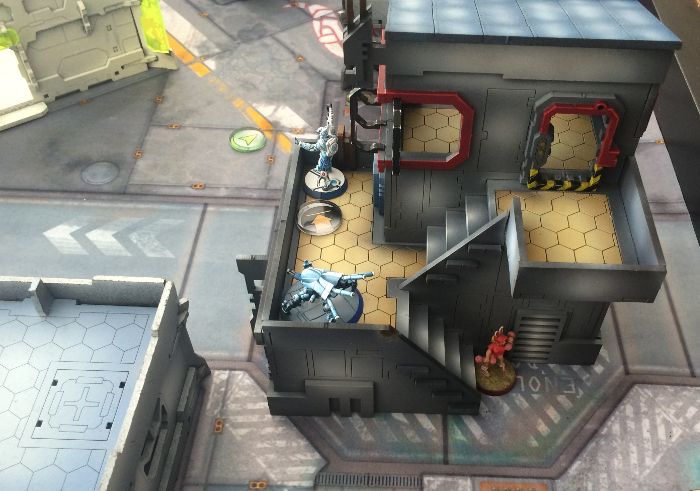
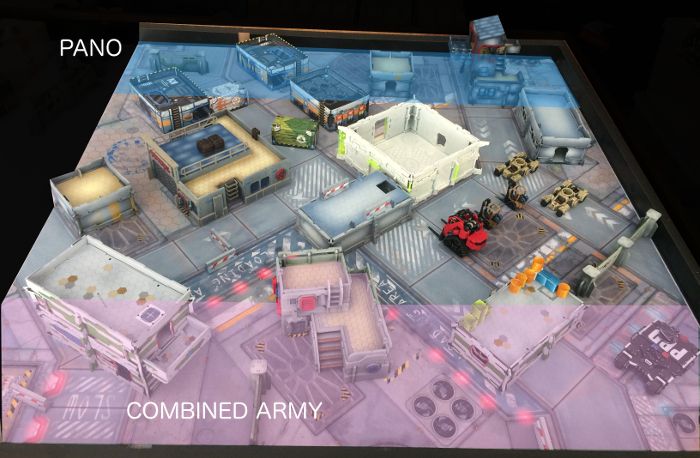
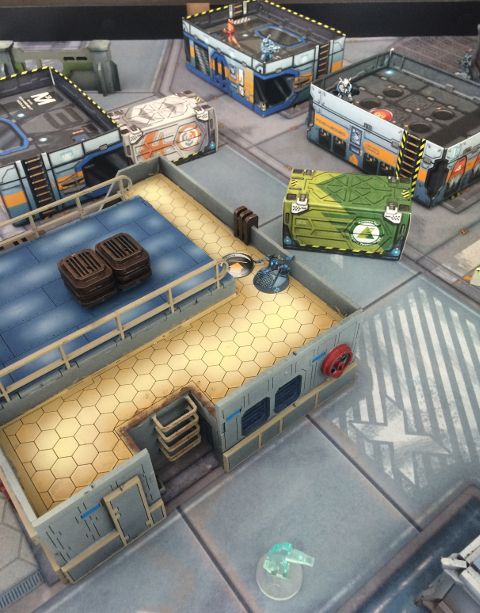
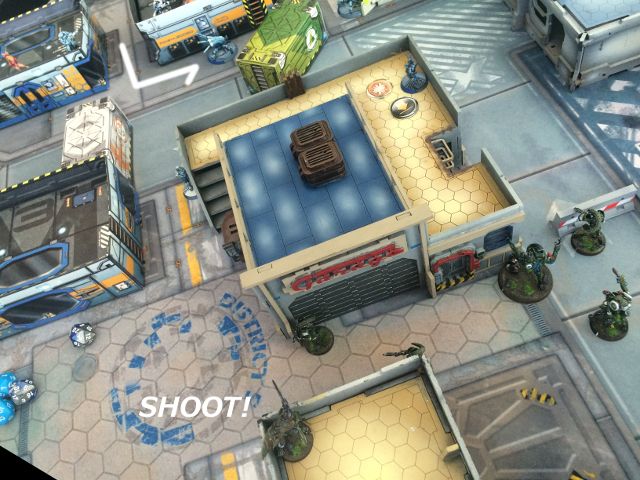
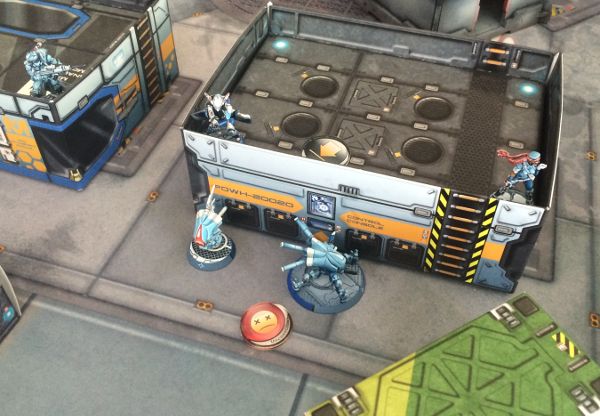
TERRAIN
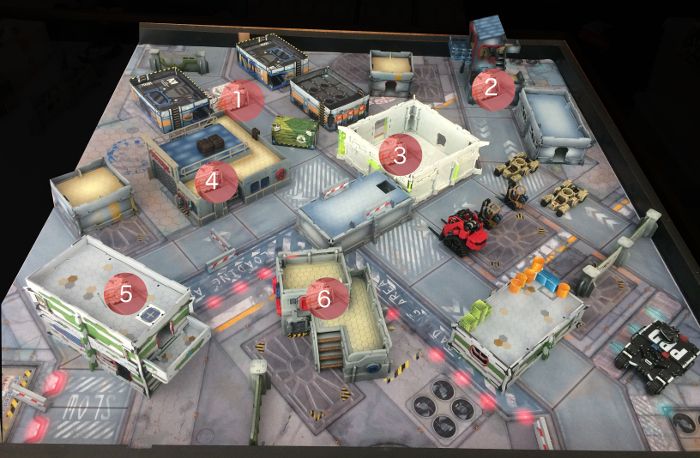 |
| The board. |
We set up the terrain in a mutually acceptable manner (dumped the available terrain onto the table and started moving it about).
Key terrain features were:
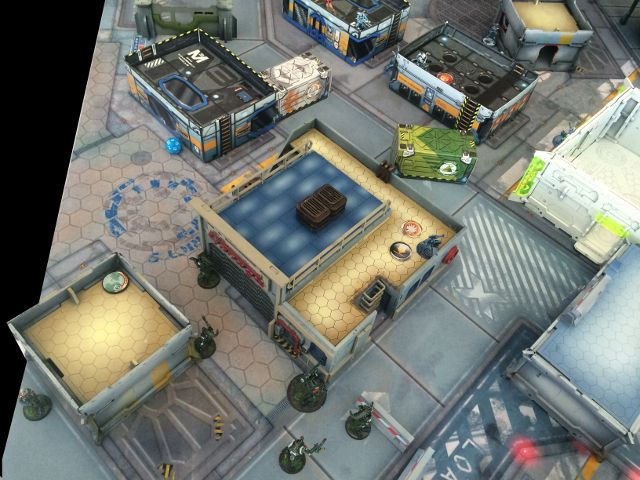
1. Power Generator Modules. Three modules co-located in a quadrant of the battlefield.
2. Loading Dock.
3. The White Tower. A square tower of infinite height.
4. The Garage.
5. The Apartment. A two storey building with a single balcony.
6. Central Processing. A split level building over looking the Power Generator Modules.
MISSION
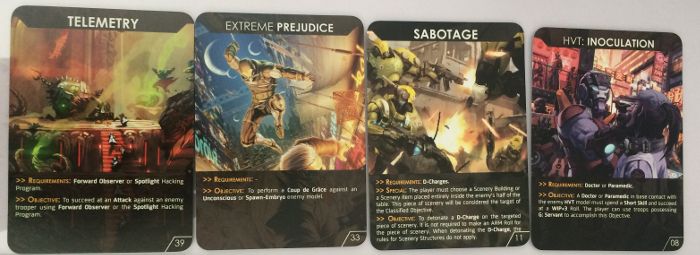 |
| The Mission(s).... produced by Customeeple. |
In summary 4 classified objectives are drawn and then these objectives are shared between the two sides.
Each player then draws their own Classified as a secondary objective. Secure HVT can be substituted for this secondary objective if you happen to draw a booby prize that you can't do.
So for this mission we drew:
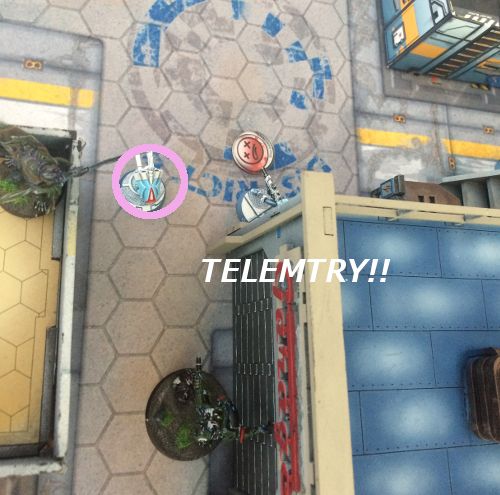
> TELEMETRY: do a successful Forward Observe roll or Spotlight Hack
> EXTREME PREJUDICE: perform a Coup-de-grace on an unconscious model
> SABOTAGE: use a D-Charge on a selected building in the enemy's half of the table.
> HVT- INNOCULATION: perform a successful doctor roll on the HVT.
With that sorted out- we went onto sorting out our secondary objectives....
Classified Secondary Objectives
Combined Army: Data Scan
PanOceania: Data Scan
Lieutenant Roll Off
High WIP Lieutenants are what the Combined Army is famous for so I rolled my die and promptly scored a "3".
Luckily, low WIP Lieutenants are what PanO is famous for and they rolled a "16".
Excited about winning the Lt. roll off- I cast my eye over the battlefield and opted to choose sides and force PanO to deploy first. My goal was to control the best vantage points for my snipers to create ARO traps. It wouldn't be as effective with all that MSV running around but I figured it would be worth trying.
PanO responded by deciding that they would get the first turn.
With that, it was on to deployment....
DEPLOYMENT
 |
| CA on the LEFT and PanO on the RIGHT. |
 |
| PanO Deployment Zone |
The left section was dominated by the Loading Dock. The right section was dominated by the Power Generator Modules.
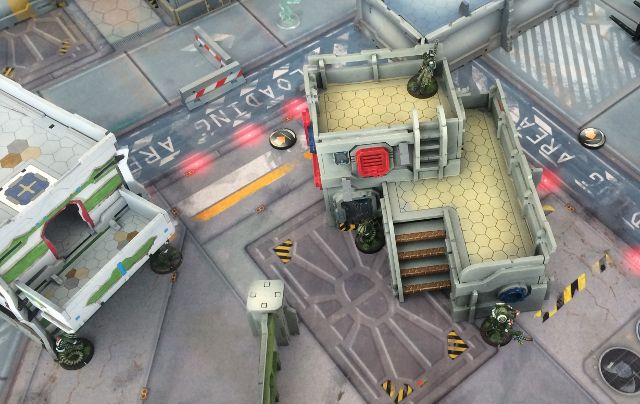
 |
| Right of the White Tower. |
A Fusilier camped out safely behind a wall.
The Nisse with his MSV2 Sniper Rifle took up position on the rear most Module- looking out towards the CA deployment zone. The Trauma-Doc's Palbot hovered close by.
 |
| Keeping an eye on Angus. |
 |
| Left of the White Tower. |
Another Fusilier hid underneath the Loading Dock watching the rear.
 |
| Behind the White Tower. |
 |
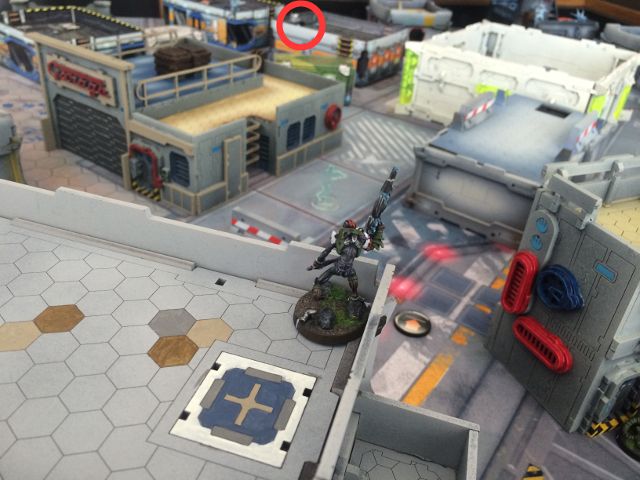
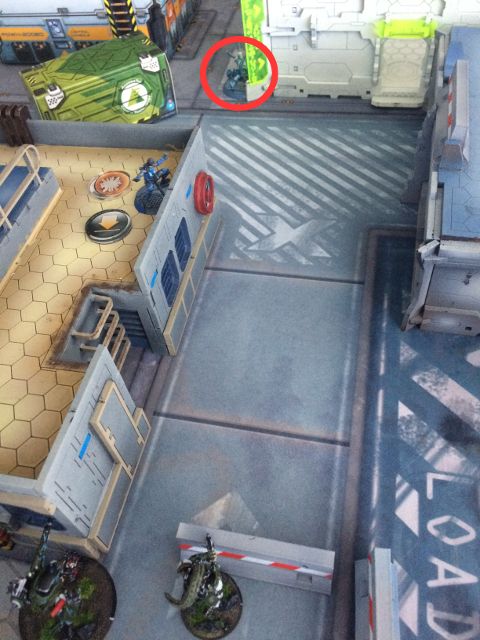
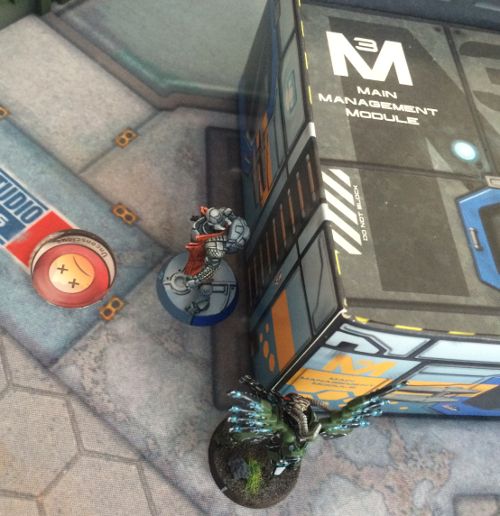
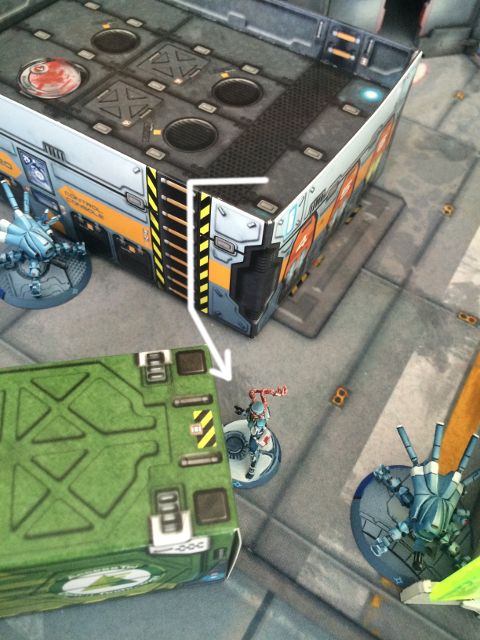
| Something has infiltrated! |
I have to admit I was a bit perplexed as what it could be...
 |
| PanO deployment. The Loading Dock is to the left and out of view. |
CA Deployment
 |
| Good points of observation and cover. |
The Apartment and Central Processing provided good fields of view and so figured prominently in my thinking.
The White Tower, being of infinite height, actually worked to my advantage by keeping the PanO TR HMG bot from being able to cover the whole CA deployment zone.
Seeing that the PanO HVT (and most of the PanO force) was around the Garage I decided to castle up and use only one half of my deployment zone.
 |
| CA Deployment overview. |
My deployment started off poorly with my Imetron flying off the table to be lost in the wilderness.
 |
| Queen of the castle. |
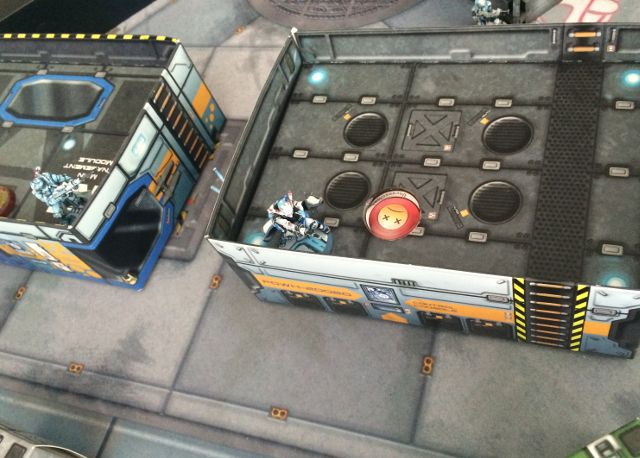
The Maakrep with her HMG overlooked the Power Generator Modules (and the Nisse!) whilst a Slave Drone and an Ikadron watched her back and flanks.
 |
| G:Mnemonica doesn't equal bravery. |
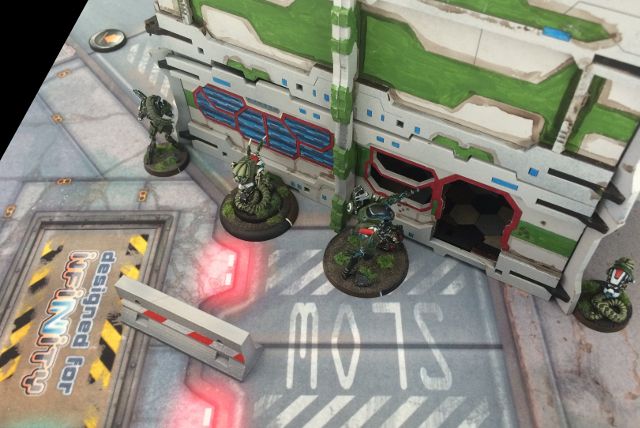
I hid my Charontid behind the the apartment and guarded him with Dr. Worm and the three Unidrons.
 |
| What is under that camo marker? |
 |
| Watching you! |
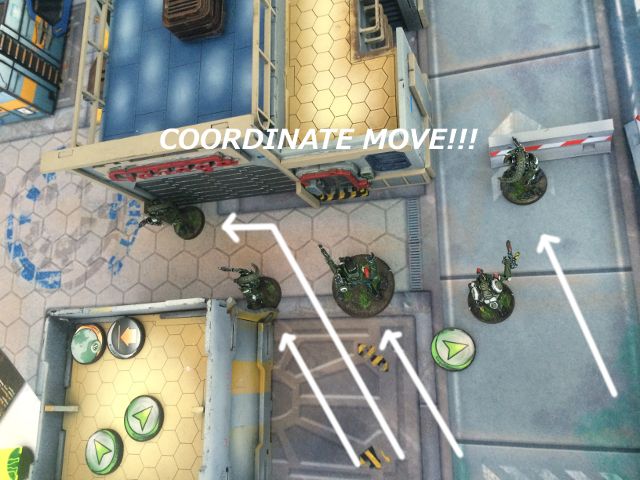
Suspicious as to what that marker was, I positioned my Unidrons to watch over it. I didn't want some rambo unit to run wild into my back lines.
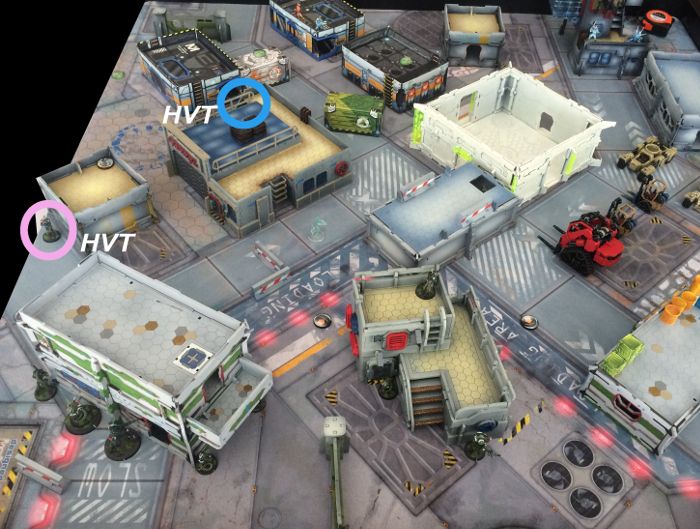
 |
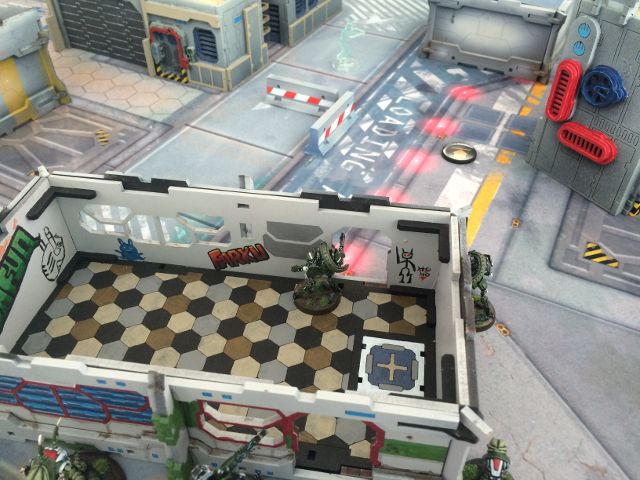
| HVT in a cul-de-sac |
Seeing Angus- the PanO HVT- positioned well out of harms way, I decided to do the same.
My Morat Anthropologist was tucked away out of view just in front of the Apartment and watched over by an Ikadron.
|
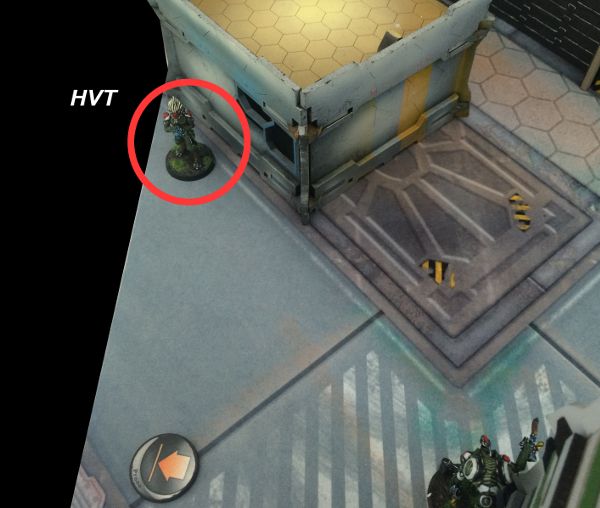
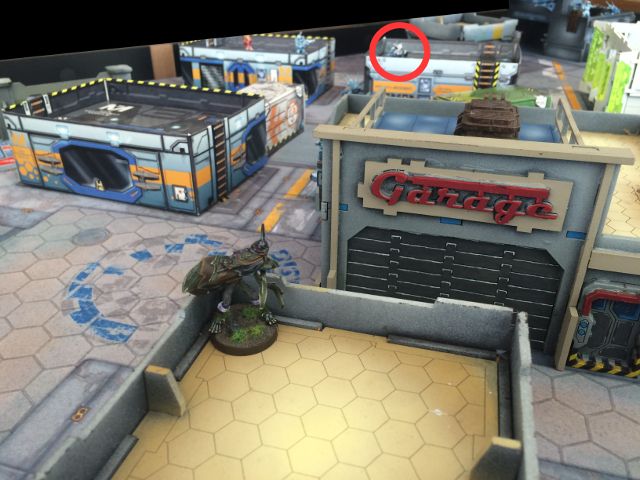
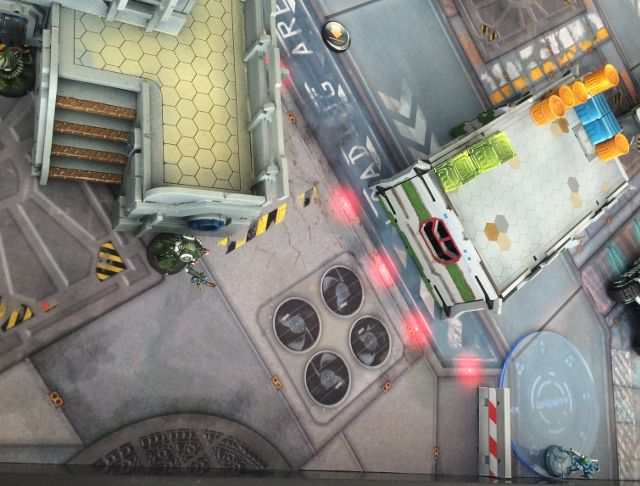
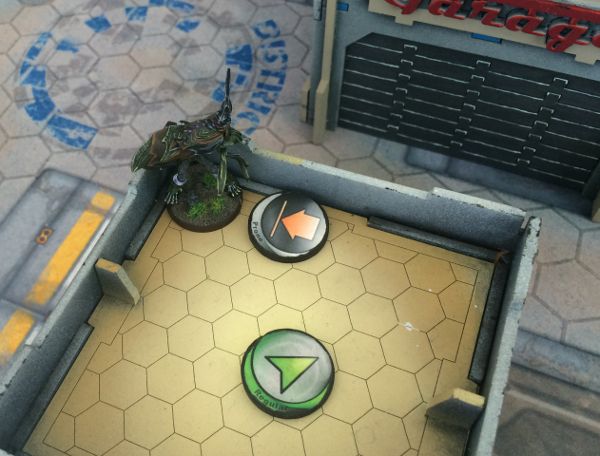
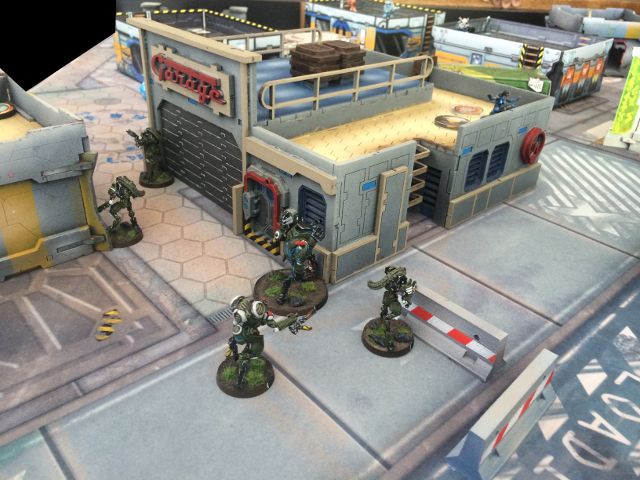
| Shrouded infiltrates to the left of the Garage. |
Finally, I infiltrated my Shrouded Sniper forward just shy of the mid line in the form of a Camo marker.
Taking up position on a square building close to the Garage he too could over look Power Generator Modules (and the Nisse Sniper!) in addition to guarding the easiest approach to the CA HVT.
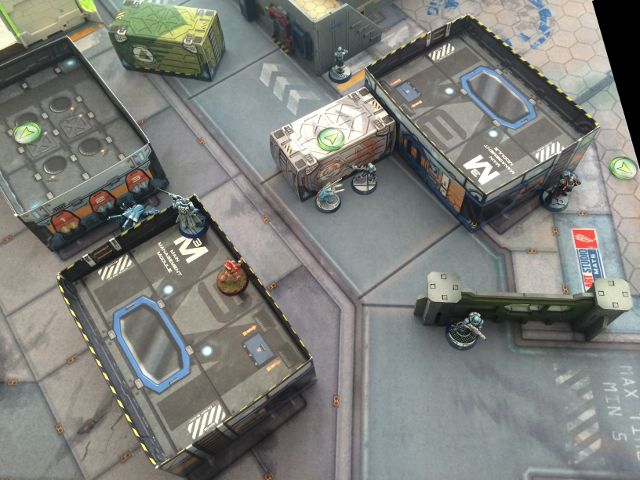
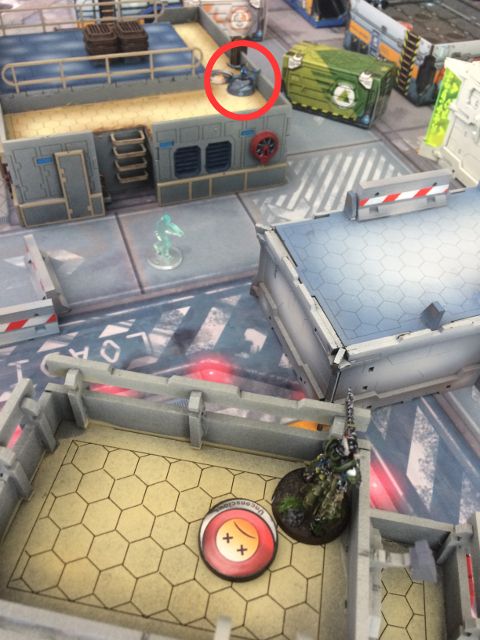
RESERVE DEPLOYMENT- PanO and CA
 |
| Aquila and Malignos |
PanO had held the Aquila Guard in reserve and placed him of the roof top of one of the Power Generator Modules.
In response I chose to hidden deploy my Malignos on the roof top of the Apartment.
With the Malignos, the Shrouded and the Maakrep looking over Power Generator Modules (and the Nisse and Aquila Guard on top of them) I hoped to "ARO trap" them and just be a general pain in the PanO backside.
That was the theory anyway....
THE BATTLE BEGINS...
PanOceania Turn 1
Spending one command token, I deducted 2 orders from the main PanO combat pool. They might have a zillion models, but I wasn't going to make it easy for them!
 |
| ARO trapped... I hope! |
With the confidence of MSV3 and heavy armour, the Aquila Guard idled with his first short skill.
Time to test out my ARO theory hammer!
 |
| Reveal and shoot! |
 |
| Reveal and shoot! |
 |
| Just shoot! |
With three ARO units, the Aquila paused briefly before dividing his burst.
2 burst were assigned to the Shrouded and then 1 burst each was then allocated to the Malignos and the Maakrep.
 |
| Bleh! |
The Shrouded lost his face to face roll and was hit by a HMG round. Armour 0 figures don't stand up well to HMG rounds and the sneaky alien was punched off his clawed feet.
 |
| What! |
It wasn't all PanO's way though.
The Aquila Guard lost his other two face to face rolls. Both the Maakrep and the Malignos sniper landing hits and knocking the heavy infantryman unconscious.
Dividing burst in the face of many enemies was proving a dangerous gamble.
 |
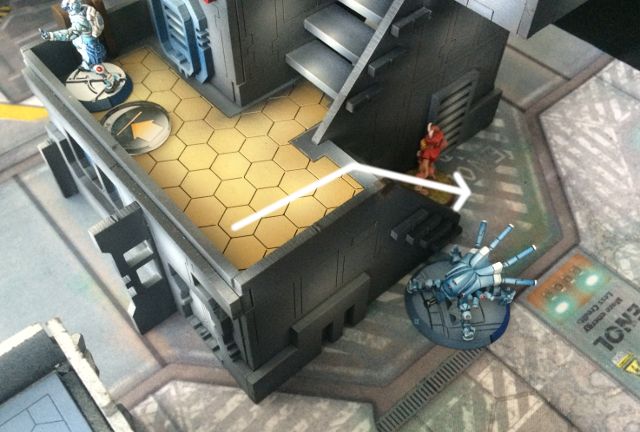
| Surprise! An Akalis descends from the heavens. |
Spending an order to boost the PH of air drops with the Fusilier Hacker, an Akalis then plummeted from the sky.
 |
| Death from above! |
With this figure about to approach from a dangerously unprotected flank I did my best to stop it.
 |
| Put your high WIP to good use! |
My Charontid hacker contested the drop with a hack at -6WIP.
Luckily it passed it's roll and even more fortunately it beat the Akalis PH roll of 3 forcing him to scatter his landing.
 |
| Scattered into view. |
With the Akalis suddenly finding himself landing out in the open- he gritted his teeth and awaited the AROs that were surely coming.
My two Ikadrons- positioned on the corners of Central Processing and the Apartment- saw the hapless human and flash pulsed. The Maakrep fired off a burst from her HMG to top it off.
 |
| Blinded and then knocked unconscious. |
With no cover, the Akalis was blinded twice before being bowled over by the Maakrep's HMG.
Things weren't really going PanO's way at this stage and so far my defensive plan was working!
Of course, no plan survives contact with the enemy as I was about to find out...
 |
| Uh-oh... |
 |
| Trauma Doc moves closer to the Power Generator Modules |
 |
| Nisse moves 0"... |
This co-ordianted order left my overwatching Maakrep and Malignos in a bit of a quandry.
If I waited- one of my models would get blasted by the Nisse and by whatever was hiding under that TO marker.
If I chose to shoot- I would at least be able to pick on the Nisse who would only be burst 1.
Anyway, the Spearhead would have all sorts of negative "to hit" modifiers on it so what the heck....
 |
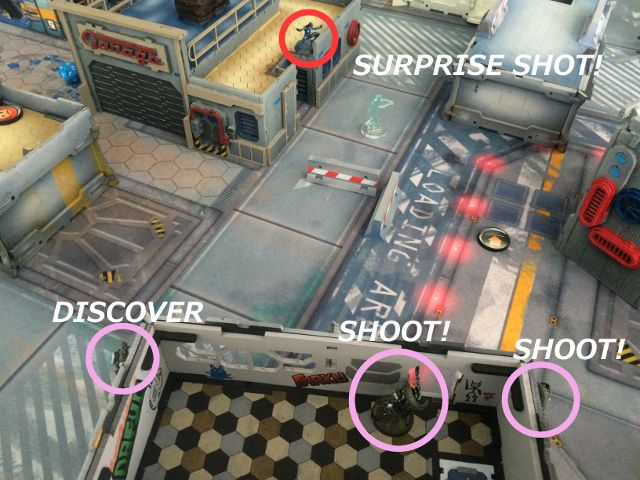
| The Combined Army finds itself caught in a surprise move.... |
I elected to shoot at the Nisse with both the Malignos and the Maakrep hoping one of the uncontested bursts would hit home.
 |
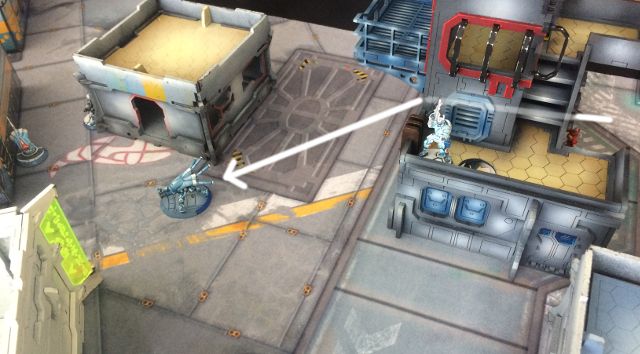
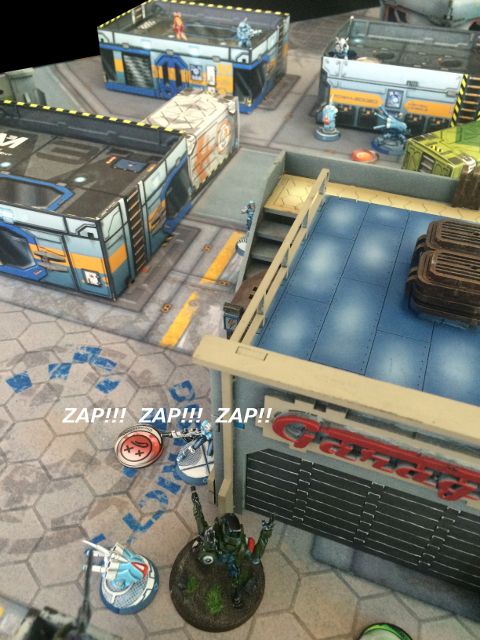
| Croc-Man mine layer reveals and shoots! |
 |
| Three burst from 2 enemies and only 1 ARO allowed... all from one order. |
Safe from attack, the Croc-Man surprise shot the Maakrep... uncontested.
 |
| Who thought combi-rifles were weak? |
The Croc-Man critted with one of his bursts whilst another burst also landed on the Maakrep. Luckily she passed her armour save and dropped behind the parapet unconscious.
In the Maakrep's face to face with the Nisse- they both missed each other in an appalling display of marksmanship.
My Malignos landed a double action round on the Nisse but could only shake its fist in frustration as the Nisse passed both his ARM rolls.
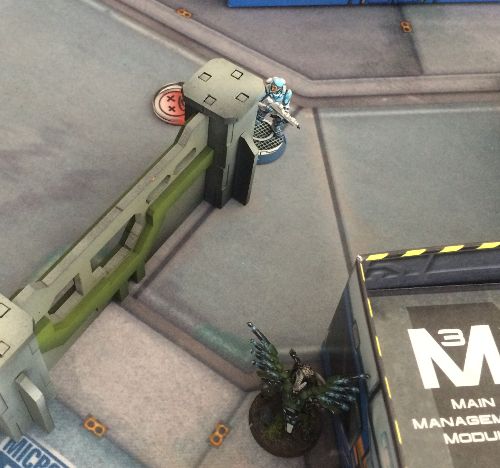
 |
| Uh-oh... so much for the ARO trap. |
With the Maakrep taken out, my ARO trap had fallen apart....
... and my Malignos found himself staring down at the barrel of a grinning Nisse sniper. No TO Camo bonus for you!
 |
| Multispectral Visors of peace. |
The Malignos missed with his desperate shot whilst the Nisse not only hit once but rolled a critical with his other burst.
The alien unsurprisingly failed his subsequent 3 ARM rolls from the double action ammo and burst into purple mist.
With that move, PanO was back in the game....
 |
| Repositioning. |
 |
| Moving closer to the action. |
With that side of the battlefield taken care of, PanO began repositioning it's TR HMG remote closer to the action around the Power Generator Modules.
 |
| Pushing the advantage. |
With all my over watching models gone, the Croc Man re-camouflaged and made her way forward to the edge of the Garage overlooking my deployment zone.
 |
| What to do???? |
I pondered my ARO options....
 |
| ARO's!!! |
... they might be craptastic, but at least I have a few!
Unfortunately with Surprise Shot- I was going to have almost no chance of hitting the Croc Man. But a small chance is still a chance!
Well, the balance of probabilities worked out the way they should... I lost all my face to rolls.
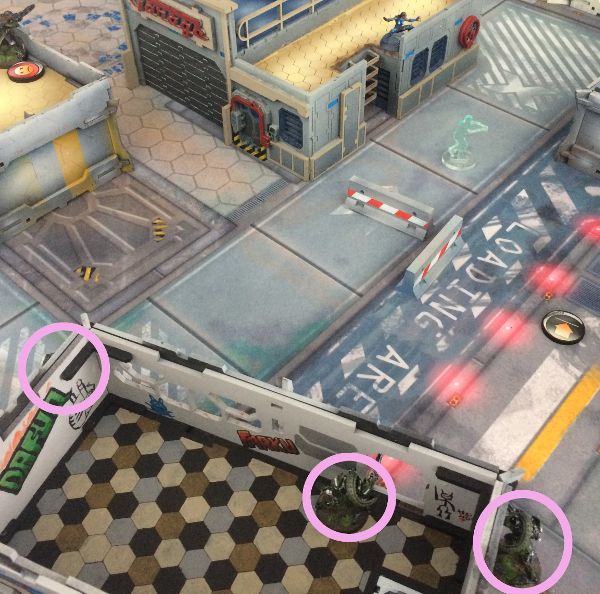 |
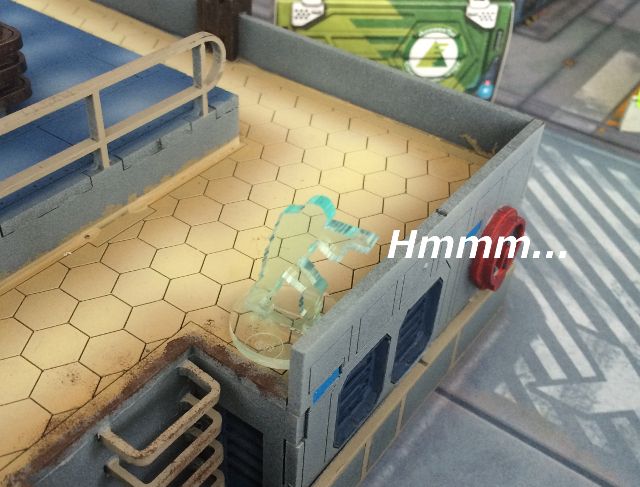
| Hmmmm.... |
The Ikadron and a Unidron both were hit by the Croc Man but their armour luckily held and they were both unscathed.
The Croc Man missed the other Unidron (thankfully!) and the bot's return Hail Mary shot splashed harmlessly somewhere far far away.
 |
| Getting into position. |
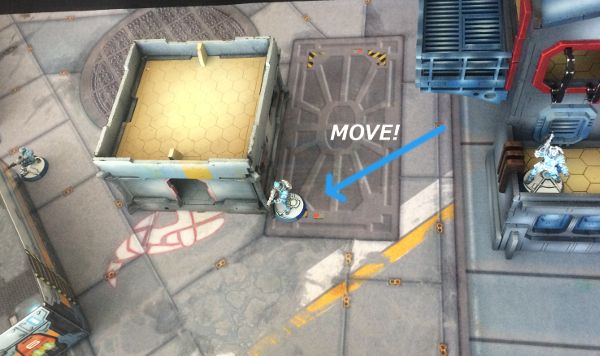
With the final order- the Trauma Doc made her way towards the fallen Aquila Guard....
Combined Army Turn 1
That was painful.
And with so few orders left over it was going to be an up hill struggle.
I spent one command token to move my as yet unrevealed Fractaa into my main combat group and mulled over my options...
... and then I remembered my Shrouded and Maakrep possess automedkits!
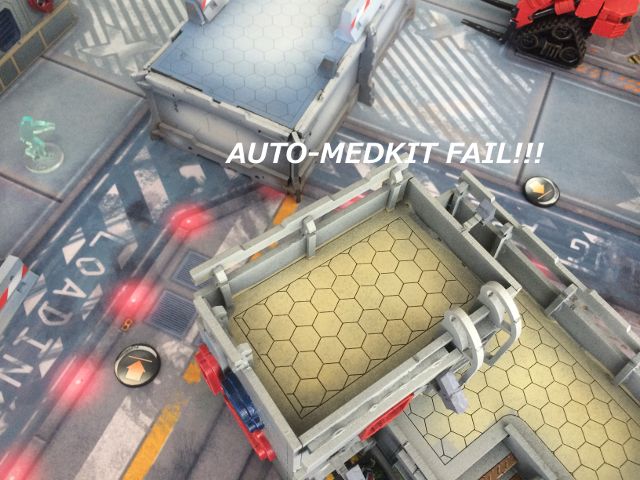 |
| The Maakrep's better than even chance of passing.... |
 |
| So much for that plan.... |
Well, there was going to be no MSV2 HMG to clean out that Nisse.
Sometimes I hate my dice.
 |
| Phew. |
The Shrouded made its automedkit roll however.
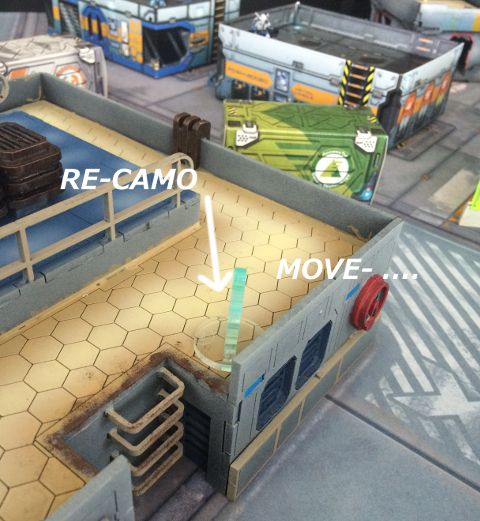
 |
| Time to cam up! |
And then quickly re-camouflaged in preparation for some action.
 |
| Only the brave... or the cheap and expendable do this. |
Gritting my teeth, I sent my Ikadron forward to bathe the Croc-Man in double light flame throwers who elected to Dodge.
The bot tanked the hit from the mine and passed it's armour save! Hooray!
Despite the Croc-Man failing her dodge roll, she refused to be barbequed- passing both ARM rolls and then ducking back out of the way.
It was frustrating to say the least.
 |
| Starved of orders- jockeying for midfield position. |
With most of my models unable to contribute meaningfully to the game so far- I burned two command tokens to bring up what was left.
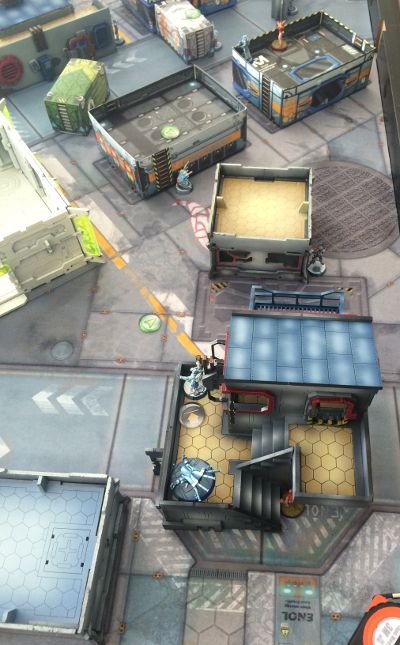
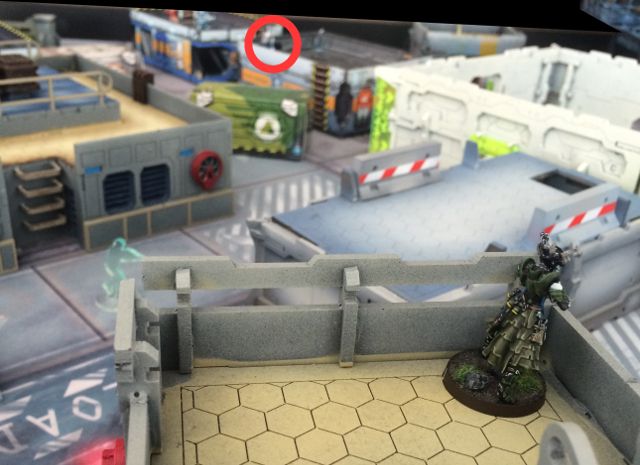
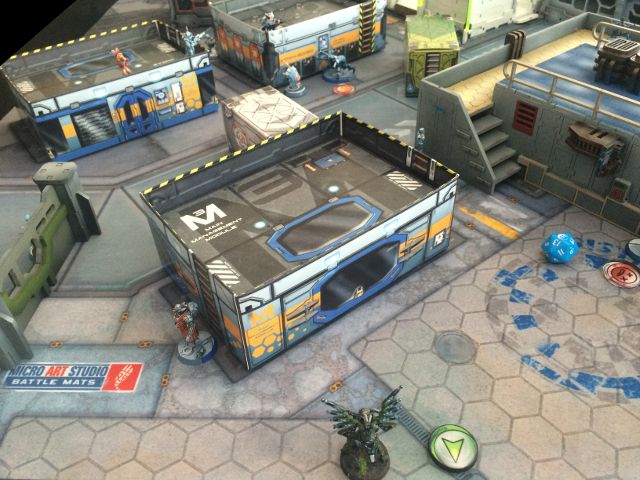
My Charontid with his body guard of Unidrons stomped up from the Apartment to take up position around the Garage.
 |
| I'll Spotlight you! |
The Charontid moved up into cover and attempted to Spotlight the cowering Croc-Man.
Despite the EI construct's vaunted WIP of 16... he failed dismally with a 17.
Nope... things not going the Evolved Intelligence's way this turn.
Not at all.
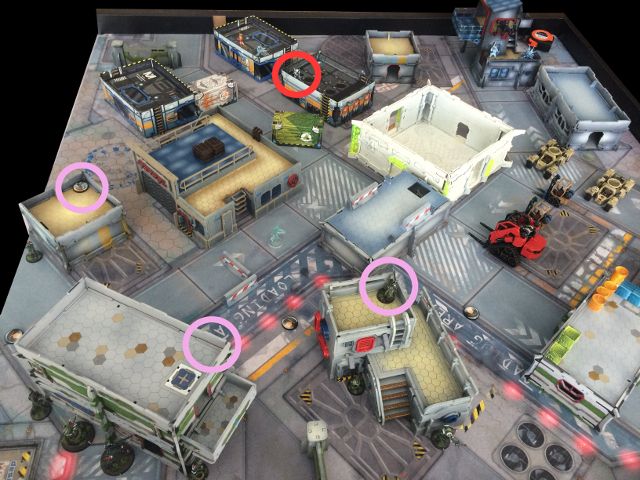
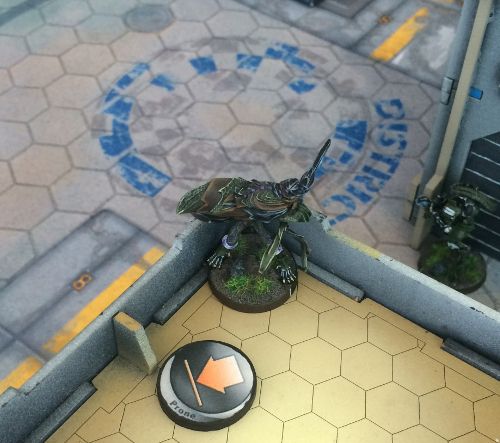
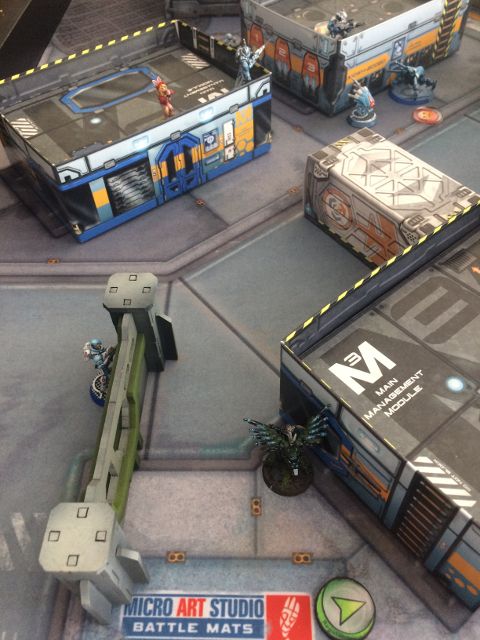
 |
| All the action centred around the Garage and the Power Generator Modules. |
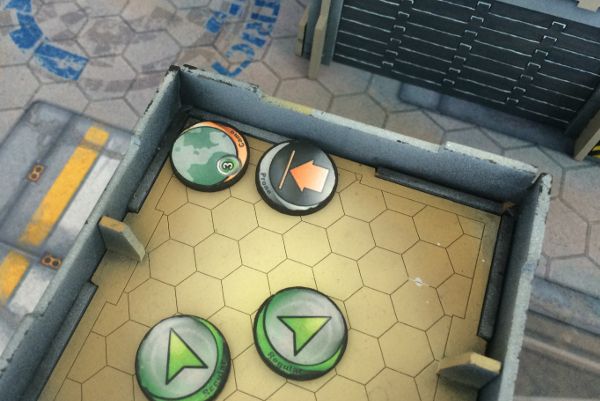
With my final order, I stood my Shrouded up and waited for the inevitable storm of AROs.
The watching Nisse and DronBot opted to wait.
I chose to do nothing- waiting for the PanO active turn.
If my Shrouded was going to die... it'd die being a thorn in the PanO backside.
 |
| I hope there aren't any template weapons around... |
Well, being starved of orders is absolutely no fun at all.
My elite force of peace and prosperity girded their mechanical loins for the fury of PanO.
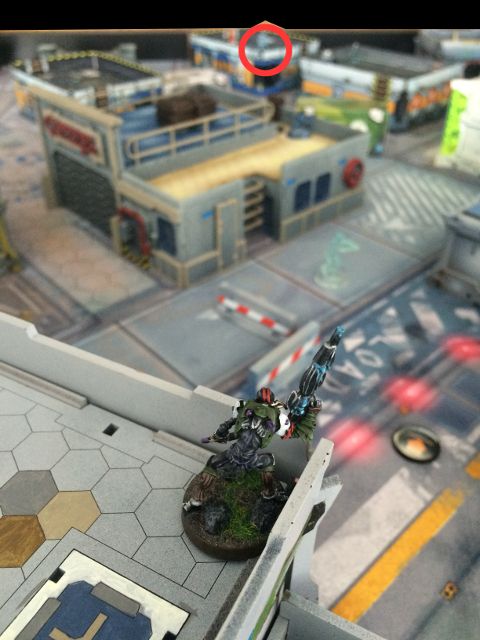
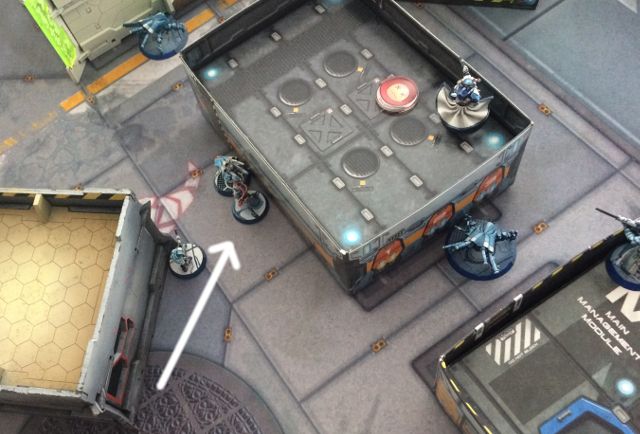
PanOceania Turn 2
 |
| The offensive begins! |
The Sierra HMG bot clattered its way along the side of the White Tower until it could see the Unidron defending the Charontid's right flank. Sizing the flimsy looking EI bot up, the Sierra unleashed its 4 burst heavy weapon.
Luckily for me though, the Sierra missed with three of its burst. I didn't help that the HMG remote was in its 0 range band for the HMG meaning it was hitting on 8's.
The Unidron's return fire actually won the face to face roll- and a plasma template covered the bot in a cyan cloud.
 |
| The disappointment is real |
Annoyingly, the Sierra passed its ARM and its BTS roll handily leaving the target Unidron feeling distinctly uneasy....
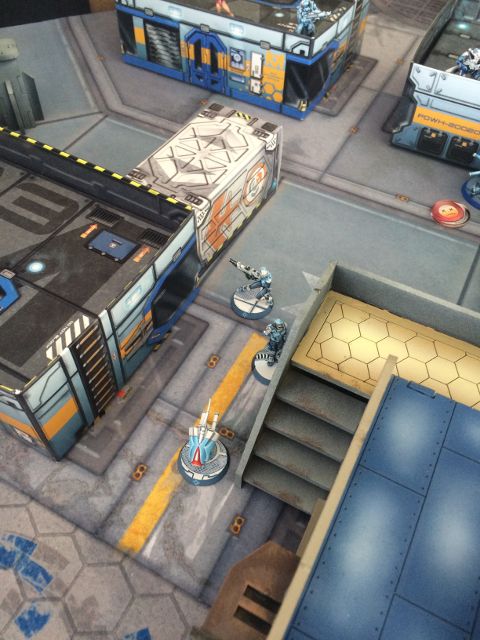
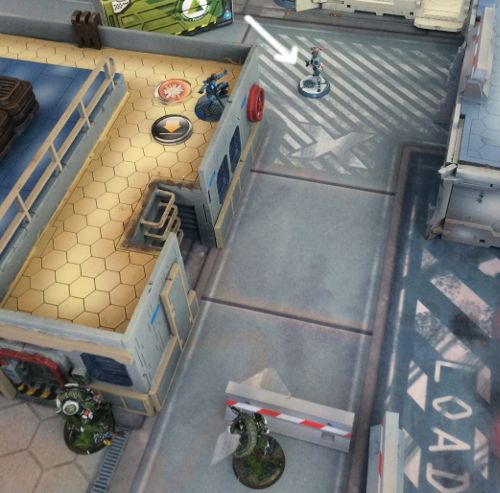
 |
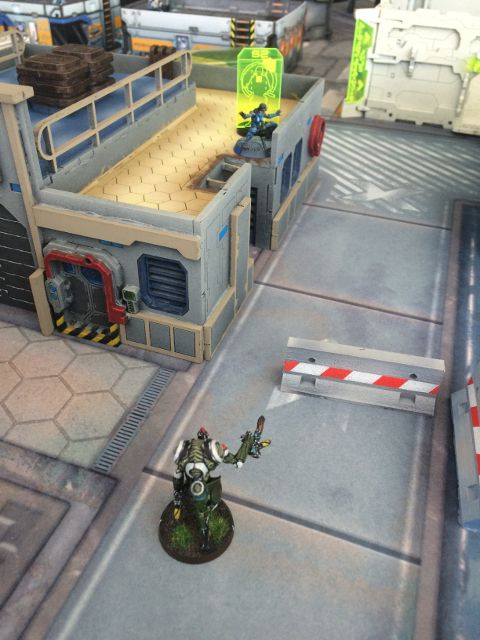
| The PathFinder moves forward. |
Perhaps that last exchange spooked the Sierra because the Pathfinder moved its way forward on the next order- presumably aiming to cast the Assisted Fire supportware once in range.
The over-watching Shrouded caught the Sierra as it moved into view and a brief exchange of fire ensued.
 |
| Boom! |
With a -9 to hit, the Sierra sprayed the sky before a DA round from the Shrouded knocked it unconscious.
 |
| Nisse aims to get another scalp! |
I didn't fancy my Shrouded's chances (considering how easily the Malignos sniper had died) but I couldn't just let PanO dominate the board.
 |
| Phew! |
Despite losing the face to face roll, only one of the Nisse's shots hit home- and the Shrouded passed both ARM rolls!
Deciding not to push its luck, the Shrouded dropped prone.
 |
| I think I know what's coming. |
With the Shrouded dropped behind cover- an Auxilia eagerly advanced with his heavy flamer auxbot.
The juicy collection of EI constructs around the Garage was too much to resist.
 |
| Carnage! |
The Auxbot and the Auxilia made their way into the alleyway and hosed the aliens in flame and lead.
The Charontid failed its dodge roll and took a wound before its armour held.
The two lead Unidrons fell to a combination of fire and combi-rifle shots. Their plasma carbines claimed the Auxilia however- stopping the attack in its tracks.
The wounded Unidrons went dogged- guarding the alley (and the Charontid)- until the end of the turn.
 |
| This could be tragic! |
With the Shrouded out of the way and the Combined Army advance around the Garage blunted, the PanO Trauma Doc climbed up onto one of the Power Generator Modules and made her way over to the fallen Aquila Guard.
 |
| Great success! |
The Trauma Doc passed her WIP roll (so much for puny PanO WIP) and revived the Aquila Guard...
... much to my disgust.
 |
| Getting ready for Turn 3 |
With the Aquila back on one wound, the Trauma Doc took up position close to the ladder of the Module.
 |
| Please stand up... |
The Aquila Guard then stood up and went into Suppression Fire.
 |
| Take up position. |
Finally, a Fusilier moved forward to cover down towards the Garage.
So that's what it's like to face a full 10 orders when crippled by a lack of your own orders... ouch.
Combined Army Turn 2
Well, not much more to do then...
 |
| AD2 |
After a bit of surveying the PanO deployment zone, I walked my Fractaa on.
 |
| What's that noise? |
The Machinist fails his PH -3 change facing roll.
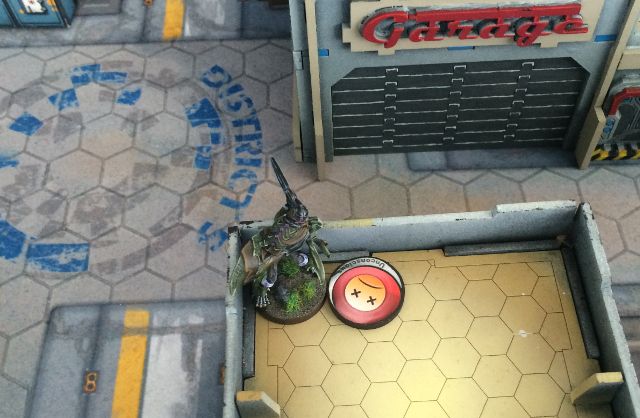
The Fractaa rubbed her hands with glee! Walking up to the corner she unloaded her boarding shotgun into the Machinist's back.
 |
| Knocking the Machinist Unconscious |
 |
| Taking on the Nisse. |
Advancing forward, the Maakrep finished off the fallen Machinist and netted me "Coup-de-grace".
She then stepped forward into view of the Nisse and fired her boarding shotgun. It was just over 8" (the good range of the shotgun) and that combined with the Nisse's mimetism and cover meant she missed with both her shots. Luckily, the Nisse missed as well.
Unwilling to advance any closer due the nearby Aquila Guard on suppressive fire, the Fractaa opted to hold position.
 |
| Time to get some more classifieds! |
With the Fractaa unable to shift the Nisse from his perch, the Charontid took charge.
Advancing forward, it successfully Spotlighted the disabled Auxbot.
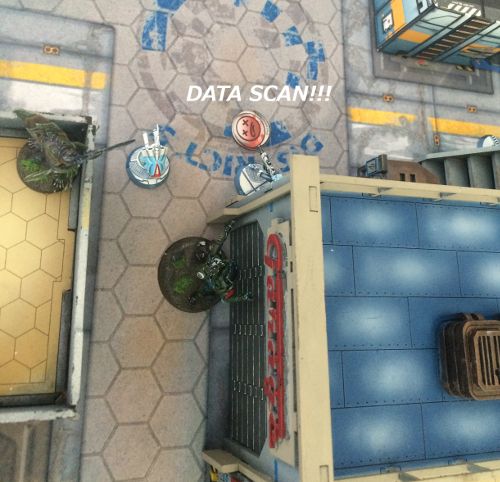 |
| Another Classified. |
Moving forward again, the Charontid successfully data-scanned the unconscious Auxilia netting me my secondary objective.
 |
| Targeting the Nisse. |
Then using its Lieutenant Order, the Charontid fired on the Nisse with his plasma rifle. The Nisse was just outside the good range of the plasma rifle meaning I was hitting with a -6 modifier. I would need an 8.
The Nisse fired back, getting a 7.
I tossed my three dice and got a Critical! Yes!
 |
| Safety in total cover. |
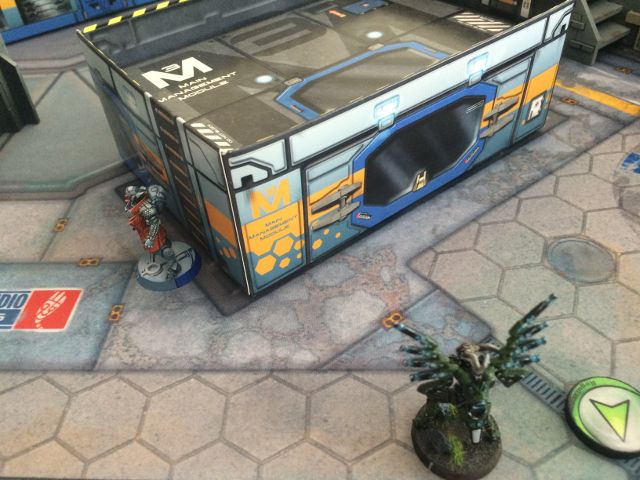
With my final order I moved my Ikadron into total cover behind the garage.
I had scraped together a few Classifieds- it was down to the last turn to see what PanO would do....
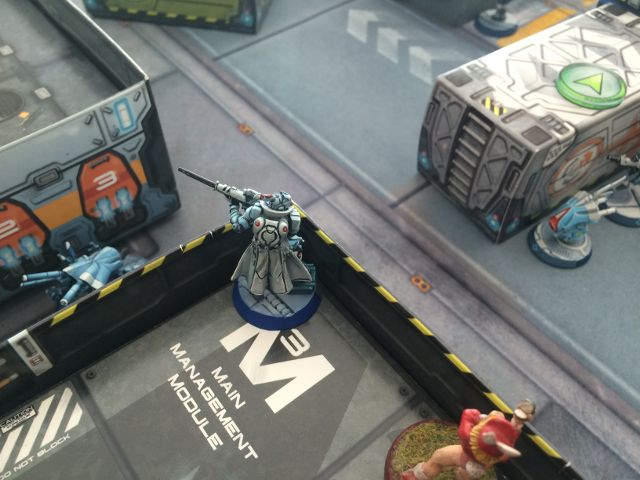
PanOceania Turn 3
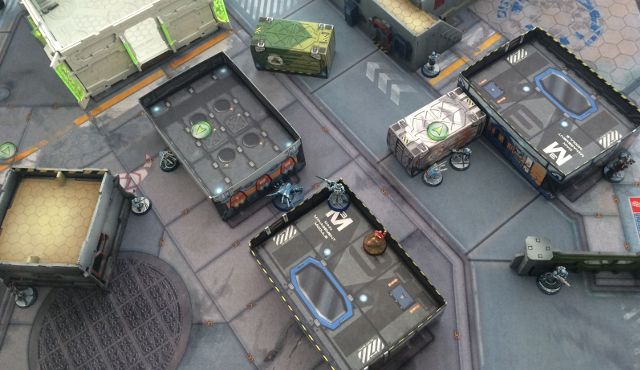
Attrition had finally taken its toll on PanO and it was now a scramble to get access to the Morat Anthropologist HVT.
 |
| Fusilier lieutenant attempts to clear away the Fractaa. |
Stepping out from behind total cover, the Fusilier Lieutenant fired on the Fractaa.
He rolled poorly and took a shotgun blast to the face- dropping unconscious.
 |
| Long ranged shooting. |
With that avenue shut, another Fusilier fired down past the Garage trying to knock out the last Unidron guarding the approach to the Combined Army HVT.
 |
| So lucky! |
Despite landing two burst, the Unidron made both armour saves and stayed resolutely in place.
 |
| Time to do something heroic. |
The Trauma Doc made her down from the Power Generator Module and towards the Garage.
 |
| So close, so far. |
Just beyond the garage was the Combined Army HVT... and only 1 Unidron and 1 Ikadron in her way....
 |
| No guts, no glory. |
Throwing caution to the winds, the Trauma-Doc walked out into the open and fired on the Unidron who fired back with its plasma carbine.
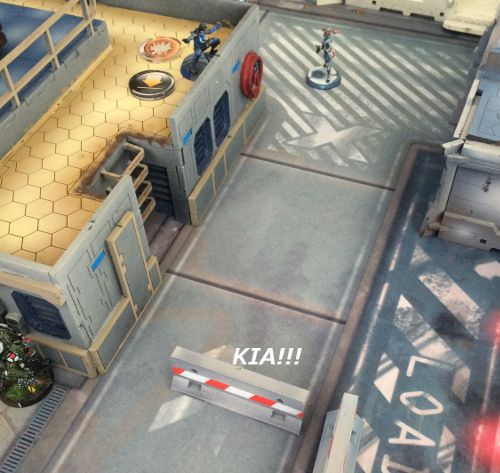 |
| Crunch. |
The Unidron might as well have been using a water pistol because the Trauma Doc critted with one burst and another finished him off.
(Editor's note: being a remote the Unidron should have technically gone into second stage of Unconscious rather than outright dead).
 |
| Charging ahead! |
With the Unidron out of the way, the plucky Trauma Doc moved up to fire on the Ikadron who fired back with its light flamethrower.
The Trauma-Doc's combi-rifle knocked the bot unconscious and and caused the Charontid to reorientate itself to this new intruder.
 |
| Thwarted! |
It was not to be though, as the Trauma Doc failed her ARM roll to the vengeful flame thrower and was incinerated- ending any chance of a PanO victory.
PANOCEANIA CONCEDES.
COMBINED ARMY VICTORY!!!
CONCLUSION
 |
| High tension. Great relief! |
That game was much closer than the final score suggested.
I have to say, a few lucky dice rolls that went my way- such as the Charontid critting the Nisse and the passing some important ARM rolls- kept me from crashing into ignominious defeat.
The ARO trap worked out well- despite it eventually falling apart. It claimed an Aquila Guard and really should have bagged me the Nisse as well. That Co-ordinated Order with the Croc-Man and the Nisse really tipped the balance in favour of PanO.
From that point I was playing catch up. I had a chronically small order pool and I felt like a lot of my pieces- Maakrep/ snipers- had no staying power.
I was able to push my left over units into the midzone to guard my HVT and (very fortunately) pulled PanO forward allowing my Fractaa to walk on and take out the Machinist.
List Discussion
 |
| Unidrons. |
The Unidrons, being able to go Dogged were very useful and I wonder if a Unidron plasma sniper instead of the Malignos would have been able to do just as good a job... in this case.
As for the Charontid hacker lieutenant with plasma rifle- the jury is still out. This guy won me the game- by grabbing two classifieds and being able to knock out the Nisse (I love plasma!)- but the lack of range on that weapon is a real pain.
Perhaps if my Maakrep had made her auto-medkit roll then I would not have wanted for long range hitting power- but as it turned out the Charontid was struggling to put the hurt on the hard targets it is supposedly good at clearing out.
The Fractaa did really well, getting up close to the enemy and using a Boarding Shotgun is fantastic. I did miss having the burst and range of a combi-rifle (or a spitfire!) but the ability to lay down templates in the enemy deployment zone is an option that can sometimes be a game changer.
If I had to put down my MVP award- I would probably give it to the Maakrep HMG. She knocked out the Aquila and a badly landed Akalis. She also was the focus of a lot enemy attention. She's definitely going to be a regular feature of my future Combined Army lists.
Hope you all enjoyed this ruminating, I'm heading back to the painting table.
Until next time.
No comments:
Post a Comment