
 |
| Get out of here, STALKER. |
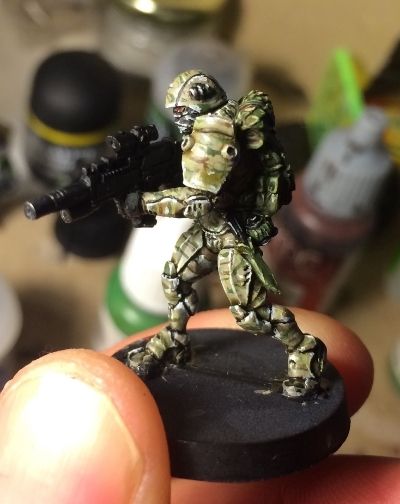
Reminds me a lot of STALKER: Shadow of Chernobyl- a sand box FPS with RPG elements and bullet physics! I must have lost weeks of my life to that game... in fact, I might boot it up right now!
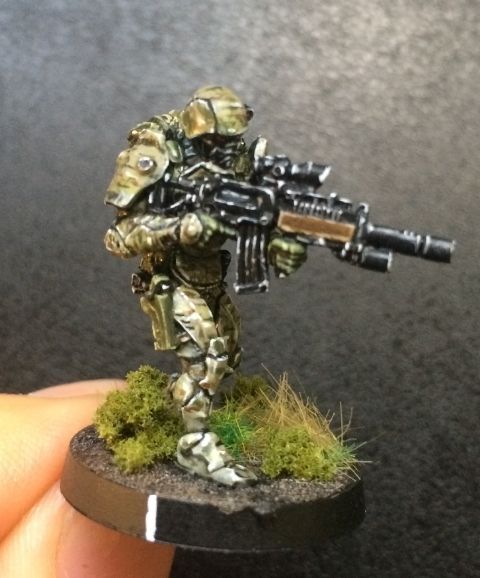
I based the paint scheme off a professionally painted Kazak by Iguazzu Studios .
I'm no pro painter but I was inspired to give it an attempt.
Camouflage Recipe
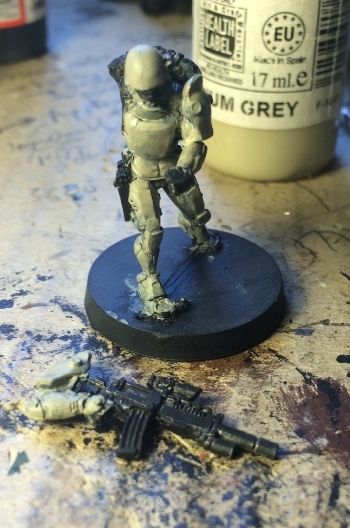
1. Base coat VMC Medium Grey
2. Splotches of Citadel Nurgling Green
3. Wash Athonian Camoshade
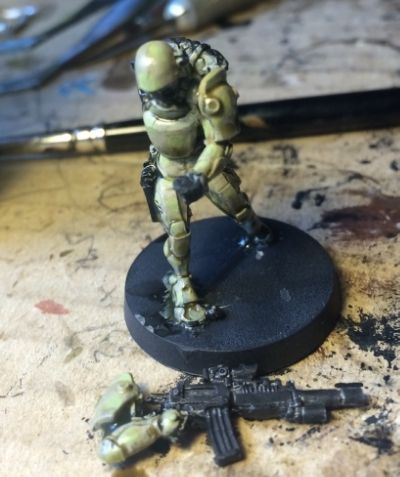 |
| Splotches |
3. Wash Athonian Camoshade
Now pick an armour panel...
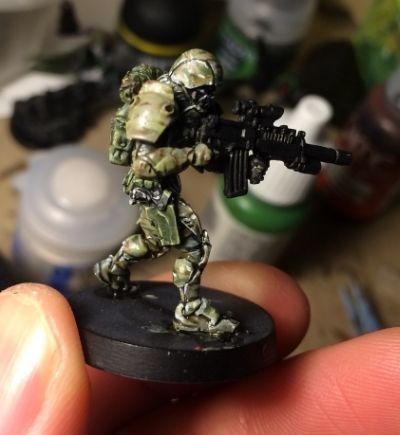 |
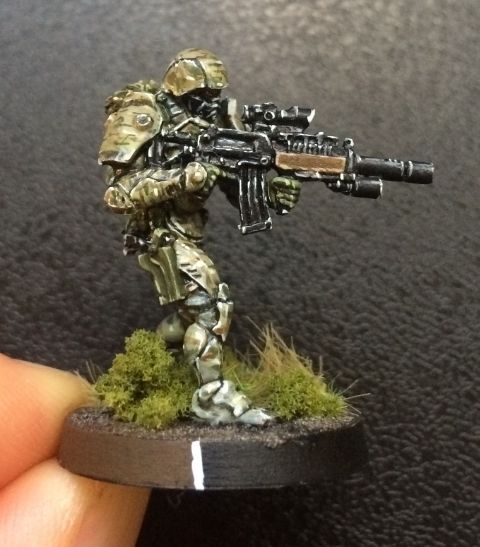
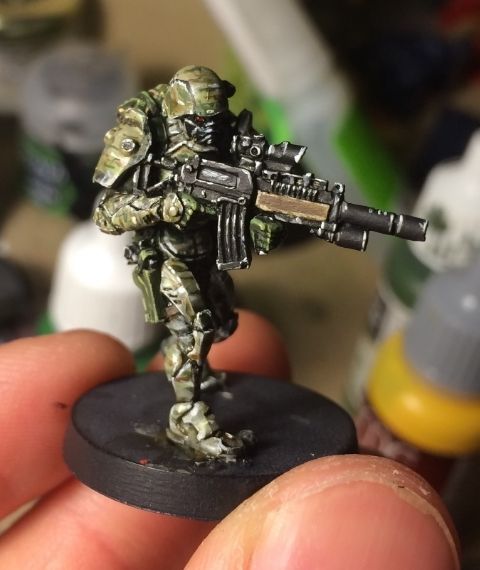
| Brown stripes on shoulder plate |
4. Camouflage Stripes- VMC Chocolate brown. Keep the stripes very small, thin and linear. And you'll need to thing your paint down a fraction with some medium. (I used Lahmian medium from GW but apparently it's utterly over priced rubbish compared to others out on the market). Make sure that the stripes don't travel over from one panel onto the next. Each panel needs to have it's own "pattern" that is slightly different in arrangement to its neighbour. This helps stop the "camouflaged blob" effect that miniatures sometimes get.
 |
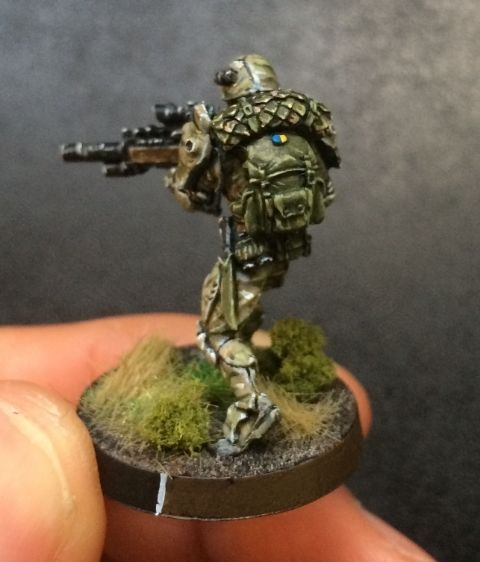
| Other stripes |
5. Camouflage Stripes- VMC Cam Olive Green. Using the same technique above apply the green. Aim to have the same number if not 25-50% more stripes.
6. Camouflage Stripes- VMC Ivory. Be very sparing with this. Use even smaller dashes of Ivory. And keep the number to about half the number of brown stripes. This will stop you from overdoing it.
Now repeat this on every armour panel. I also chose to do this on the cloth uniform but there is no reason why you can't just do a plain colour on the uniform to make the panels stand out even more.
Once this is complete we will commence highlighting the armour panels.
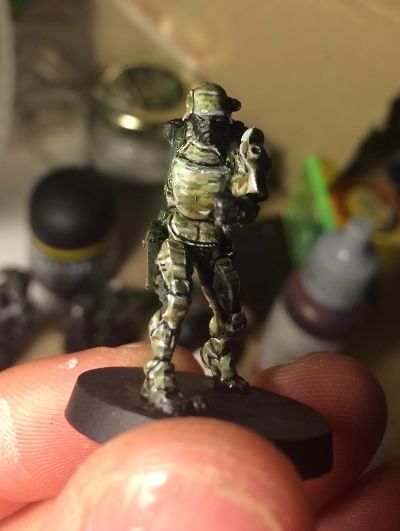
7. Use a VERY LIGHT drybrush of VMC Buff. VERY VERY LIGHT. This will bring out the folds on the uniform and make the armour panels less pale.
 |
| Black lining |
9. Armour panel- black lining. This combined with the chipping will make the model stop looking like a camouflaged blob. Use some Citadel Nuln Oil or thinned down black paint and carefully outline each panel.
 |
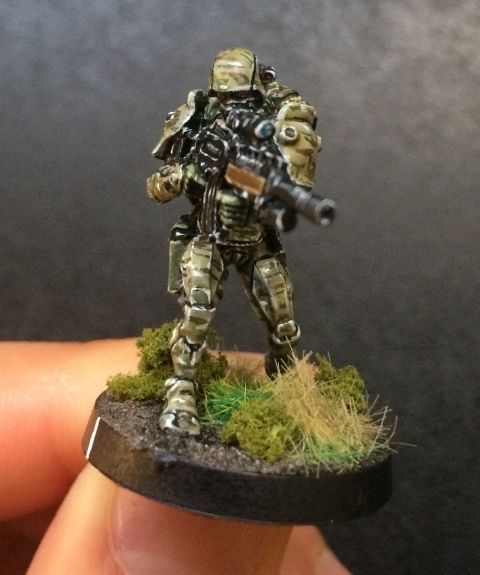
| Chipping over leg armour |
8. Armour panel- chipping. This is absolutely key in making the armour panels stand out. Using a fine brush and some thinned out VMC Cold Grey highlight the edges of each panel. Don't just draw a straight line across the edge- try to stipple it out with a few dots and a dash over the most prominent edge. Remember it is supposed to represent wear of the paint on the edges. The most prominent points should have a 'heavier' highlight to emphasise the light catching on a metal surface. This technique is very well explained here: Chipping on 1/72 Tank.
Now that is complete, you can complete the details- such as pouches and weapon- at your leisure. Whatever colours you pick, remember to have a highlight colour picked out for each. I actually use two- a first highlight and then a second, "super-highlight".
Until next time.
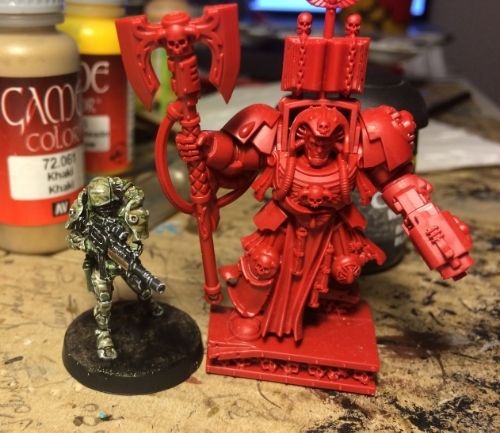 |
| Making new friends in The Zone. |
as ever, very cool!
ReplyDeleteNice multicam =)
ReplyDeleteCheers! I love your tanks and Epic 40K stuff. Hope you don't mind me borrowing your techniques!
ReplyDeleteFeel free to plunder :)
ReplyDelete