 |
| MAF |
This game actually preceded the NCA vs. ALEPH game.
It started on a really good note. As we were getting terrain ready, a little blue model fell out of one of the buildings and into my hand. On closer inspection it was Bipandra! The model who'd been missing from my mate's collection for over a month. A
very happy Neoterran force welcomed her back. Angus would be relegated to Fusilier duty and Bipandra would return to the gaming table.
For my own force, I had spent a recent weekend rebasing my TAG and the old Sogarat. It was a painful ordeal. The models fell to bits. Paint was chipped off. Superglue fumes encrusted the paintwork in white frost. It was an exercise in frustration. Why rebase models that never get used?!
Because one day... one day... they'll get their time in the sun.
And the Raicho's time has come!
ARMIES
MORAT AGGRESSION FORCES: 217th Expeditionary Force
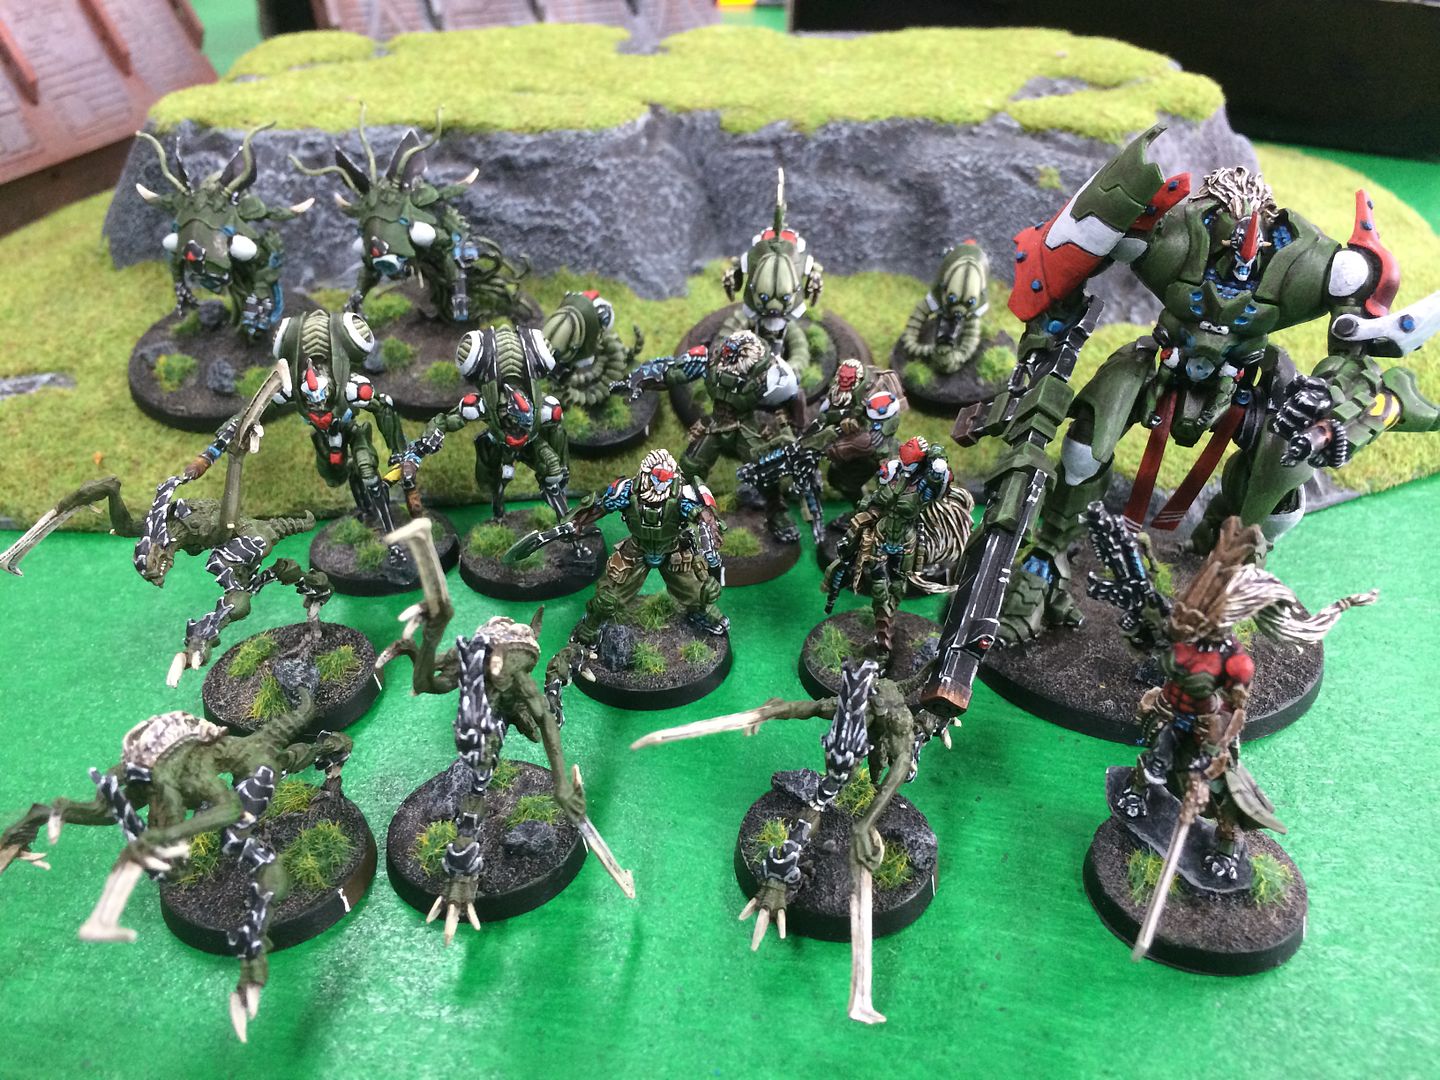 |
| Raicho! |
Combat Group #1
Vanguard- Lieutenant, combi-rifle-
Quintus
Vanguard- Hacker, combi-rifle-
Seneca
Treitak-
Anyat- K1 combi-rifle, chain colt, smoke grenades
Oznat-
Lysistrata
Preta x4
Treitak Spec Ops- 12XP (Plasma rifle, specialist, climbing plus, BS +1)-
Polybius
Raicho- Multi-HMG, Heavy Flamethrower-
Prometheus
Combat Group #2
Medchanoid-
Dr Worm aka
Galen
Slave drones x2
Q Drone- HMG, total reaction-
Nemo
R Drone- repeater only-
Toby
Ikadron- Light flamethrower x2-
Steggles
Ikadron- Light flamethrower x2-
Ingham
I can't take credit for this list design. The original variant was posted on the official Infinity forums by "Suicidewarhead" and I thought I'd give it try. With the TAG taking up a huge chunk of points it's a big departure from my usual lists and I was looking forward to trying something very different.
NEOTERRAN CAPITALINE ARMY
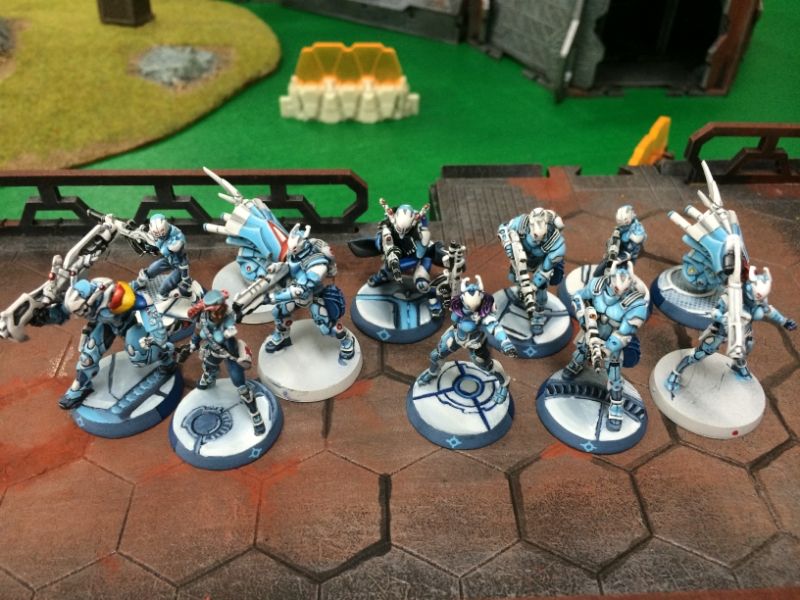 |
| NCA |
Bolt- Lieutenant
Bolt- Paramedic
Bolt- Boarding Shotgun
Bolt- Missile launcher
Aquila Guard- HMG
Swiss Guard- HMG
Spec Ops- Bipandra model- Hyperdynamics L2, WIP +2, Doctor?
Auxilia- Forward Observer, combi-rifle- and Auxbot with heavy flamer
Auxilia- combi-rifle- and Auxbot with heavy flamer
Overall a balanced list, with lots of specialists, hard hitting units and units that are hard to kill!
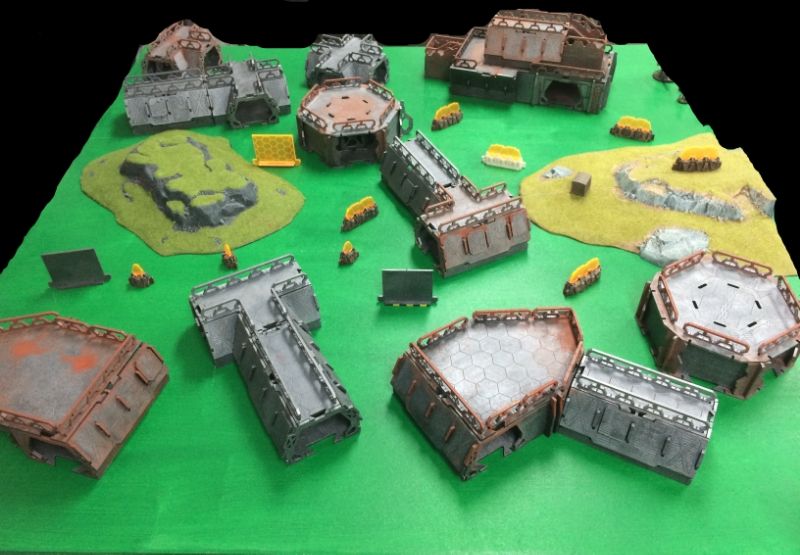
TERRAIN
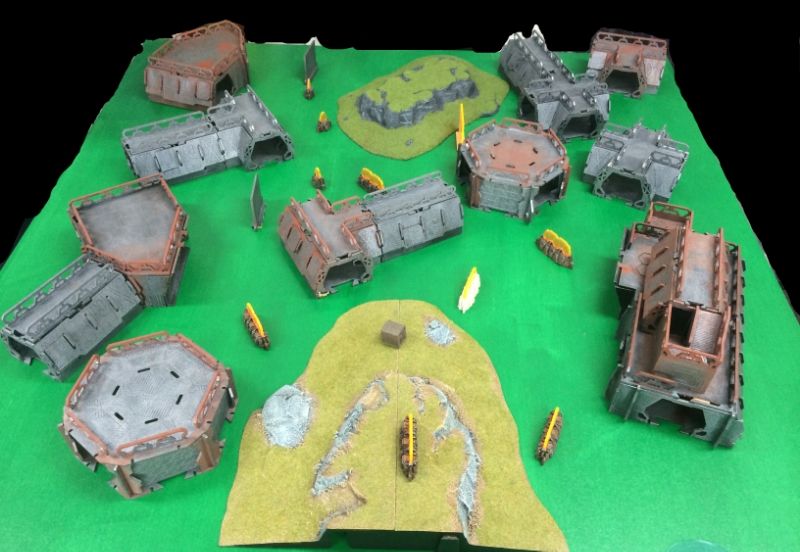 |
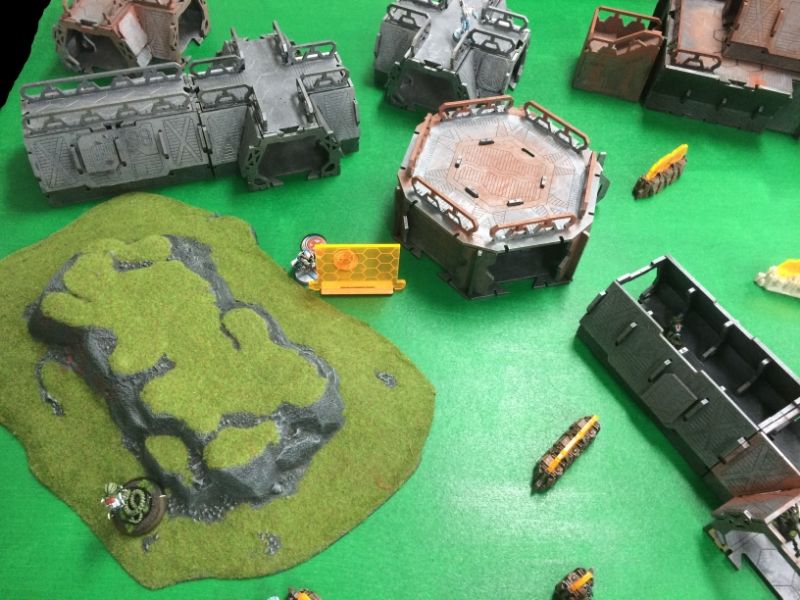
| South is to the LEFT. North is to the RIGHT. East is the NEAR GROUND. West is the FAR GROUND. |
Deployment zones were on the LEFT (south) and RIGHT (north) sides of the battlefield.
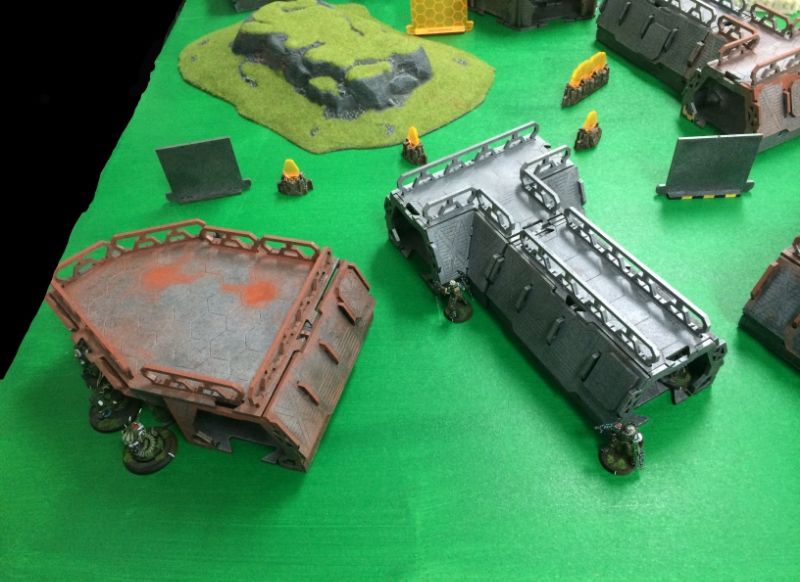
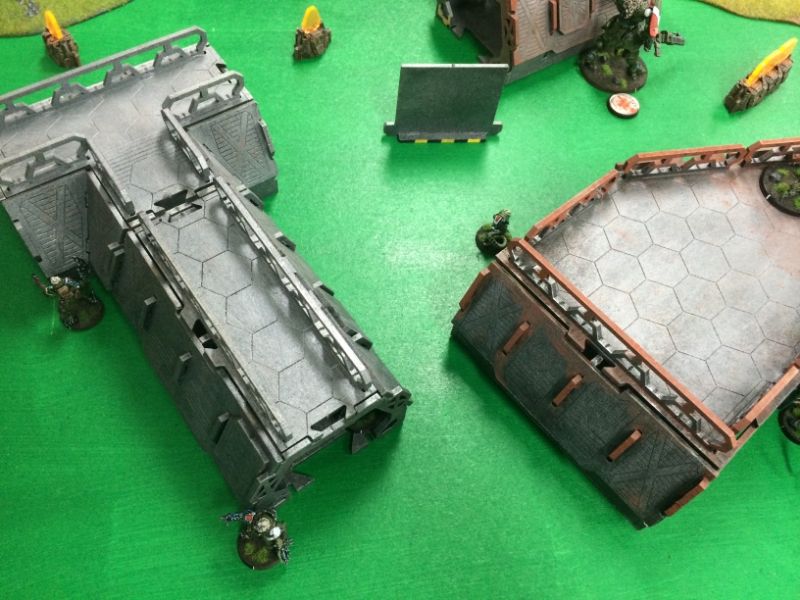
Key terrain:
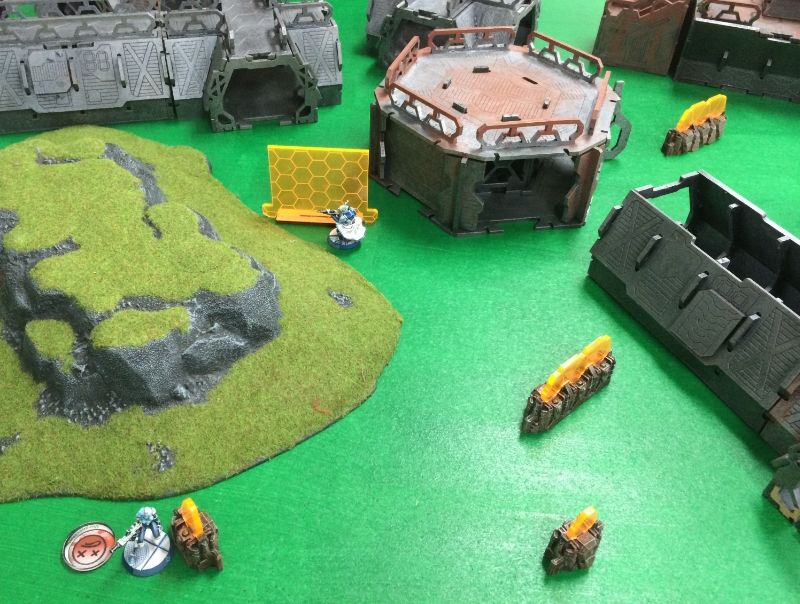
1. The Spur: a ridge line that juts into the eastern part of the battlefield.
2. Hill 186: a small hill on the western edge of the battlefield.
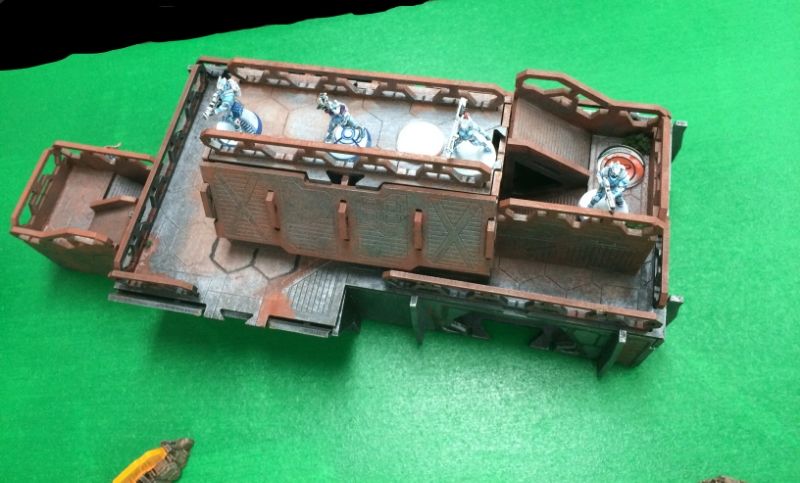
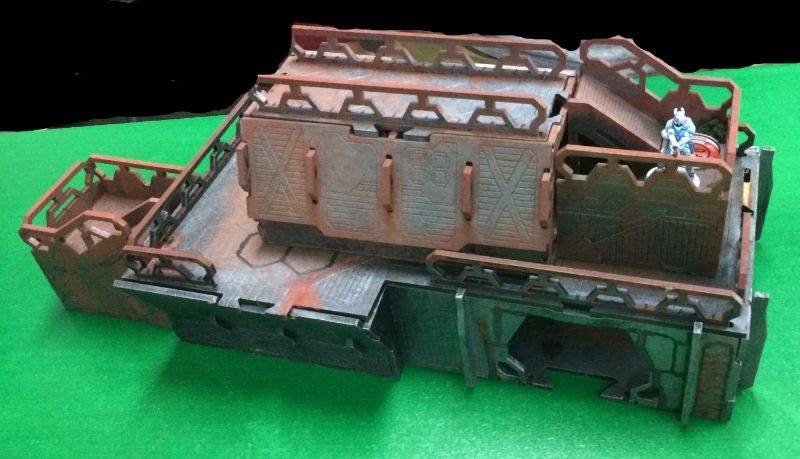
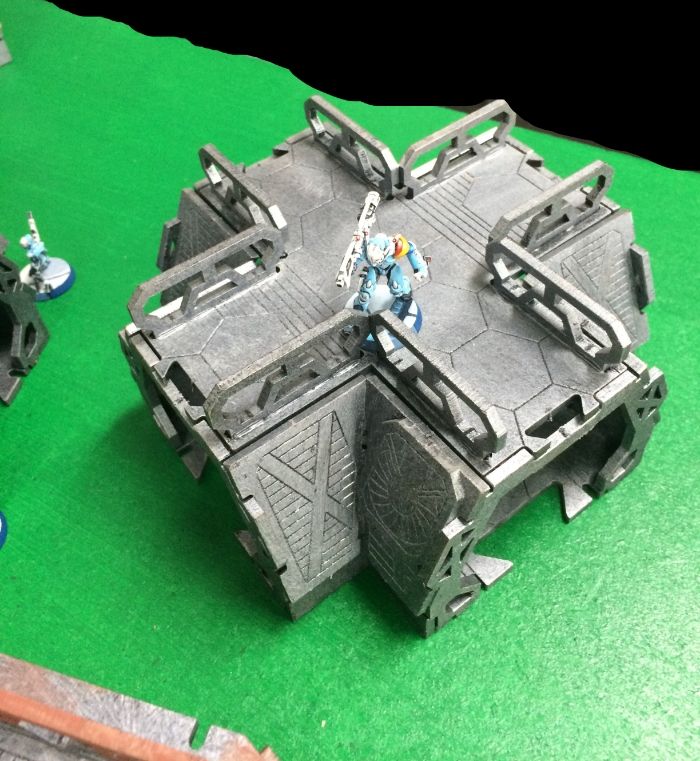
3. The Garage: a large 2 level structure in the north east corner of the battlefield.
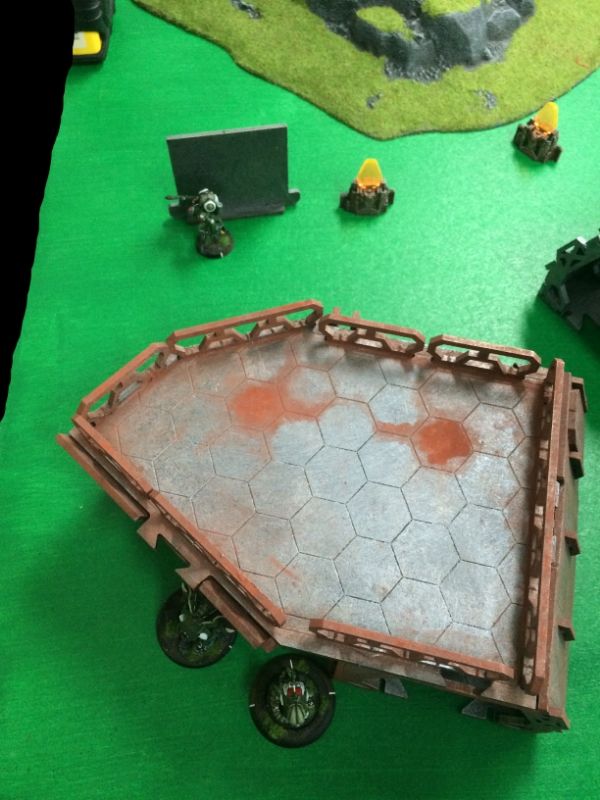
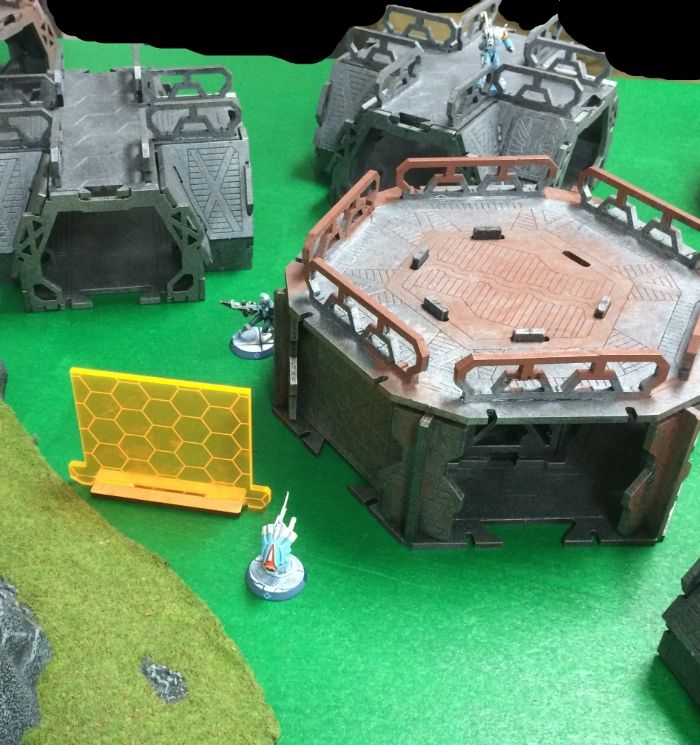
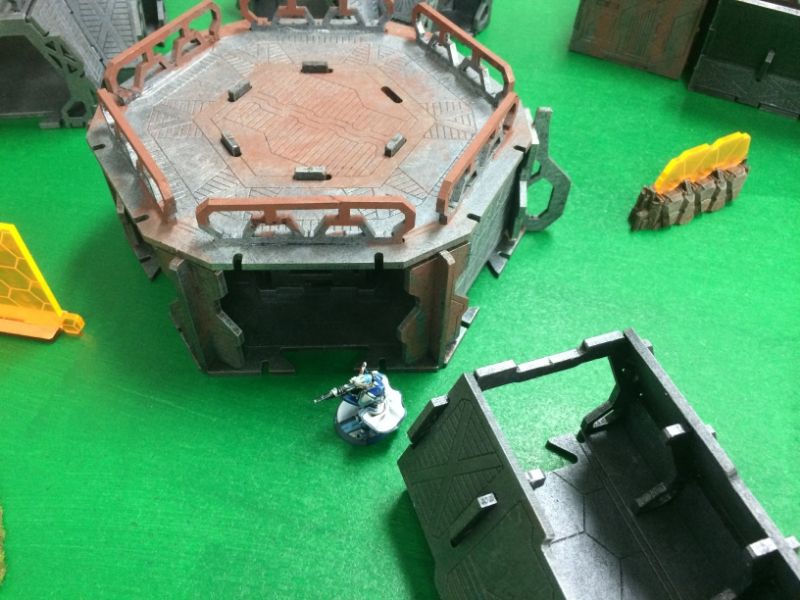
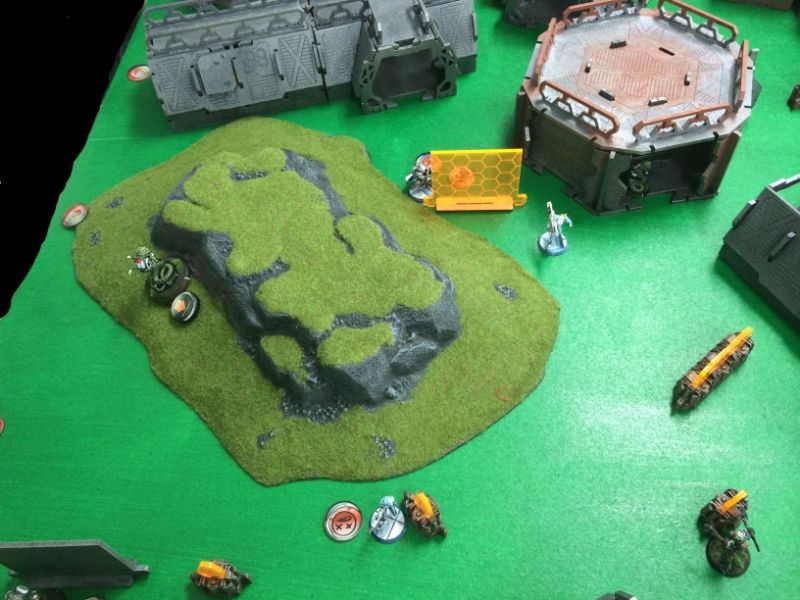
4. Landing Pad: a hexagonal single level structure in the south east corner of the battlefield.
5. Central Admin- a single level "T" shaped structure in the centre of the battlefield.
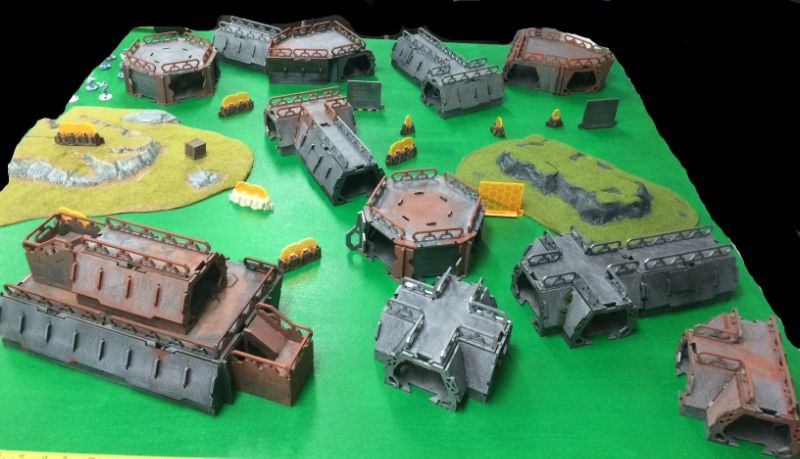 |
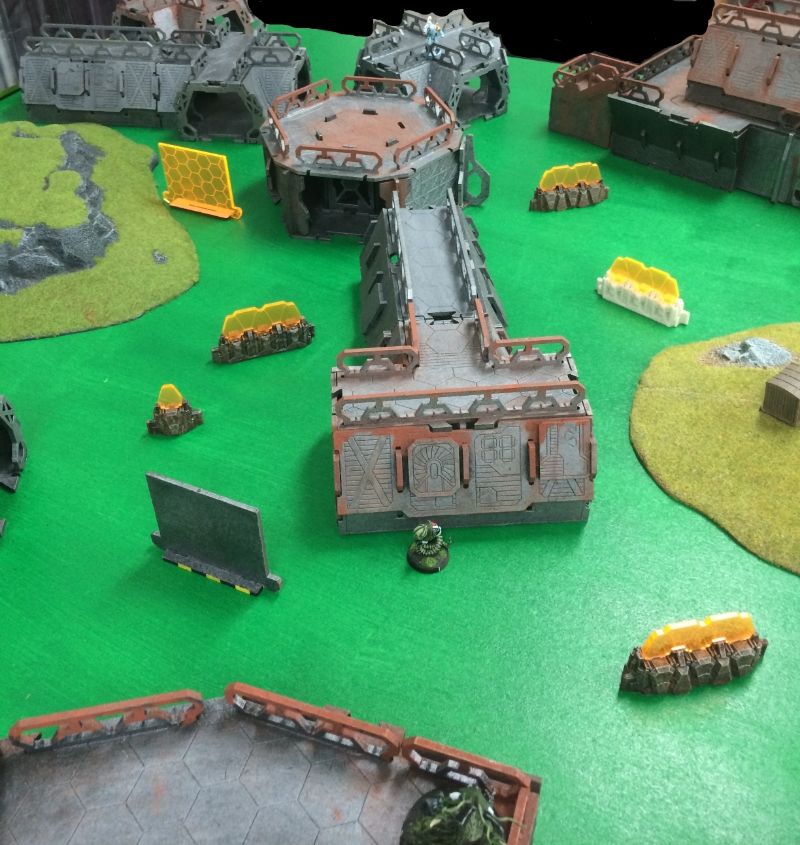
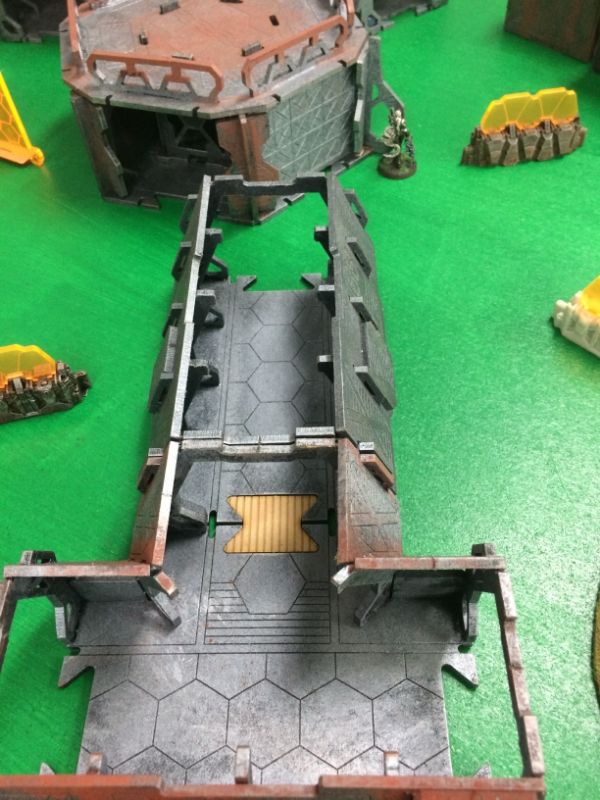
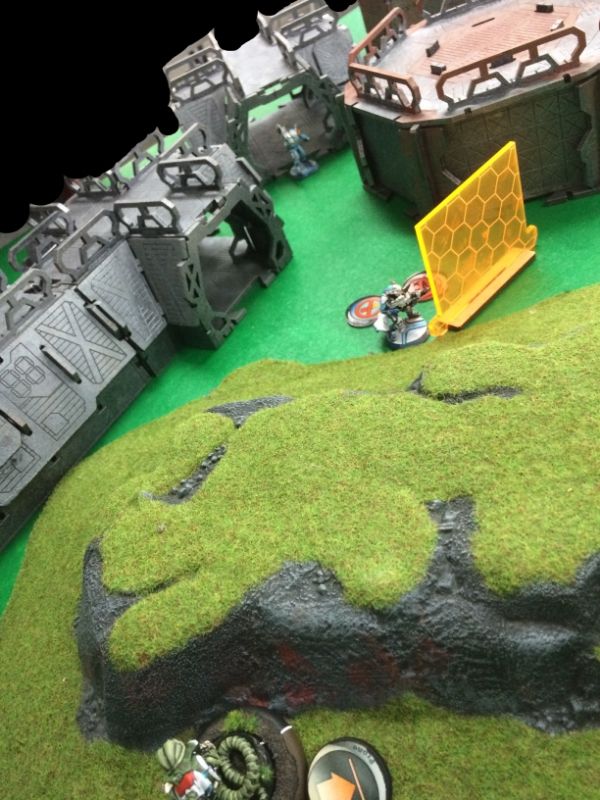
| View from the northern deployment zone, looking south |
The northern deployment zone is dominated by the garage- which has commanding views over the area.
 |
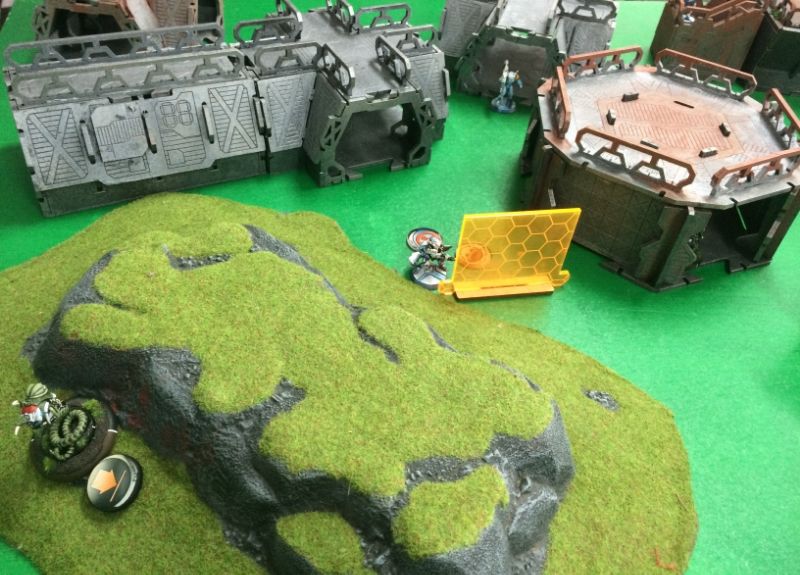
| View from southern deployment zone, looking northwards |
MISSION
Friendly forces must Seize Yard 6 no later than in 3 turns in order to deny enemy movement across the area of operations.
The mission was Frontline- from the ITS2014 mission pack.
Basically there is a No Man's Land between the two deployment zones. This No Man's Land is evenly divided into thirds and points are scored for controlling the three sections.
1 POINT: zone closest to your deployment zone
3 POINTS: middle zone
4 POINTS: zone closest to the enemy deployment zone.
Points are scored only at the end of the game (not something I entirely agree with- but them's the breaks).
Also each player gets two Classified objectives each.
Classifieds
I rolled TEST RUN- which was great as I had Dr. Worm and a TAG too! And also Experimental Drug. An old favourite.
The Neoterran classifieds never came up so I don't know what they were.
DEPLOYMENT
MAF
|
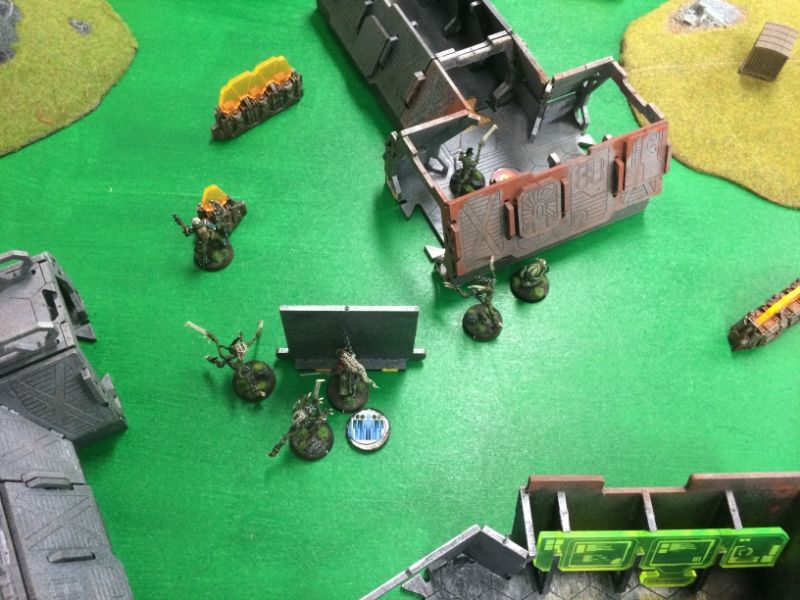
| MAF deployment zone (southern edge of the board)- looking northwards |
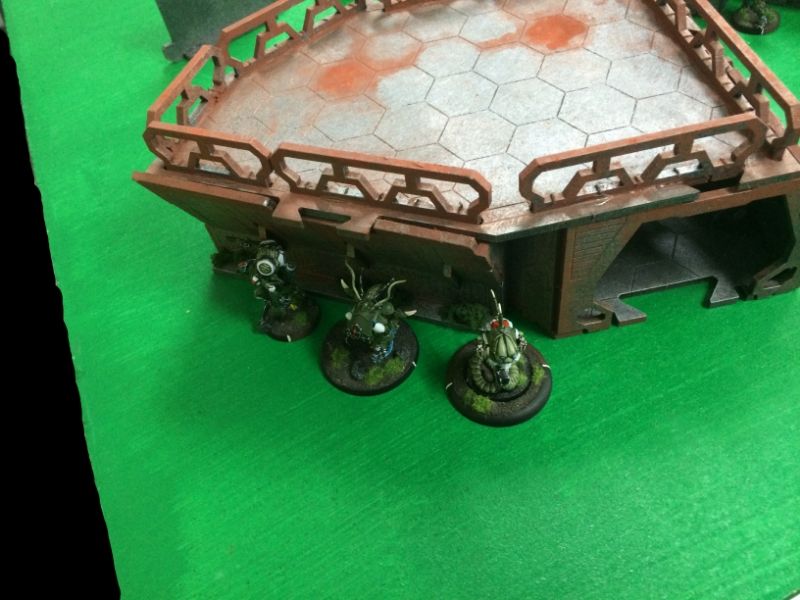
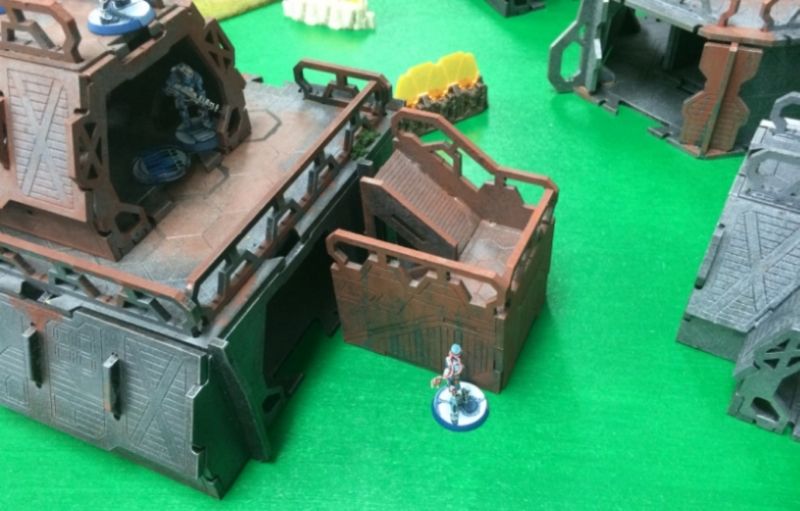
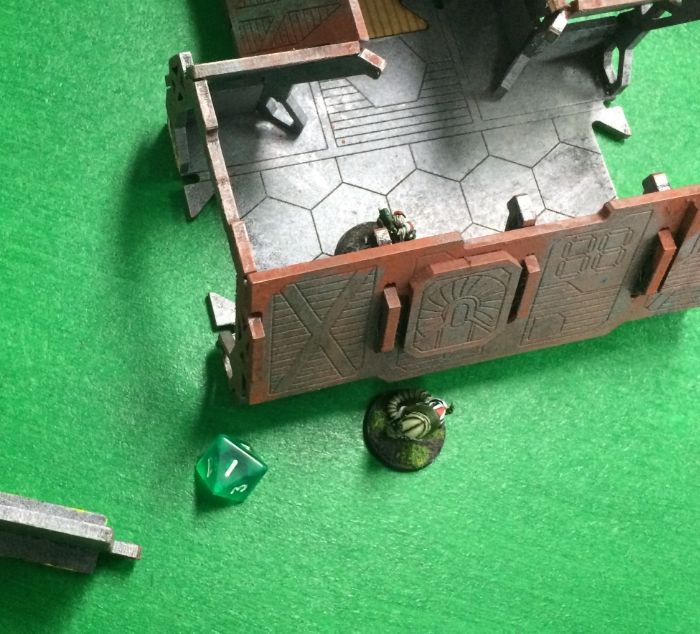
Most of the thinking was put into deploying my precious cheerleaders into safety. Eventually I chose the building just west of the landing pad.
 |
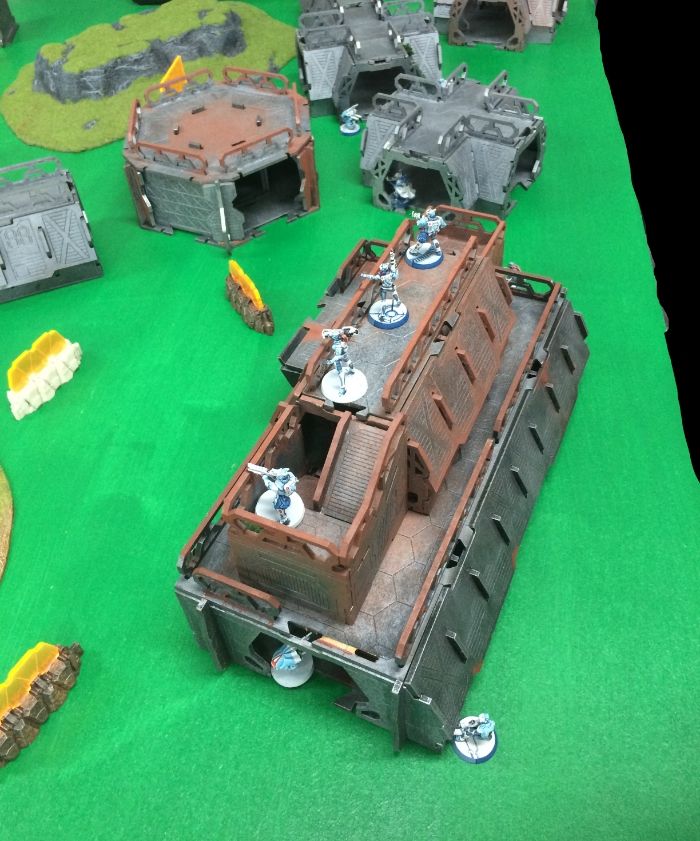
| Link team deployed in total cover. |
 |
| All round defense |
 |
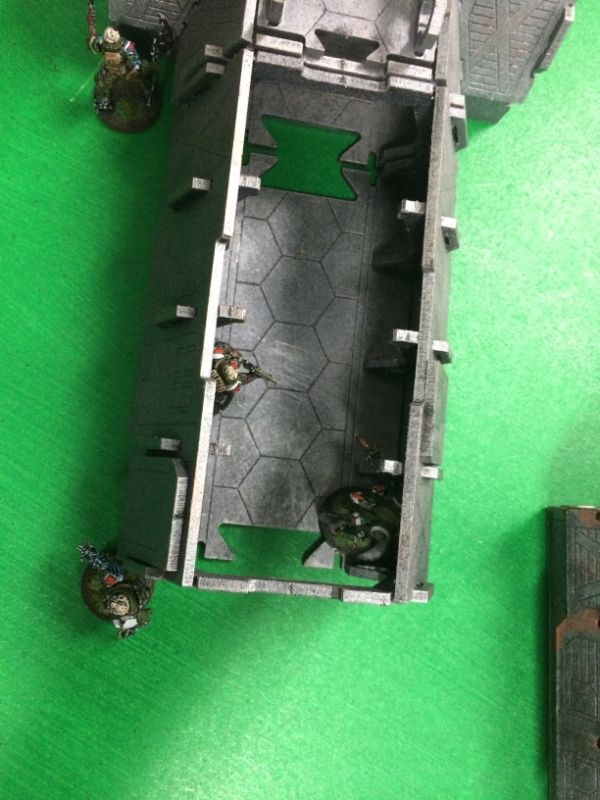
| With Anyat and the Oznat- Lysistrata- covering the door |
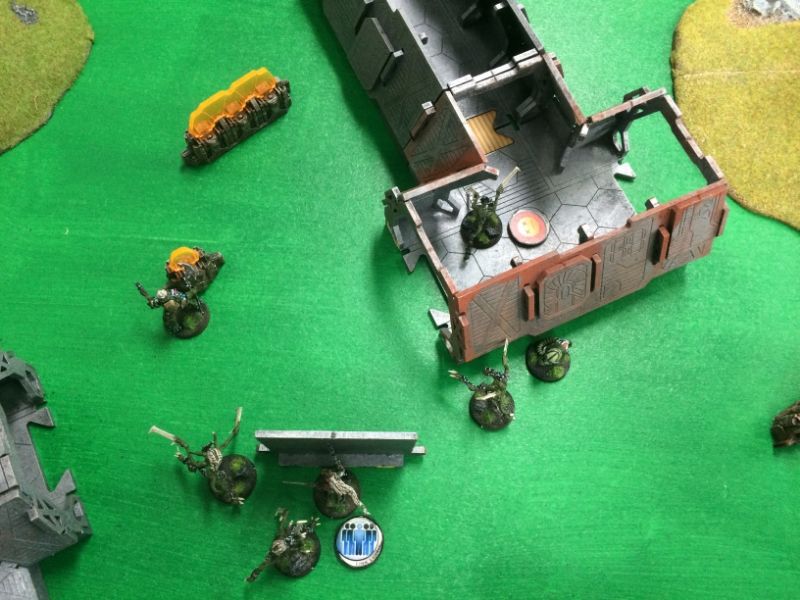
With that sorted out, I then looked for a position with a good view of the battlefield. As it turned out- it was the same building where the link team was hiding out.
 |
| Nemo- my total reaction HMG- is placed on the roof |
 |
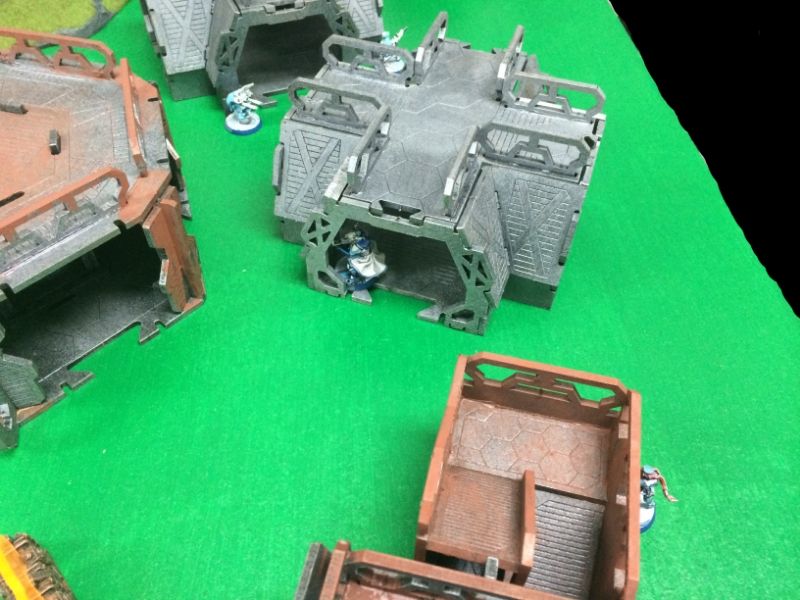
| Western Flank |
 |
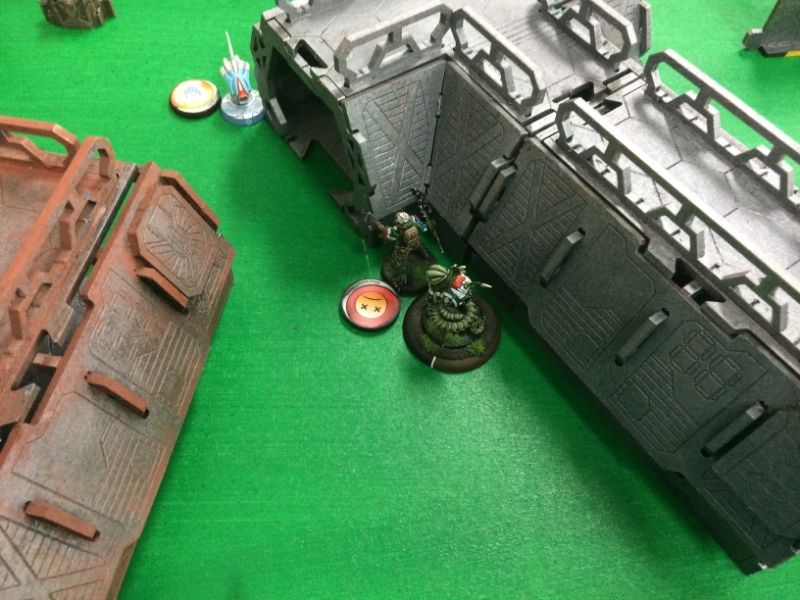
| Flank guarded by an Ikadron. Dr. Worm and Toby hide out. |
 |
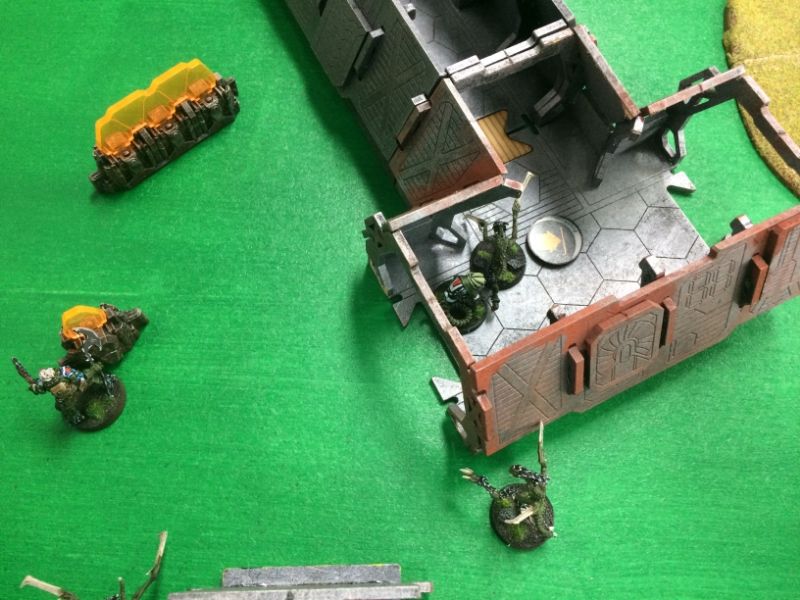
| Quintus (Lieutenant)- with an Ikadron bodyguard. |
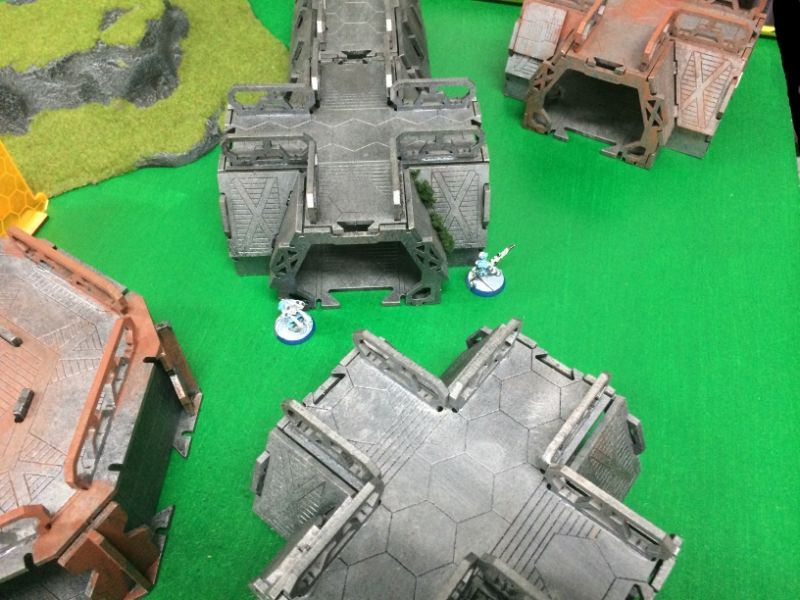
 |
| Polybius close to the front, Seneca hides out at the rear. |
NCA
|
| NCA (northern deployment zone) looking towards the south |
The two level Garage was a key vantage point and in order to exploit it- the Bolt link team lined the railings.
 |
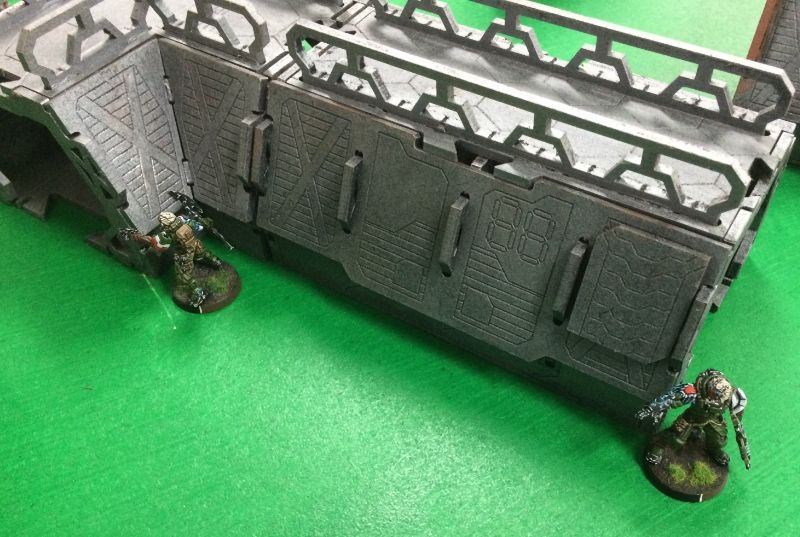
| Bolts- with their western flanks covered by an Auxilia. |
 |
| Bolt link leader hiding completely out of sight. |
 |
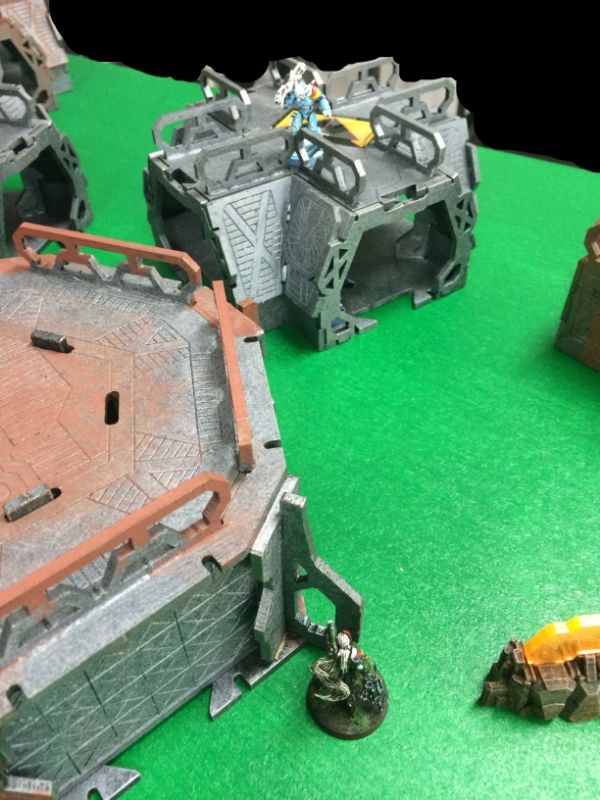
| Neoterran Spec-Ops hiding out behind the garage as well! |
 |
| Neoterran centre- Aquila Guard. |
 |
| Another Auxilia- this one guarding the western flank. |
 |
| Final overview- looking westwards over the NCA line. |
Reserve Deployment
 |
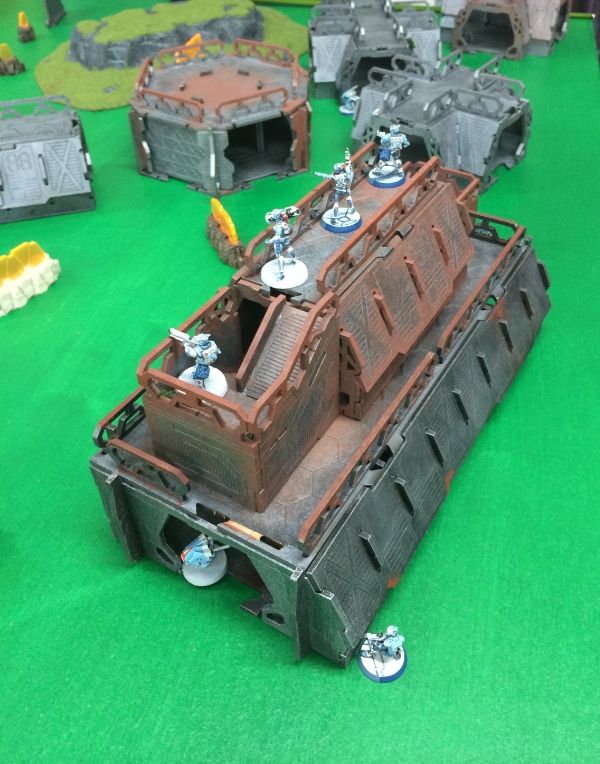
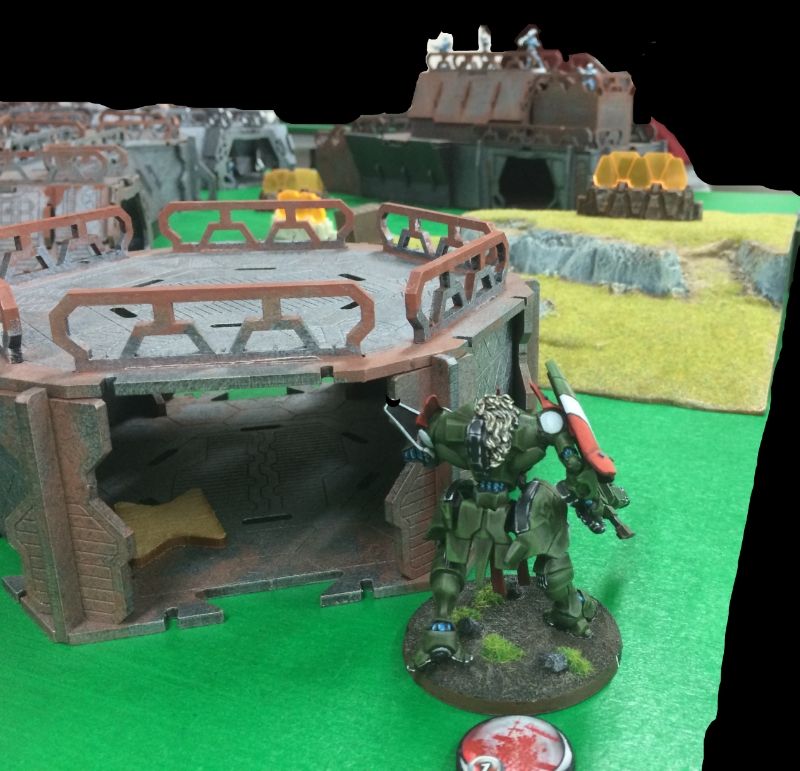
| Raicho on the eastern flank. |
After a fair bit of thinking, I decided to put Prometheus behind the landing pad on the eastern flank. I hoped to challenge the Bolt link team that dominated the area and maybe even Rambo him deep into enemy territory.
As the Neoterrans had hidden deployment- the final position of that figure will be revealed during the course of the battle report.
BATTLE BEGINS....
TURN 1- MAF
 |
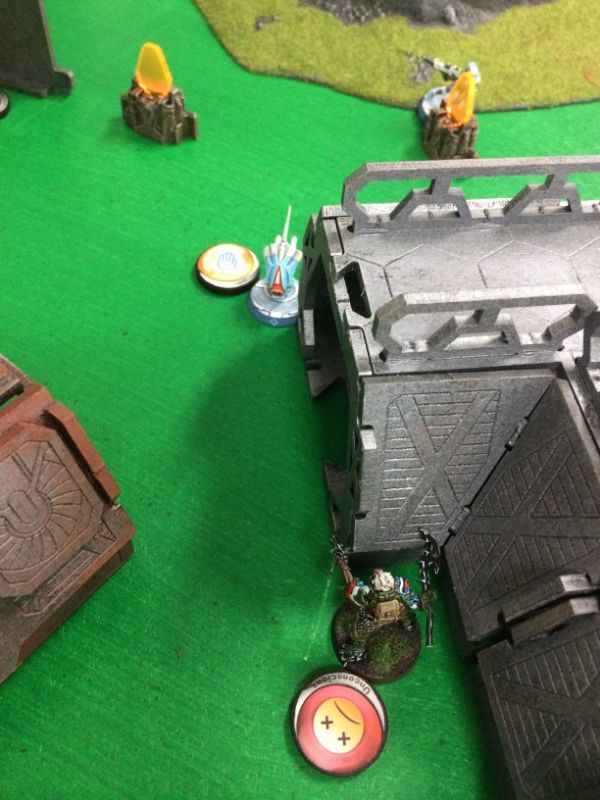
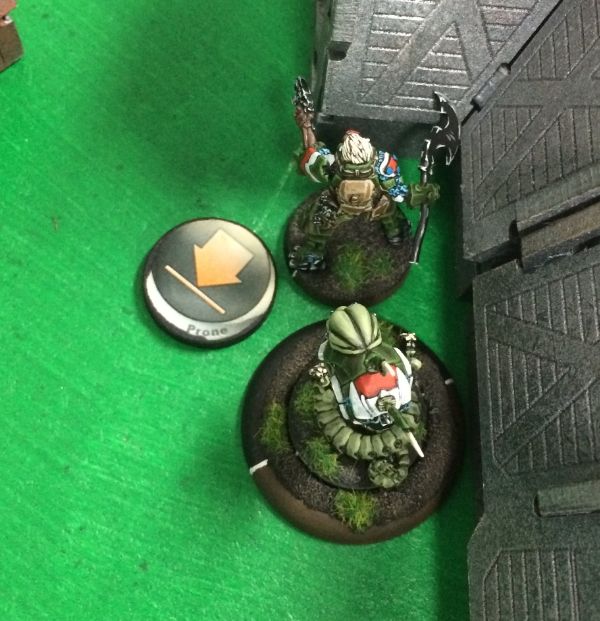
| U cheeky knut, I swear on me mum, I'll hook you in the gabber m8! |
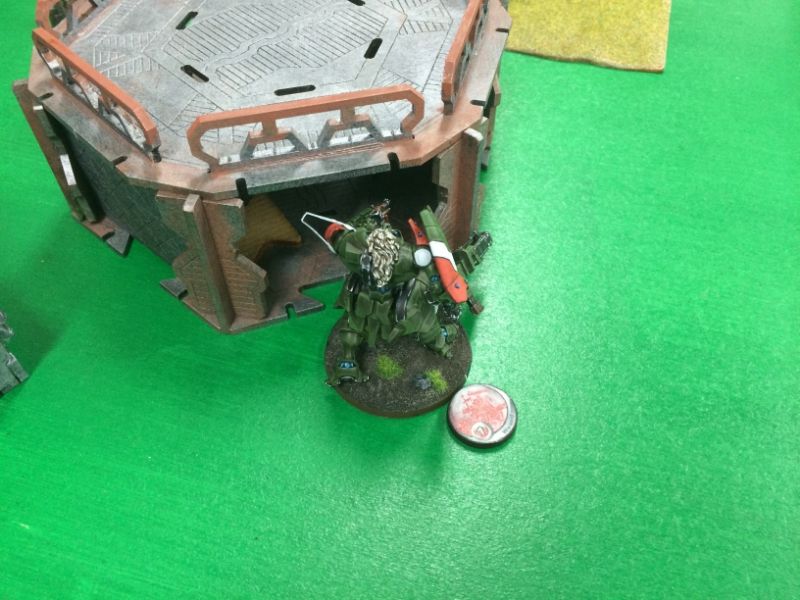
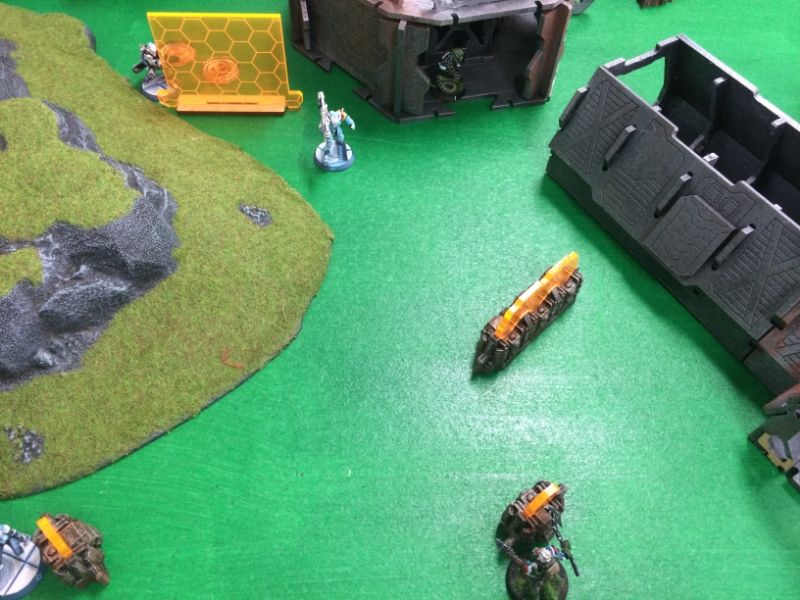
I couldn't have those Bolts blasting away all over the battlefield so I pushed Prometheus out to engage them.
Unfortunately, no matter how hard I tried to 'slice the pie'- I ended up in the gun sights of at least three Bolts.
After mulling it over, I put one burst into the boarding shotgun Bolt and three burst into the missile launcher Bolt. The combi-rifle Bolt I just ignored....
 |
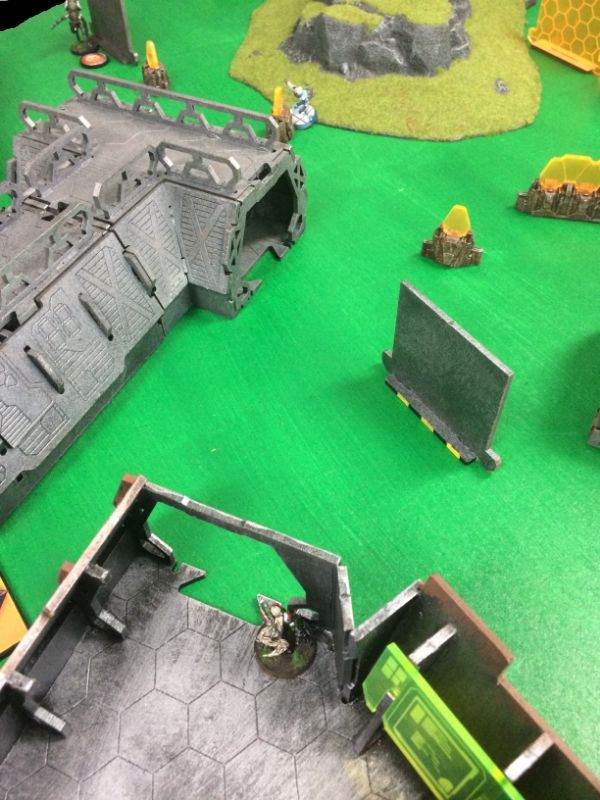
| U wot m8?! |
... Which didn't go so well! Prometheus was hit once by the combi-rifle- and despite needing an armour roll of 3+ on a D20 to pass, I promptly rolled a 2! To add insult to injury, the Raicho failed it's guts roll and moved back into cover.
 |
| Face to face against the Bolt with Missile Launcher |
Rolling 3 dice- when you're used to rolling 5 for a link team HMG- is definitely more nerve wracking. Especially when you get only average rolls like this!
Luckily the missile launcher bolt lost the face to face- yet she passed her 2 armour checks and stayed resolutely in place. Drat!
The only bit of fortune my poor old TAG had was knocking the boarding shotgun Bolt unconscious.
 |
| Come at me, brah! |
Confident that such a poor round of fire wouldn't be repeated, Prometheus stepped out again and sprayed the garage with HMG rounds.
 |
| Finally! The Missile launcher Bolt is taken out. |
And then to make sure the Bolt link team wouldn't trouble him for the rest of the game, Prometheus swept the Garage rooftop with fire again.
 |
| Killing most of the link team outright. |
With the link team taken care of, Prometheus advanced.
 |
| Stomping forwards! |
... And spotted a half hidden Aquila Guard.
|
| Partially concealed Aquila Guard. |
Itching to turn this Neoterran heavy infantry into pink mist, Prometheus fired with his full Burst 4- whilst the human ARO'd with his Burst 1.
 |
| B4 vs. B1 should be fine... |
 |
| ... but it isn't! |
Prometheus loses the face to face roll and fails his armour check for a second time- losing a second structure point.
That's OK, I thought, consoling myself as Prometheus failed his guts roll and moved into total cover. I had hatched a cunning plan.
 |
| Medic! (Or in this case, Engineer!) |
I could pick up one of my classified objectives AND put Prometheus back into fighting order by sending one of Dr. Worm's slave drones forward. They were, after all, quite close by.
 |
| You had ONE JOB! ONE JOB! |
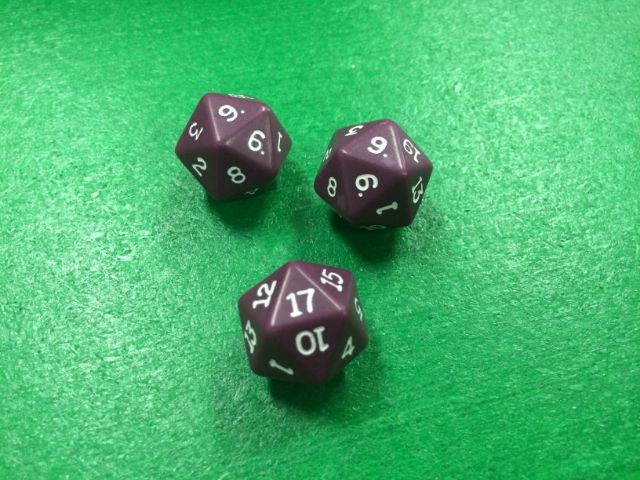
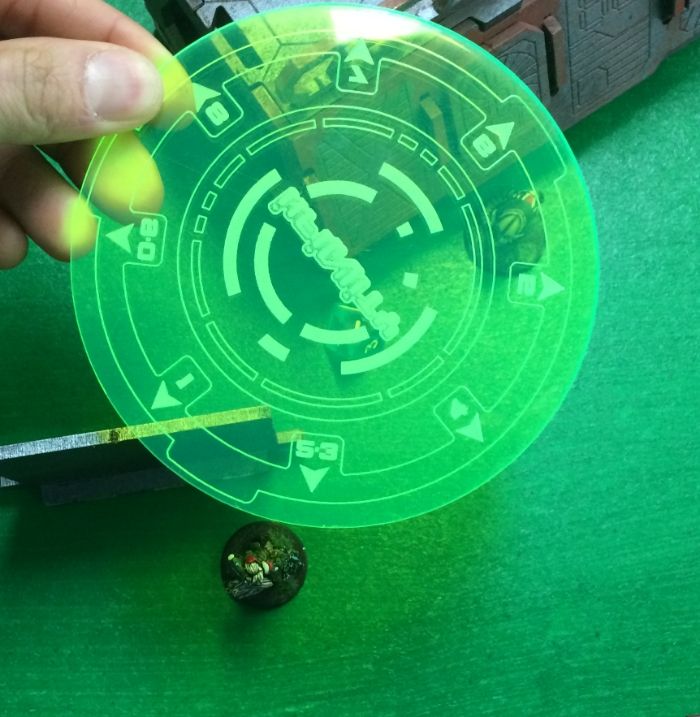
With much anticipation, I rolled the die for Dr. Worm's slave drone. WIP 14 was a good chance of success....
... and rolled a 17, wrecking the TAG.
But that's OK, I told myself again, I get another chance to repair it back to functional status.
... and rolled a 16!
The wreck of Prometheus was blown sky high and the model was removed from the table.
 |
| Prometheus' pilot |
Somewhat stunned that Dr. Worm would be so inappropriate at such a pivotal moment, I used my remaining order to move my western most Ikadron forward.
 |
| Claiming a bit of No Man's Land. |
TURN 1- NCA
Capitalising on the misfortune of the Morats, the Swiss Guard HMG dropped out of hidden deployment.
 |
| He's carrying a HMG (not a missile launcher) |
 |
| ... And targets Nemo. |
I hate combat camo attacks. Probably because I don't have access to it myself but I detest that TO nonsense all the same.
Nemo's mimetism and cover provided some protection though, with only one of the Swiss Guard's burst hitting home. However, it was enough. Nemo failed his armour roll and was deactivated.
 |
| So much for total reaction! |
With no overwatch, the Neoterrans advanced.
 |
| Auxbots forward! |
 |
| Auxilia advances, careful to stay out of the 8" ZOC of the Ikadron. |
 |
| Auxbot moves in and fires with its flamethower |
 |
| Toasted... sad face. |
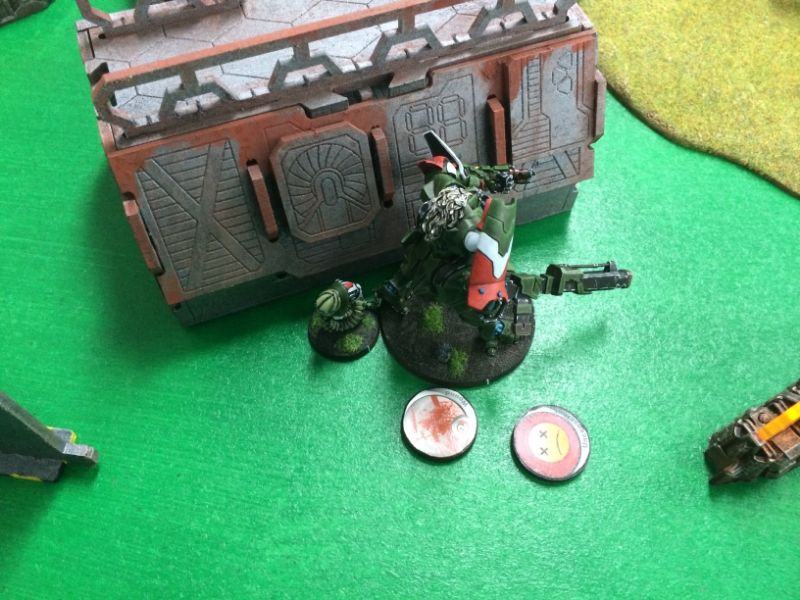
Then rounding the corner on the building, the Auxbot came face to face with Polybius who fired back with his plasma rifle.
 |
| Disabled. |
Despite being knocked unconscious by the heavy flamer, Polybius managed to disable the deadly auxbot with the E/M blast of the plasma rifle.
Finally, the Swiss Guard, having had enough of seeing Morats moving around the board, put down suppressive fire to cut the Morat line in two.
TURN 2- MAF
I didn't have a lot of options at the moment with that Swiss Guard being such a pain in the backside. So I decided to chip away at the enemy order pool.
 |
| Anyat targets the Auxilia |
She only hit once with her combi-rifle and the annoying Auxilia passed his armour save and moved behind total cover.
In doing so he did expose his flank allowing me to maneouver my Hacker, Seneca, into a firing position.
 |
| Seneca moves into the open and guns down the Auxilia. |
With a bit of pride restored, I sent Anyat with her K1 combi-rifle forwards.
 |
| Tossing smoke to get cover from the Swiss Guard. |
 |
| Safely making it into Central Admin. |
 |
| Making it out the back of Central Admin |
 |
| Facing off! |
I admit it was a long shot but K1 ammunition is for hunting heavy infantry and Anyat's burst 3 combi-rifle had a better chance at winning against the Swiss Guard's burst 1 ARO.
... Or not as it turned out.
Anyat's armour held luckily and she failed her guts roll and fell back out of view.
Disappointed, I moved my attention back to my deployment zone.
 |
| Dr. Worm is called forward... with some trepidation |
 |
| Success! |
A surprised- and singed- Polybius dusts himself off.
 |
| The other Slave Drone makes contact with Nemo. |
... but mangles the wreckage!!!
 |
| Useless ice are useless |
TURN 2- NCA
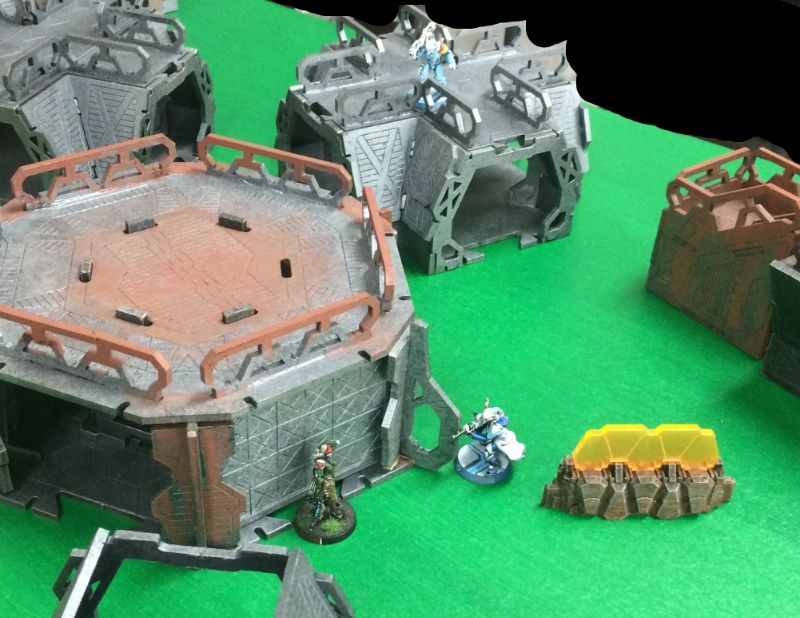 |
| Aquila Guard begins mopping up. |
The Aquila Guard moved out from his hiding spot and began clearing up No Man's Land.
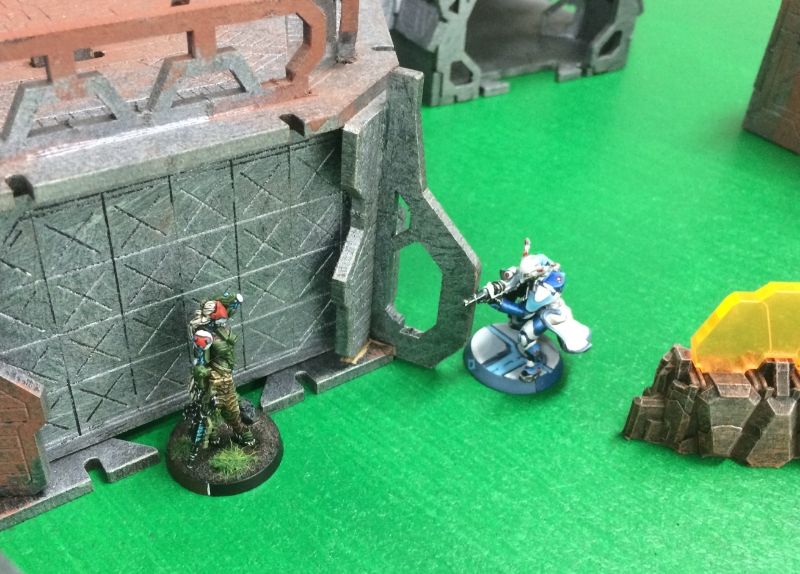 |
| Options, options, options |
My default for such situation is throwing smoke- but I was helpfully reminded that Aquila Guards have MSV3. Scratch that.
Ultimately I opted for shooting back with the rifle. (I completely forgot about her E/M grenades which would have been a better choice!).
Unsurprisingly, the Aquila Guard pasted her against the wall with his HMG.
 |
| Onto the next one! |
Fortunately, the remainder of the Morats were either in total cover- (or dead!)- leaving the Aquila Guard looking around hopefully but finding nothing.
 |
| Aquila moves into control the centre of No Man's Land after not finding any more juicy targets |
TURN 3- MAF
Desperate times call for desperate measures! If I could put the Neoterrans into retreat, they just might find themselves too busy running off the board to control much of anything.
 |
| The Oznat and her link team get in position to rush. |
 |
| Plasma ammunition is the next big thing! |
I don't know why I have this fascination with plasma ammunition. But having Polybius packing plasma ammo instilled a sense of devious confidence and I sent him forward to duel with the Aquila Guard.
 |
| Zap! |
In two rounds of fire, Polybius had finally knocked the Aquila Guard unconscious- and deactivated him to boot! Surely that would be enough to send the Neoterrans into retreat.
 |
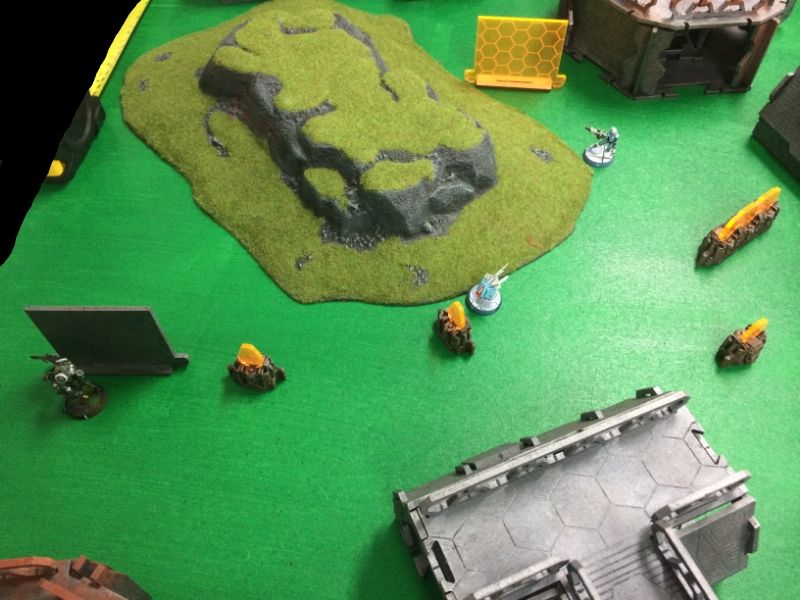
| Rush forward! |
With the Aquila Guard out of the picture, the Oznat-Preta link team rushed forward to seize their own slice of No Man's Land. The Swiss Guard on overwatch wasn't idle though and sprayed one of the Pretas down.
 |
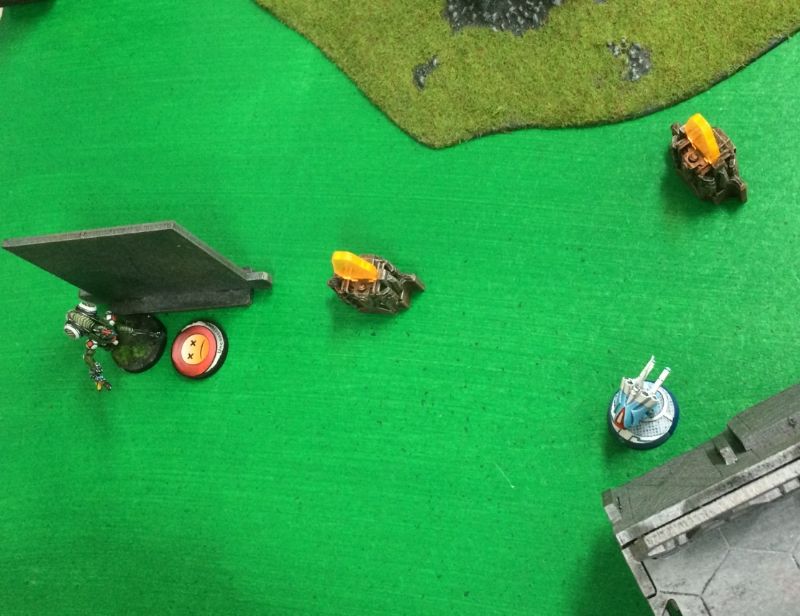
| KO'd! |
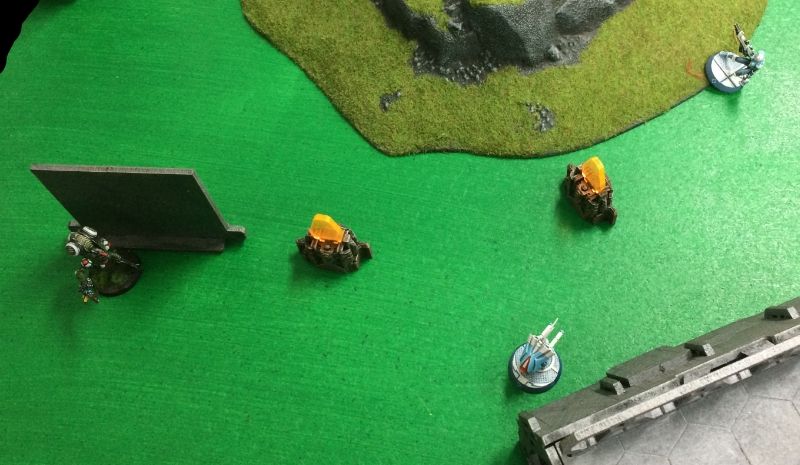
I wasn't going to let that go- every point counts! With that thought, I sneaked a Slave Drone around to the felled critter.
 |
| Revived! |
And in doing so, I was able to move Dr. Worm forward a bit as well.
 |
| Ready to dash forward under fire. |
 |
| And he makes it! |
Despite being hit once by the Swiss Guard, the HMG rounds luckily bounced off his carapace, and Dr. Worm makes it into cover. He does fail his guts roll though- and drops prone. Not a bad move!
 |
| Staying prone- slithering forward a little bit more! |
With the benefit of hindsight- I should of co-ordinated moved the Link team and Dr Worm's rush. it would've limited the Swiss Guard's AROs and might have given me a few extra inches of movement to make the Neoterran turn even more difficult!
TURN 3- NCA
Yes! The Neoterrans were now in retreat!
With all the models in the Neoterran army suddenly remembering they had left the kettle on in the kitchen, models were impetuously vacating the battlefield.
Except for the plucky Swiss Guard!
 |
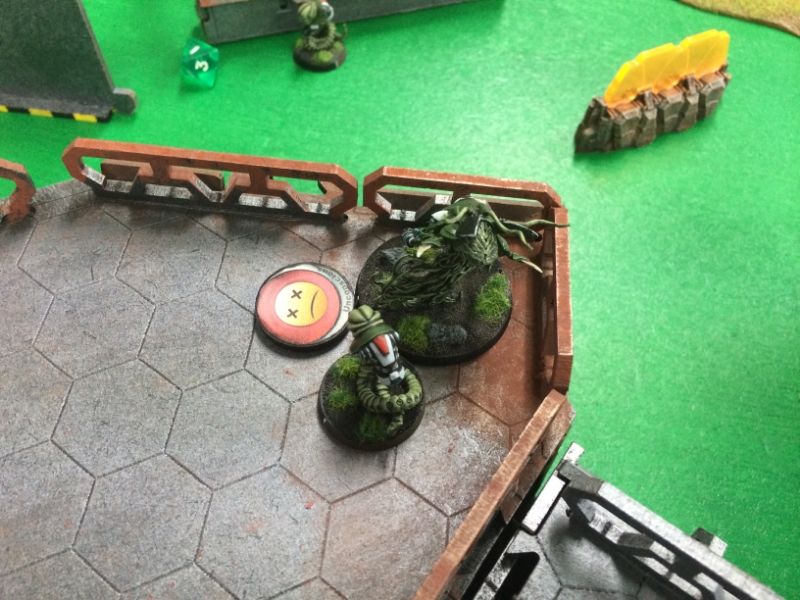
| Dr. Worm hugs the earth to avoid the Swiss Guard. |
The Neoterrans used an order to cancel the Swiss Guard's own impetuous order and then used the remainder of the order pool to advance him deep into No Man's Land.
 |
| He's advancing! |
 |
| Polybius cracks off a futile shot- that misses anyway! |
CONCLUSION
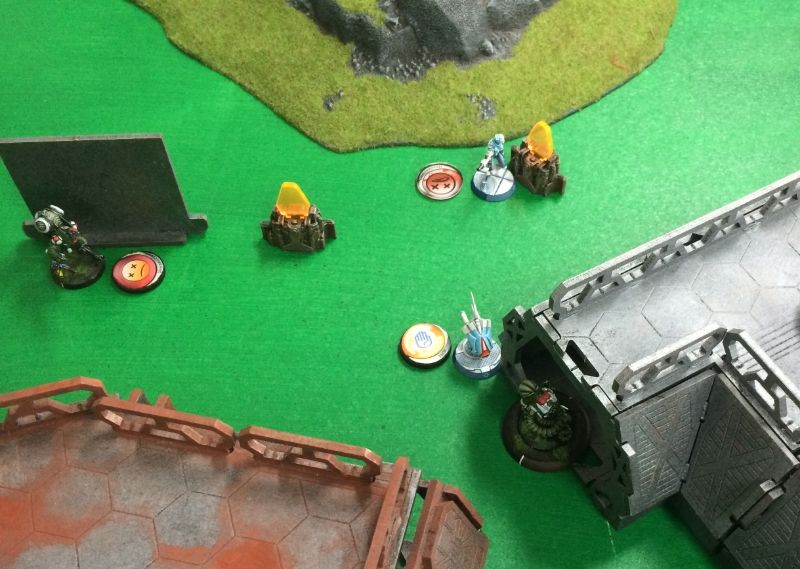
 |
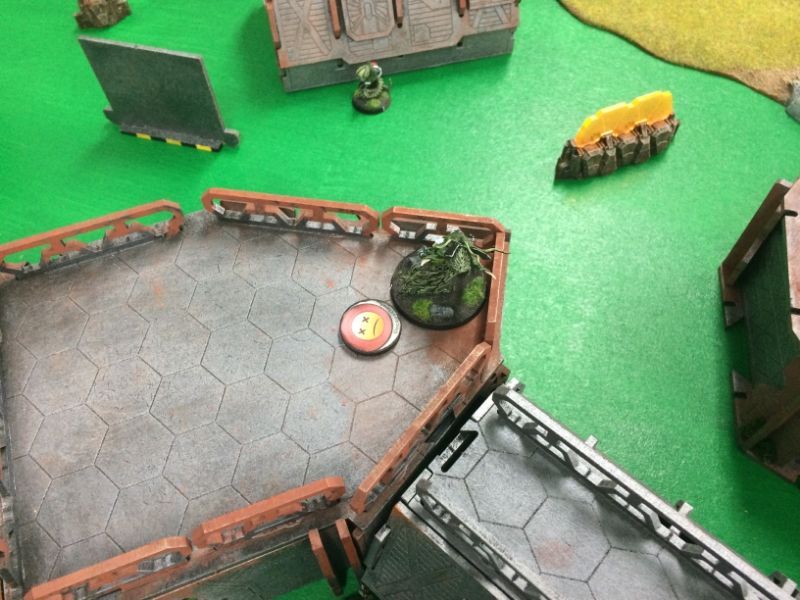
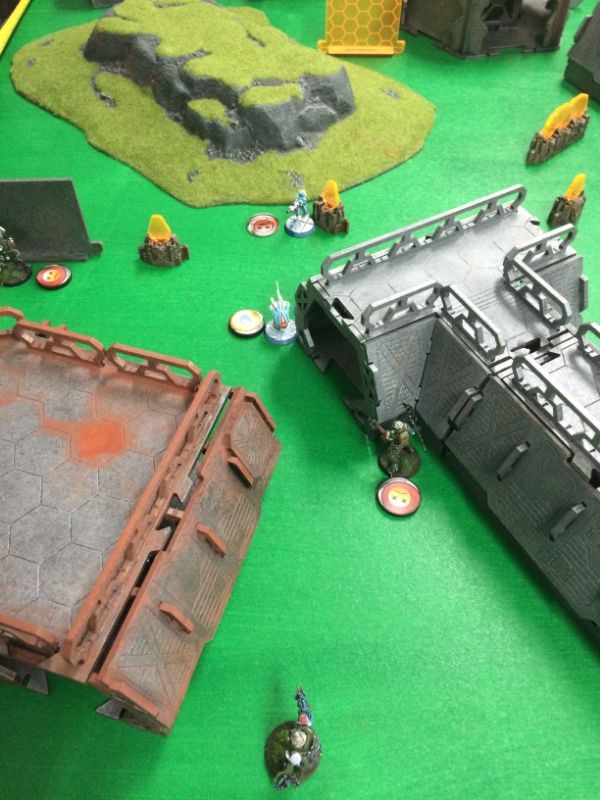
| No Man's Land- marked out. |
I controlled the Zone closest to my deployment zone. 1 point.
I also achieved a classified objective. 1 point.
The Neoterrans achieved no classifieds but did manage to park a 67 point model in the middle deployment zone. 3 points.
Final score:
MAF- 2
NCA- 3
NEOTERRAN VICTORY
DISCUSSION
Despite my wretched rolling- it was a very close game, literally decided by the last Neoterran order. If I had been a bit more order efficient in my last turn I might have even pulled off a win! Or maybe not....
Either way some interesting points can be drawn from the battle.
1. Have a viable PLAN B.
Losing the Raicho robbed my army of its offensive capability. Compared with the Neoterrans who lost their Bolt link team (it would utterly cripple a MAF force), but still had excellent attack options with the Aquila Guard and Swiss Guard- with it's annoying TO camo.
2. Order efficiency
A bit more distance made by my meagre forces would have possibly won me the game. Don't dither, co-ordinate orders to minimise AROs and utilise link teams.
3. Generic TAGs vs Link Teams
At the moment, I am firmly on the side of link teams being superior to generic TAGs. Without special tricks or goodies, generic TAGs are a huge points sink that don't give as much value as a link team (and yes, that's keeping in mind that they are usually cheaper than a Morat Vanguard link team that's fully kitted out).
All that being said, I love my Raicho and I'm sure that so long as Dr Worm doesn't cross the wrong wires he'll do OK.
The Raicho will be back!
Until next time, happy gaming!

No comments:
Post a Comment