
 |
| Destroy the space monkeys!!! |
This was a 300 point game between my Morat Aggression Force and a generic Nomad list that my opponent brought along to teach me the rules.
I had an awesome time- learned heaps- and special thank you to my opponent who graciously took time from drilling me into the ground to teach on the fly. And another special thank you to KFC who took the photos- and got into trouble with the wife for staying out late playing with toys!
The scenario was a variation of seize the beacons- with the beacons spread out in a diagonal across the table- each beacon in the deployment zones being worth 1 point and a 2 point one in the centre. There were no points for killing the enemy!
ARMIES
ARMIES
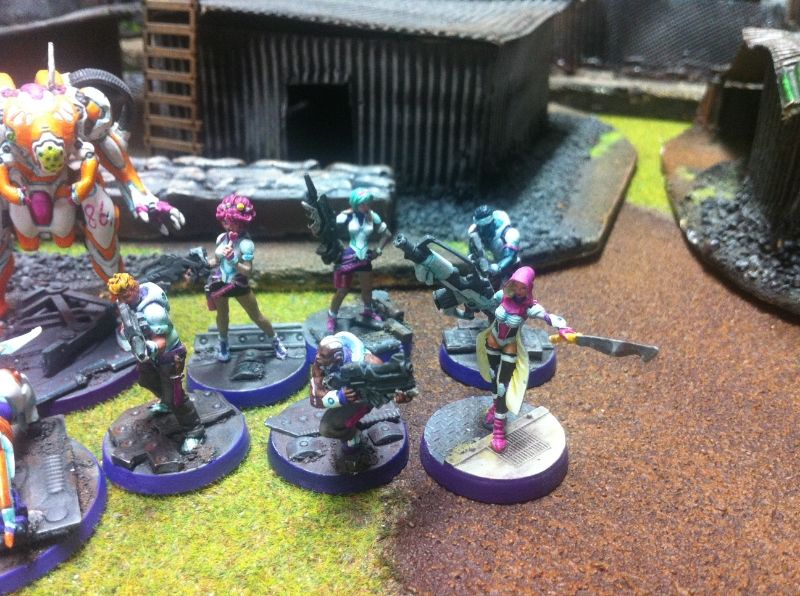
217th Morat Expeditionary Force
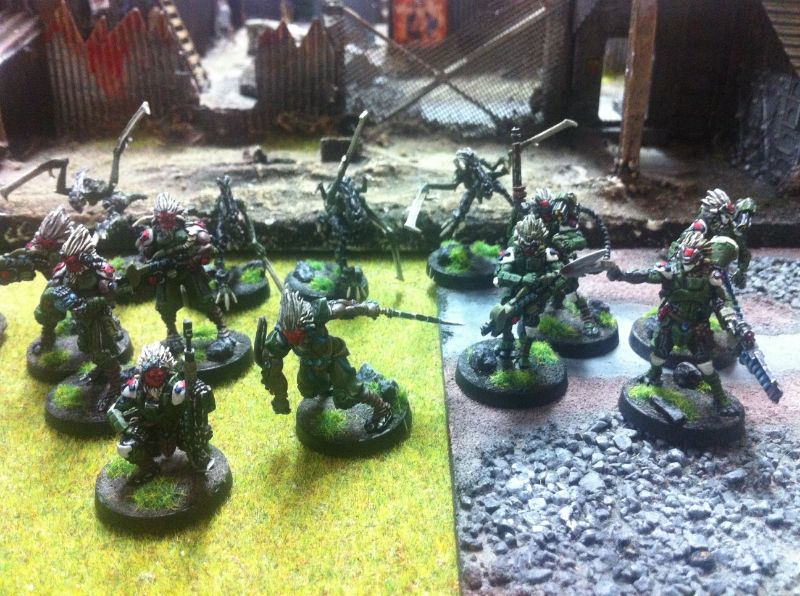
217th Expeditionary Force
Combat Group #1
Vanguard- combi rifle- Trajan
Vanguard- "Specialist"* with combi-rifle- Marc Antony
Vanguard Hacker- Seneca
Daturazi- chain rifle- Nero
Yaogat- multi-sniper rifle- Cicero
Yaogat- Spitfire- Caesar
Yagoat- Combi-rifle and grenades- Brutus
Yaogat- shotgun and panzerfaust x2- Crassus
Yaogat- Lieutenant (panzerfaust x2)- Octavian
Rasyat- combi-rifle- Suetonius
Combat Group #2
Preta- Chain rifle
Preta- Chain rifle
Preta- Chain rifle
Preta- Chain rifle
*specialist for the purpose of the scenario in that he could activate terminals- a buff graciously granted by my opponent to help me learn the game.
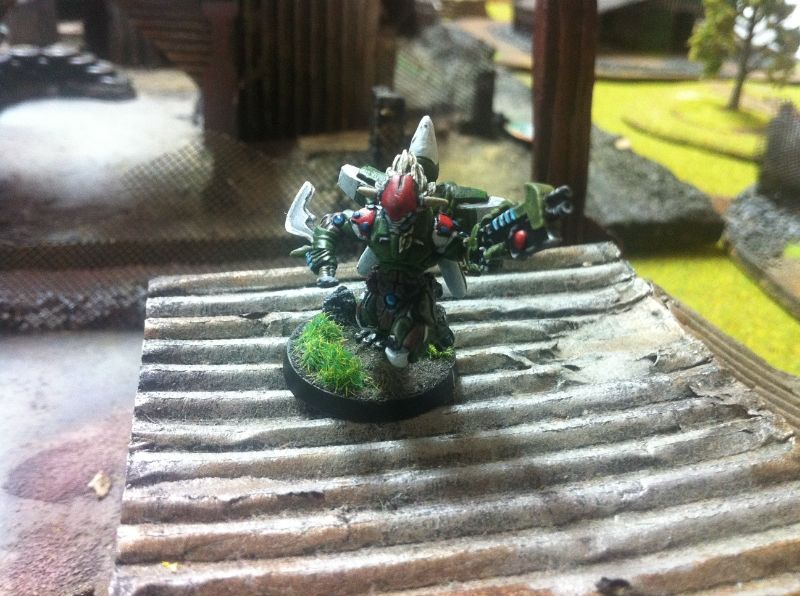 |
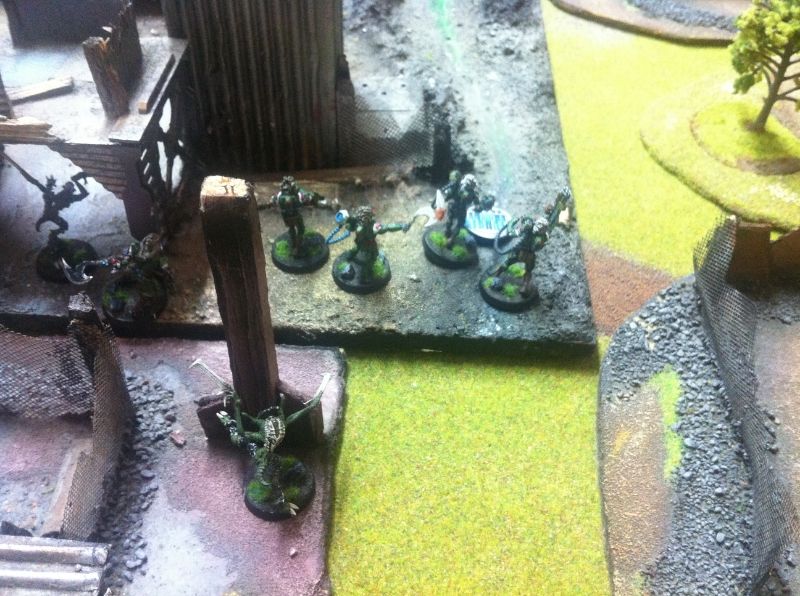
| Suetonius…. aka Johnny come lately |
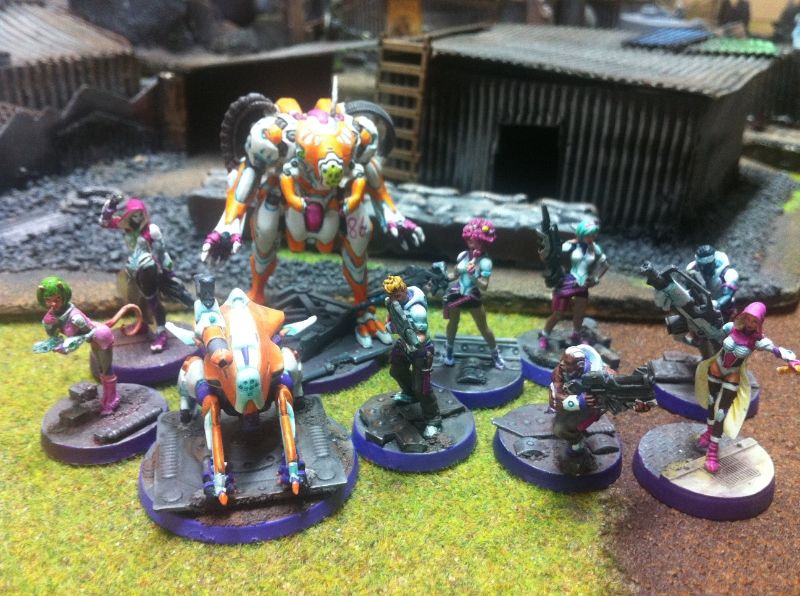 |
| Hackers galore…. ? |
I have no idea what is what- and I didn't get a copy of the list.
I believe the list is:
Lizard TAG
Zond Remote with HMG
2x Reverend Custodiers- one of which is armed with a Spitfire. The other being the Lieutenant.
5x Moderators from Bakunin in a link team- one with a spitfire?
Daktari- ?hacker?
and
TO camo marker- who I think was- Bran Do Castro, Triple Zero (Monkey Magic man). He never made an appearance so I can only guess.
MAP
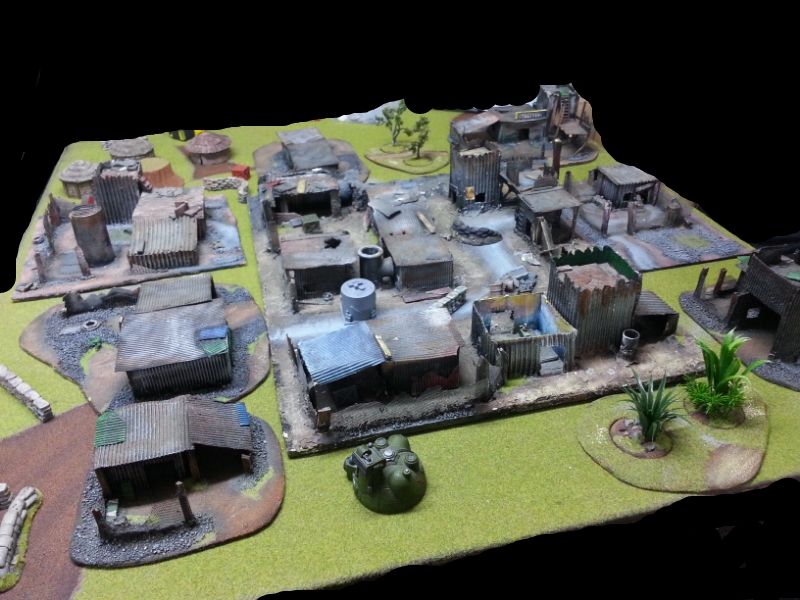 |
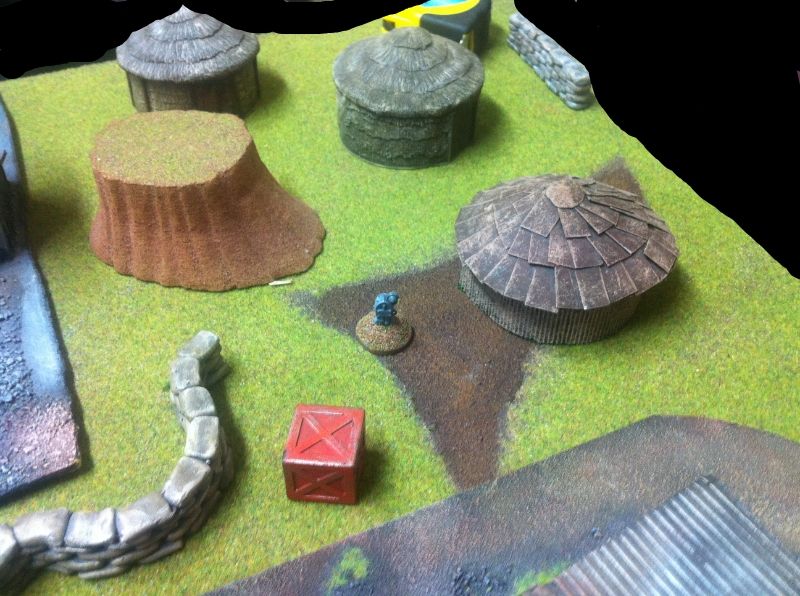
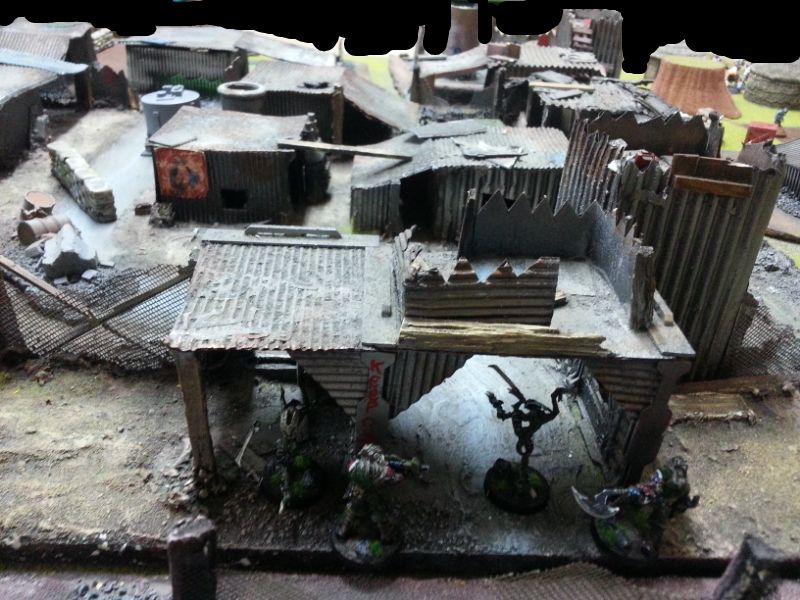
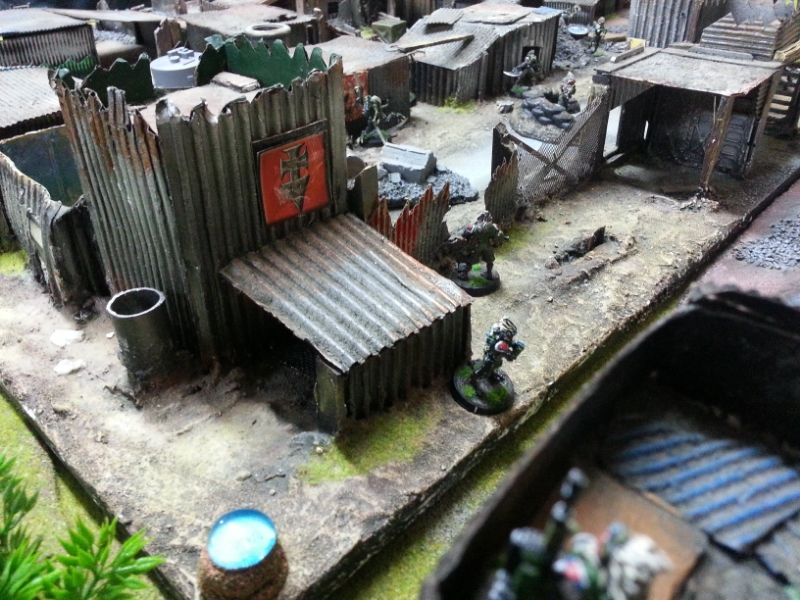
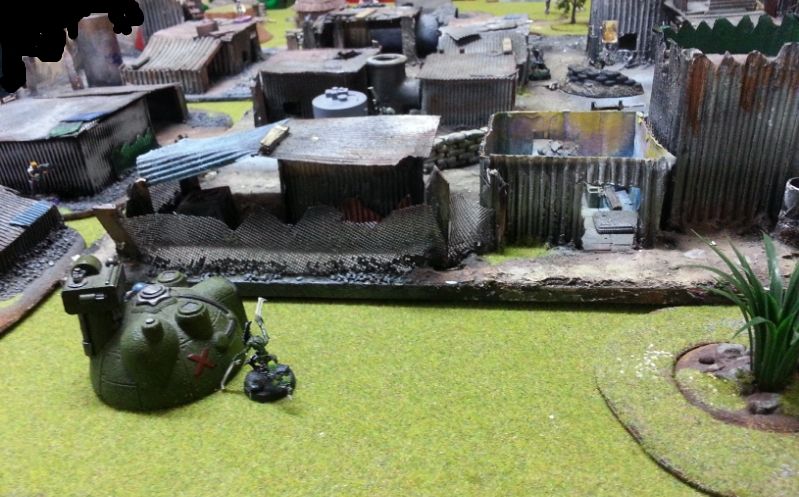
| Shanty town- District 11 |
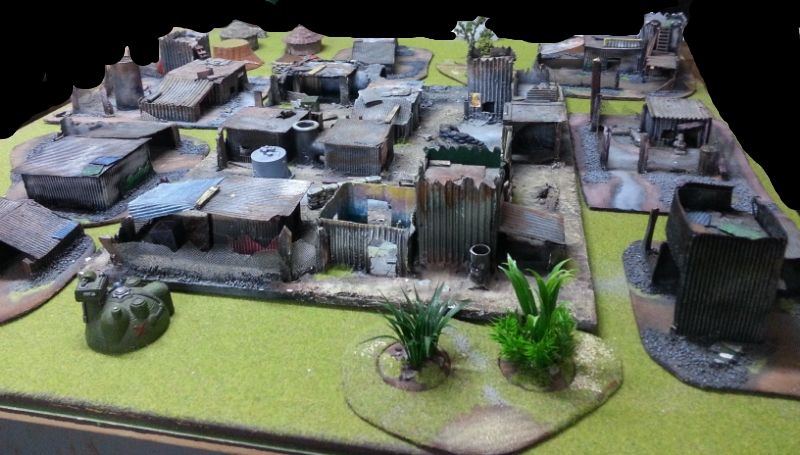 |
| Another angled view from WEST looking EAST. |
Deployment was on the RIGHT (North) and the LEFT (south).
Important physical features are:
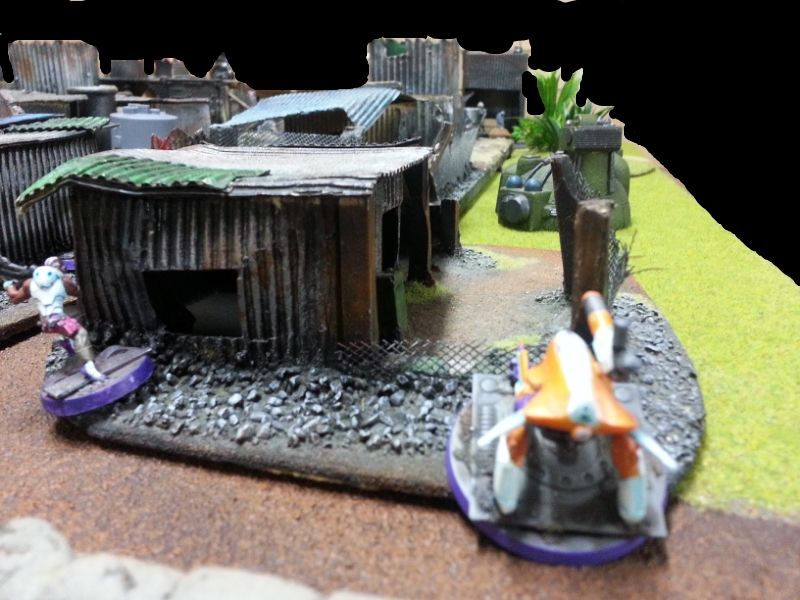
1) HUTS and MESA in the south east corner of the map
 |
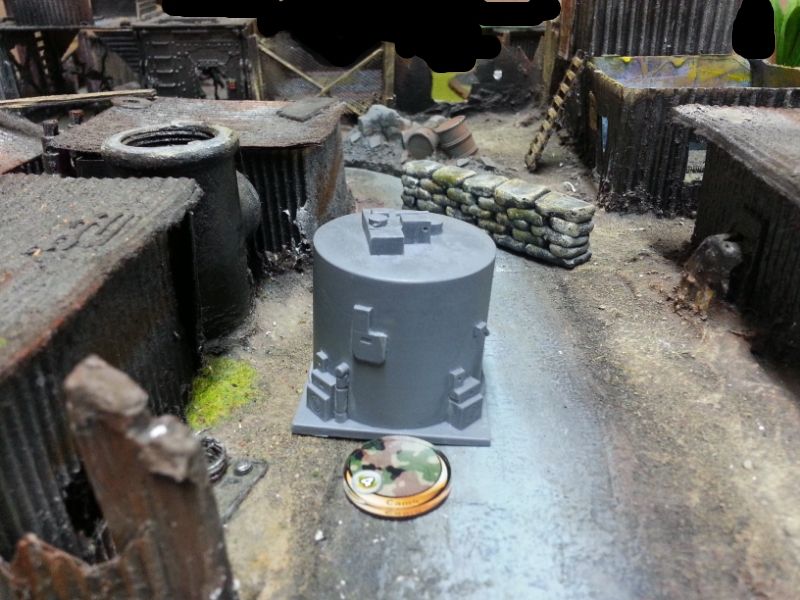
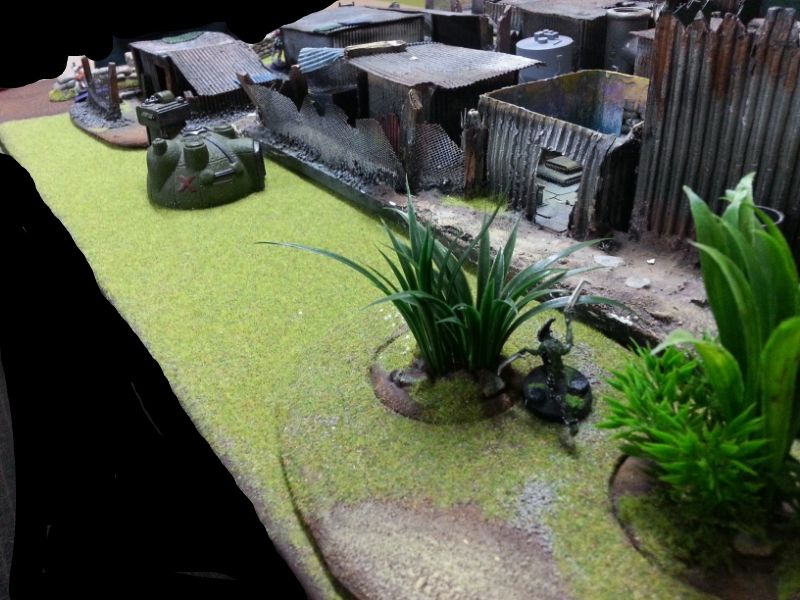
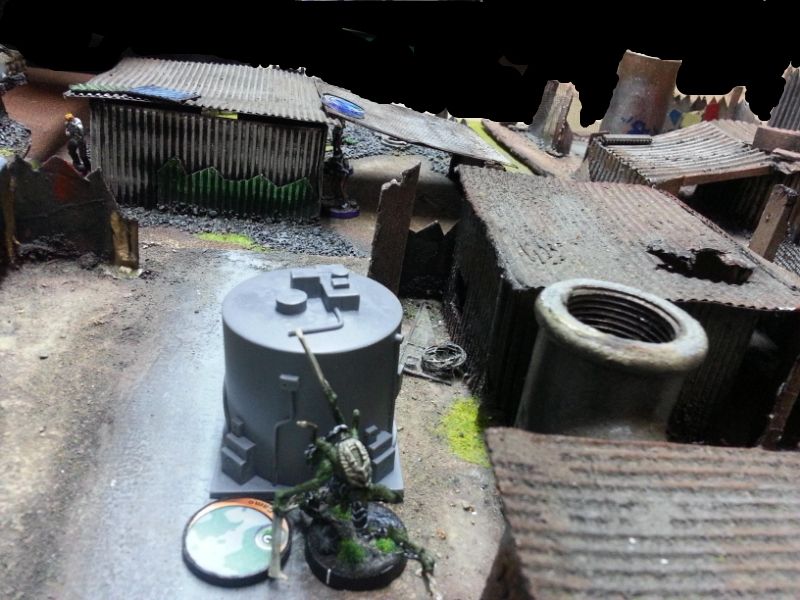
| The grey water tank |
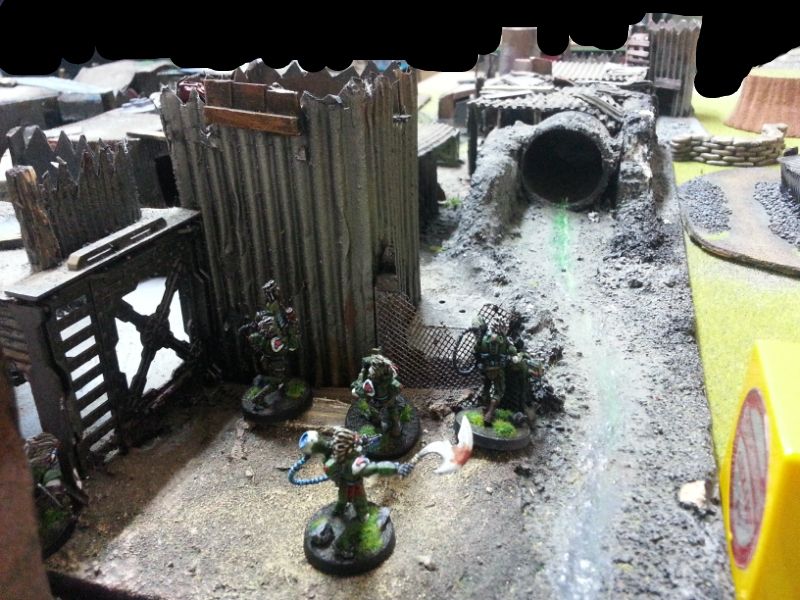
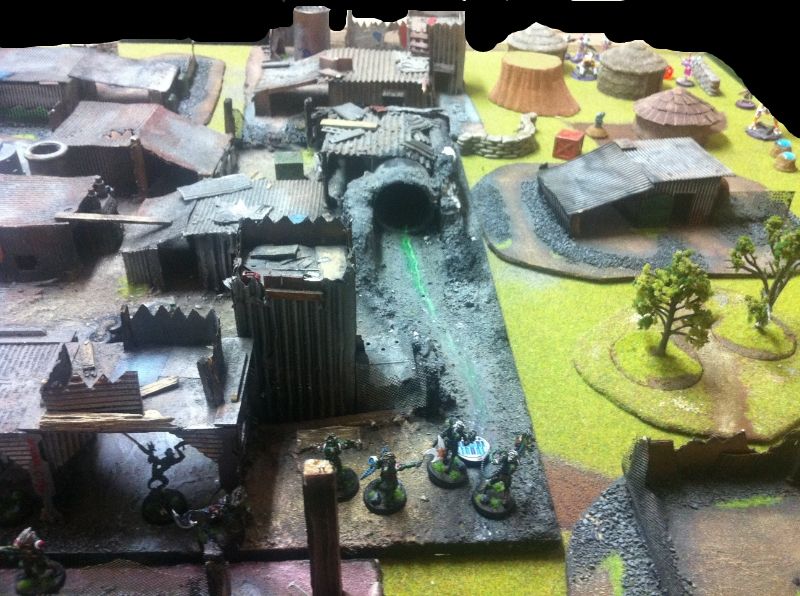
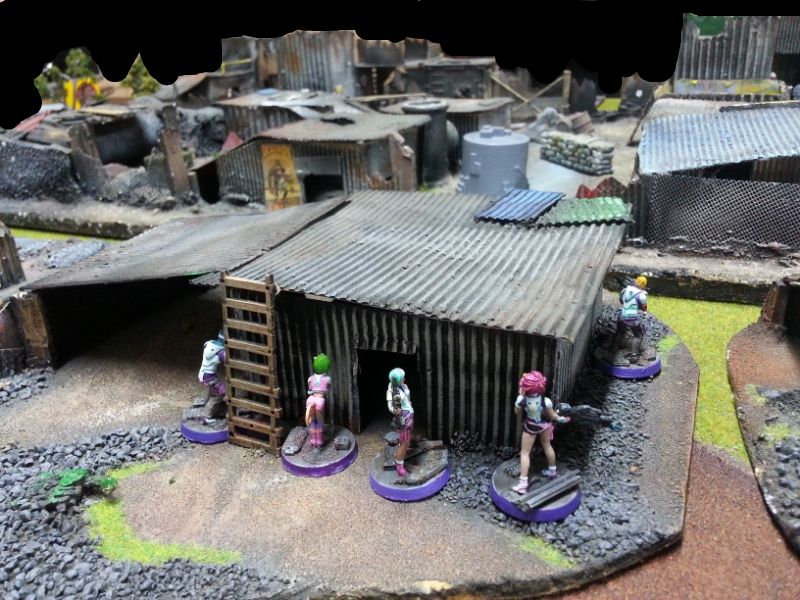
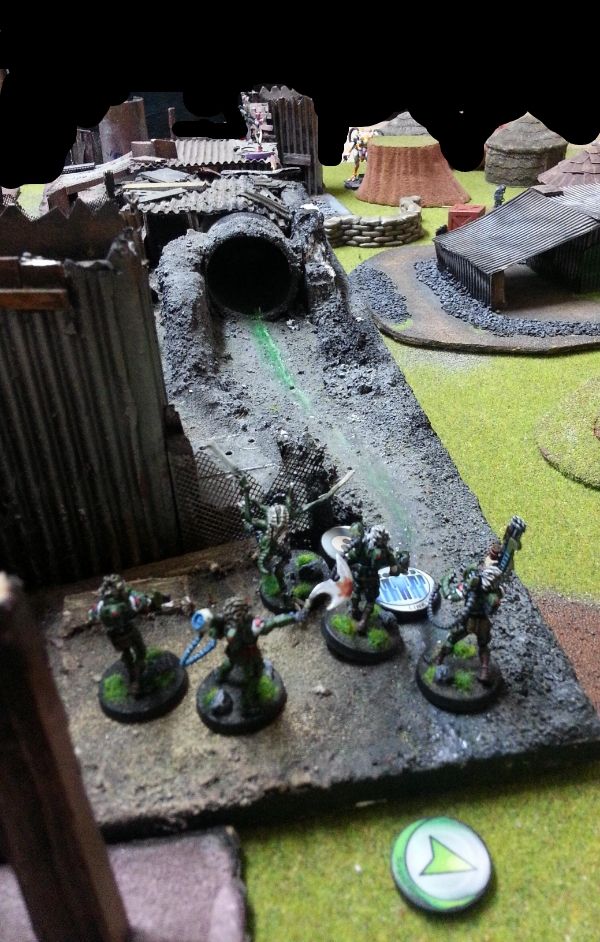
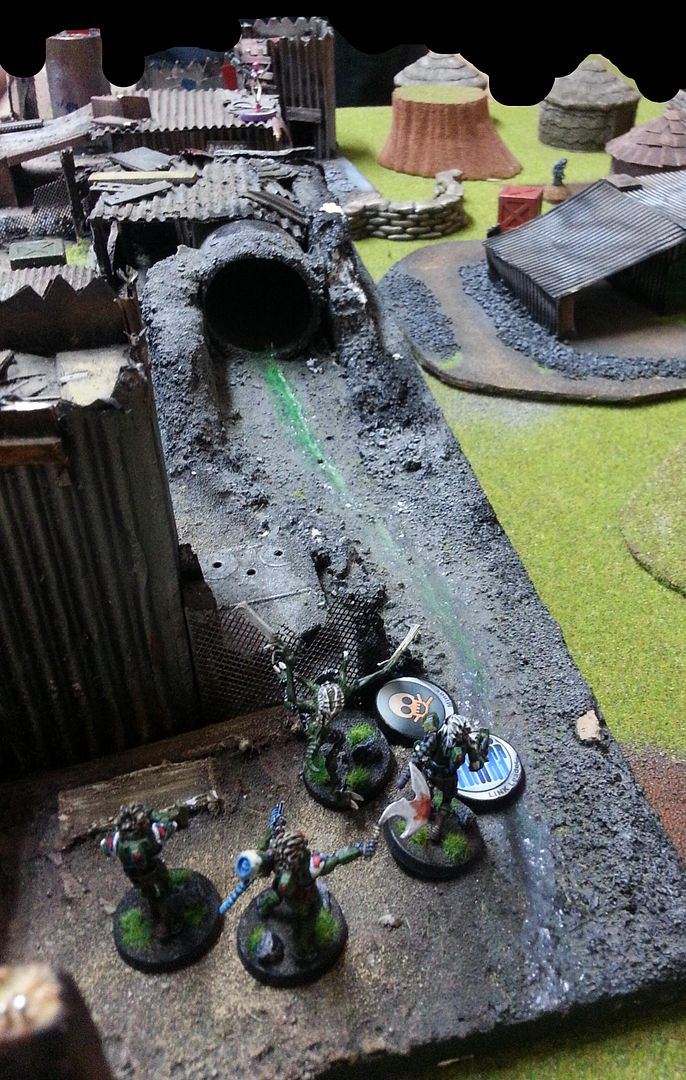
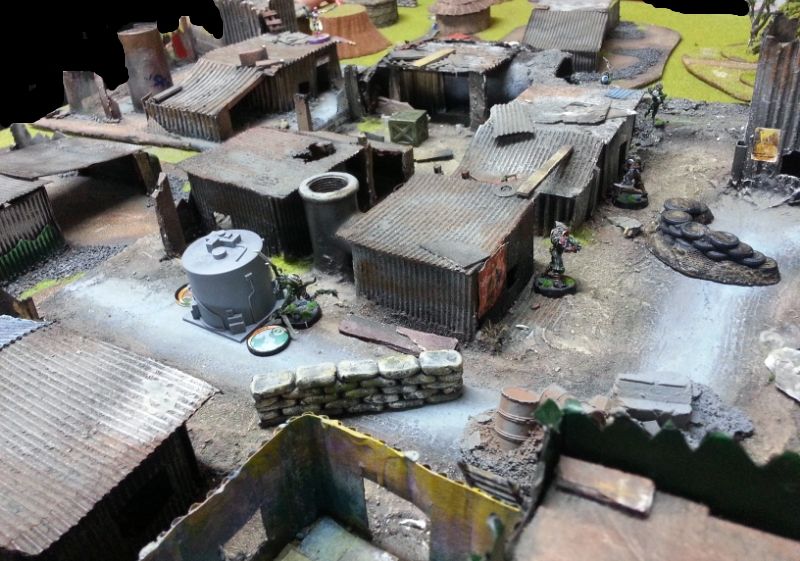
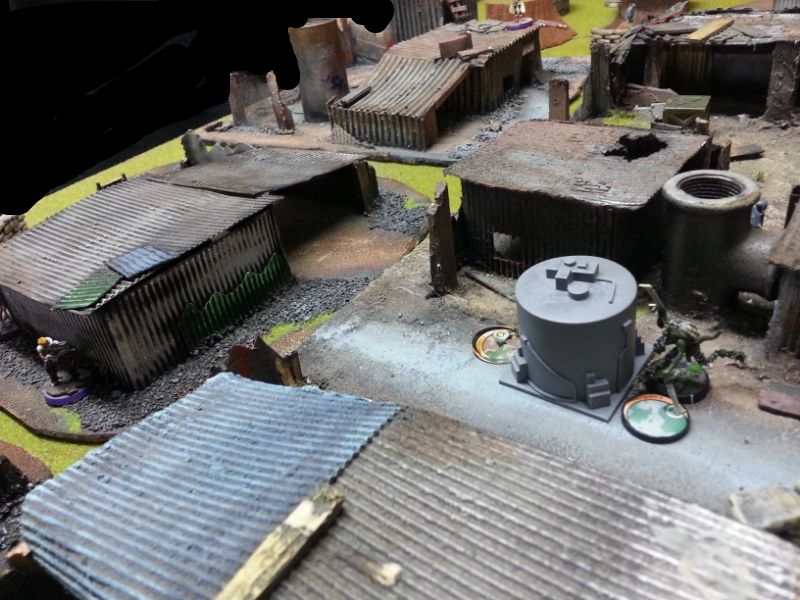
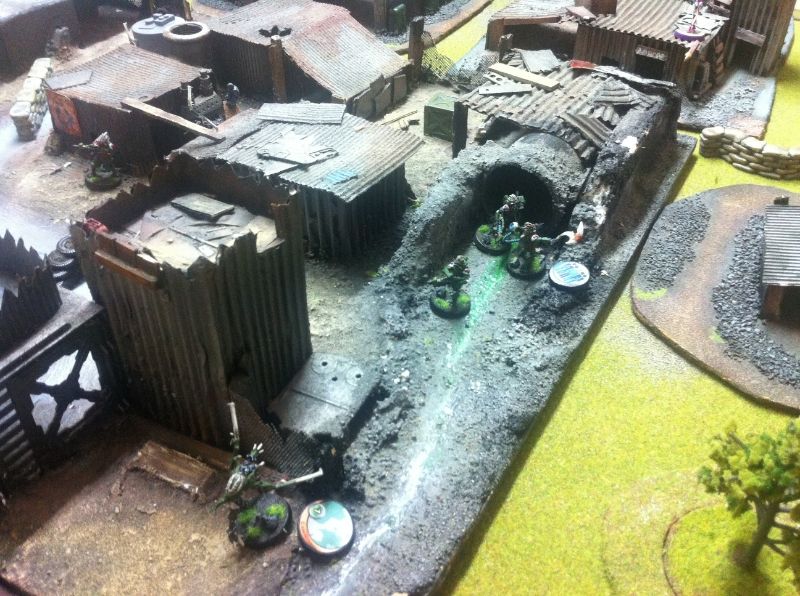
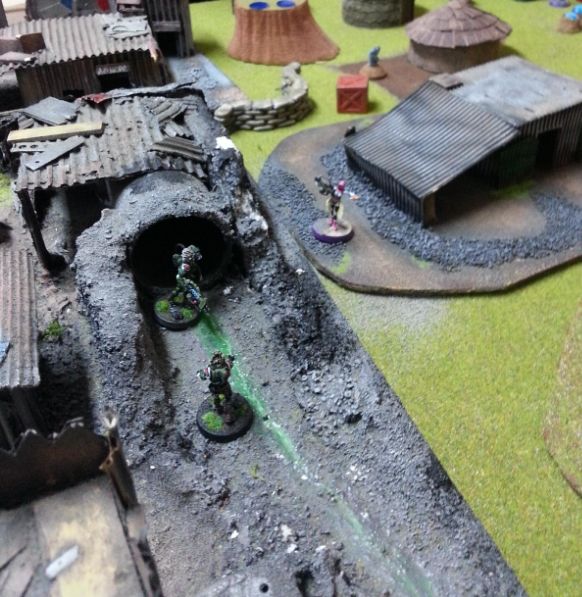
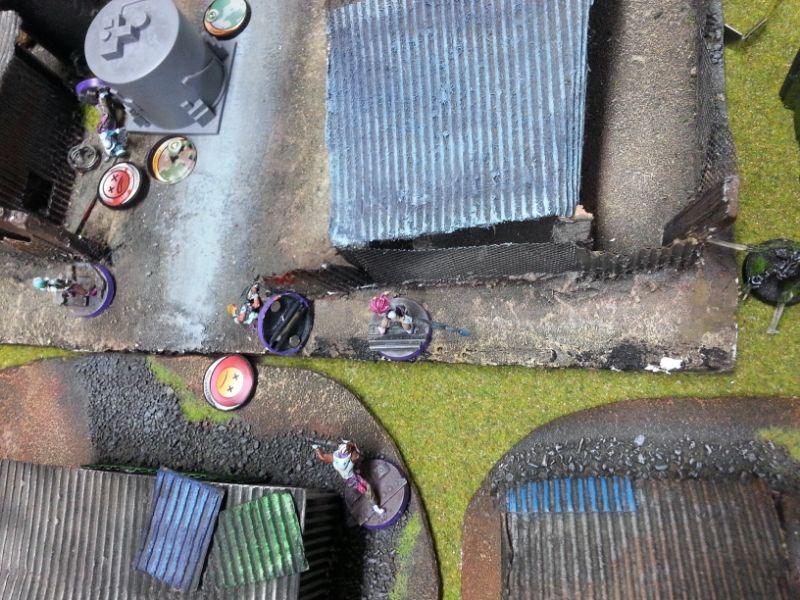
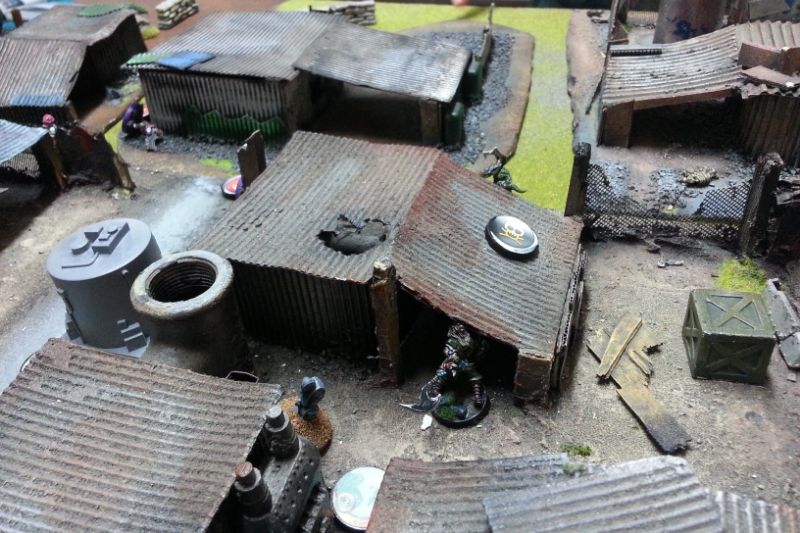
2) CENTRAL SHANTY VILLAGE partially ringed by a road and has a GREY WATER TANK on the western edge. It's eastern edge is formed by a STORM WATER DRAIN (not visible)- leaking green effluent.
 |
| Village square of Central Shanty Town |
3) FOREST on the western edge
4) Several TOWERS are scattered across the map- most are accessible by ladders.
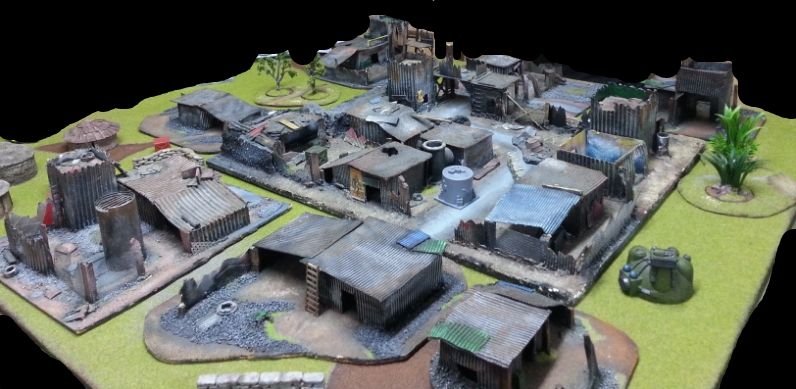 |
| View from SOUTH WEST looking NORTH EAST |
|
| Perch in North west corner looking South east towards the huts |
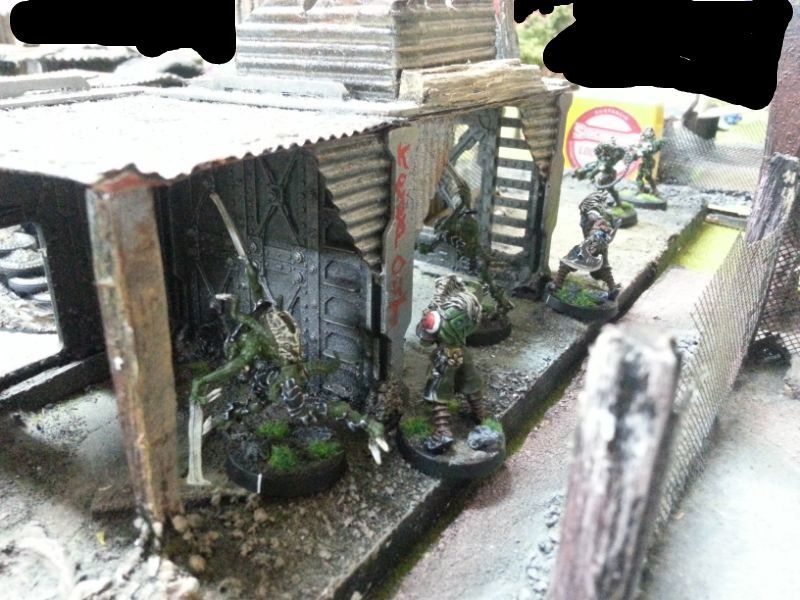
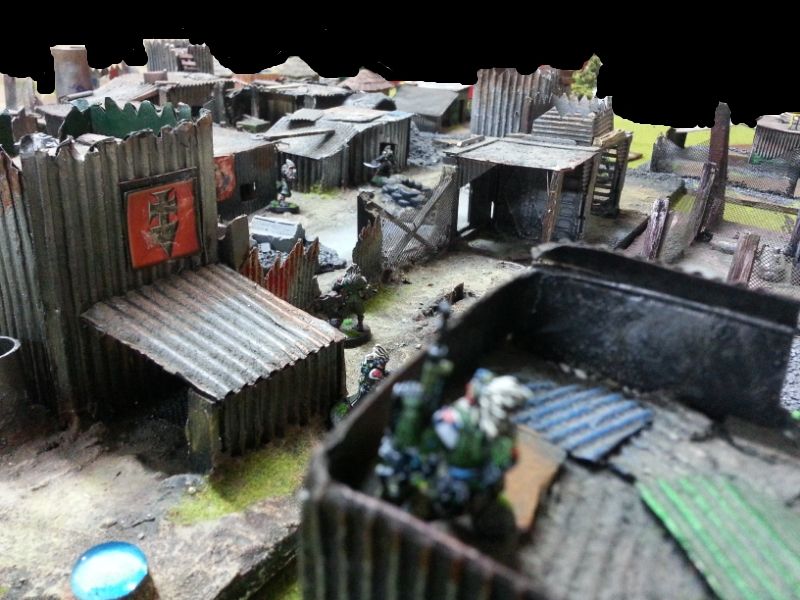
In practice, lots of shanty shacks hide most approaches!
MISSION
Friendly forces must CAPTURE the THREE TERMINALS in District 11.
The three terminals are strung out in a diagonal across the board.
 |
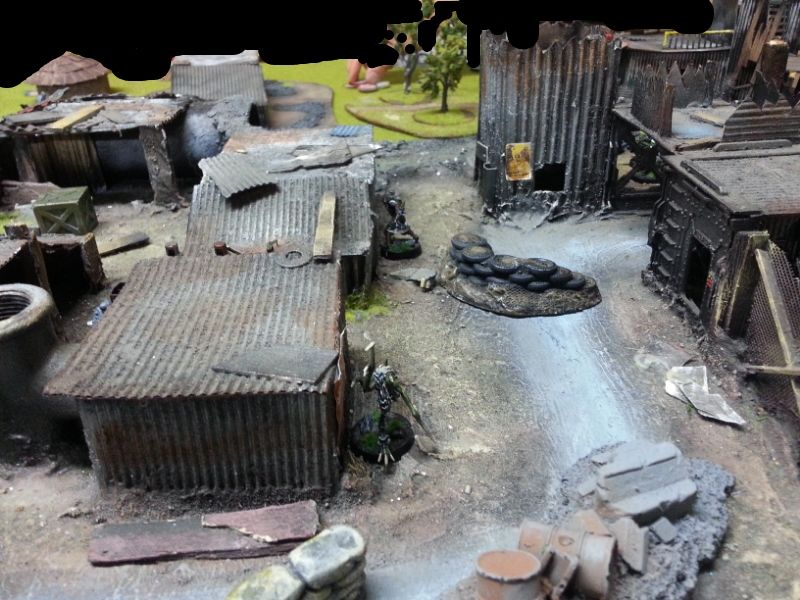
| Village square |
One in the centre of the Village Square in the centre of the board.
 |
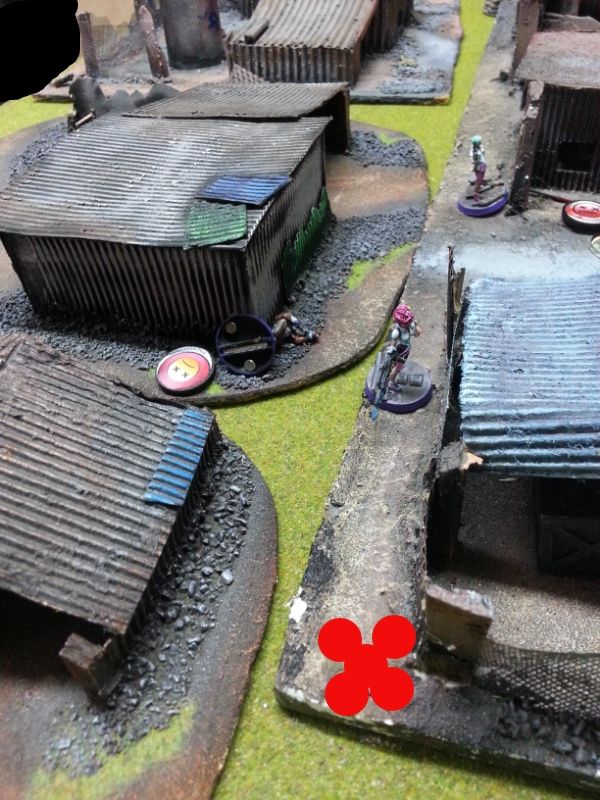
| South east corner |
One in the south east corner- near the Huts and Mesa.
 |
| North west corner |
One in the north western corner- near the Forest.
Each terminal requires an unmodified WIP roll with a specialist to capture. For the purposes of this game- one weenie was promoted to specialist so everyone had at least three specialists.
I nominated Marc Antony, my most switched on Morat Vanguard- the only one who was in the patrol alert position with his weapon up in the shoulder. It was seemed fitting.
NOMAD Deployment
DEPLOYMENT
MAF Deployment
I put Seneca and Trajan on the WESTERN edge (left) of my line. I was tempted to leave Seneca on his own, but I like pairing people up with a battle-buddy to keep them out of trouble. Trajan is facing rearward in case of surprise aerial deployment.
The centre of my line I put two Pretas, Nero (my Daturazi) and Marc Antony. The mines and chain rifles and fierce CC ability should clean out the centre of Shanty Village allowing my 'specialist' to seize the centre terminal.
And some support for them too…
I won the Lt WIP roll off and elected to go first. My opponent selected the southern side of the board and asked me to deploy first.
Also, for this scenario- one figure was allowed to be kept as reserve to be deployed AFTER the opponent had finished deploying. Cicero- my Yaogat sniper- was kept in reserve.
Onwards!!!!
 |
| View from my end |
 |
| Hacker- Seneca and Trajan start next to my terminal |
To give them a bit of support in case something came barrelling down at a rate on knots…
 |
| Terminal just visible around the corner |
… I put a Preta just to the rear of them in cover.
 |
| Mayhem in the centre! |
 |
| Better lighting |
 |
| Panzerfausts to the fore! |
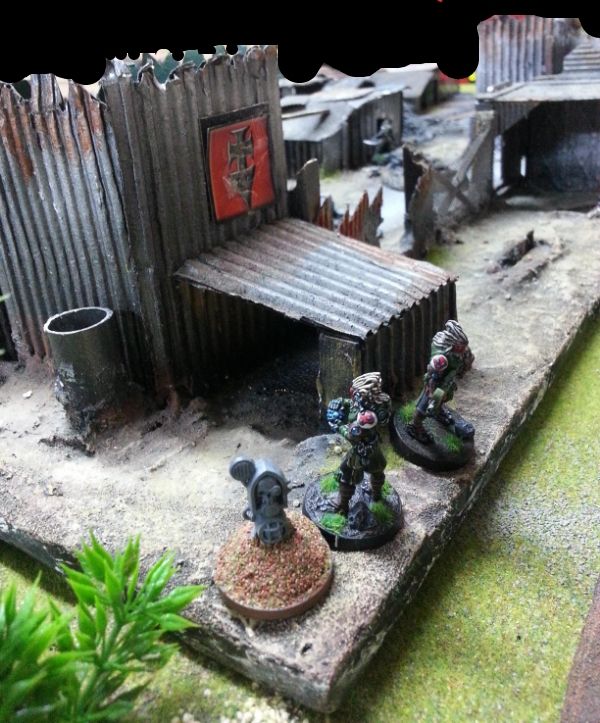
On the right of my line (the EASTERN edge) I put my Yaogat Link Team- attempting to dominate the more open ground with panzerfausts.
Then I played around with the figure placements….
 |
| Final Yaogat positions |
 |
| Preta cover |
NOMAD Deployment
I actually didn't get a good set of pictures of their deployment zone, so you'll have to piece it together from what I can see.
 |
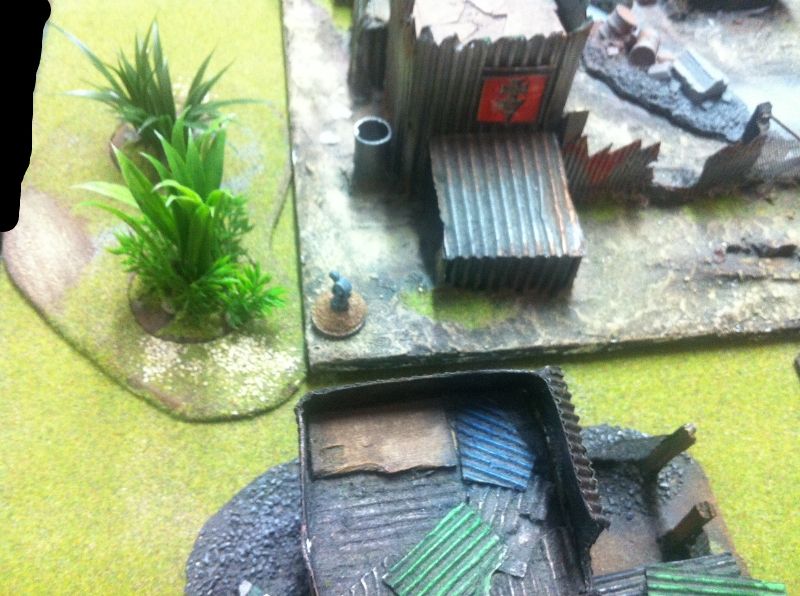
| Western edge of NOMAD line |
 |
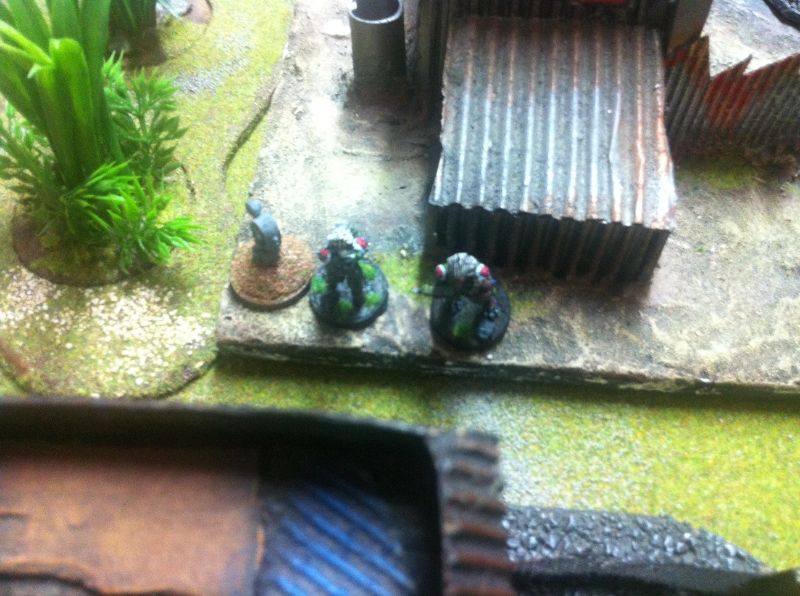
| The other Moderators and Daktari just to the east of the ZOND |
 |
| Huts and mesa area |
 |
| Inside the hut- NOT on the roof |
 |
| On the western edge of Central Shanty Village |
After much deliberation, I placed Cicero on the western edge of my deployment line. I sat him on a tower- facing off against the ZOND- and to protect the terminal in my deployment zone.
 |
| ZOND partially obscured in the distance |
My opponent placed his reserve model- the Lizard TAG- in the Huts and Mesa area- facing off against my Yaogats.
 |
| Face off! |
BATTLE
The Preta on my left flank darts into the thick forest to hide from the ZOND.

Seneca, relieved at not having to hack with a HMG burst to the face, fails to activate the terminal. My goodness- a hacker that can't hack! He consumes another order to have another go. He must've been able to pull himself away from "The Misc" and gets the terminal going.
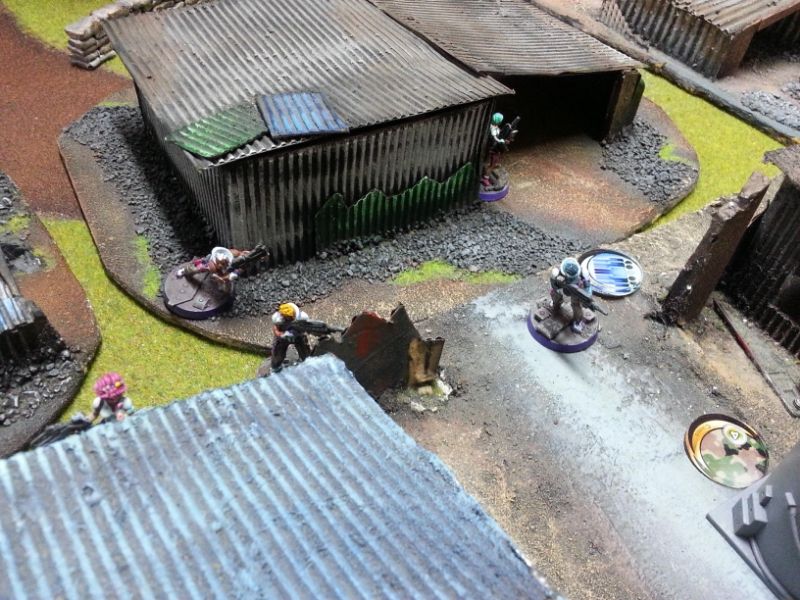
My remaining Yaogat Link members advance to the eastern edge of the village, taking cover in the shadow of the storm water drain. Caesar and his spitfire are actually positioned on the edge of hte crumbling drain wall, covering the terminal in the NOMAD deployment zone.
TURN 1- MAF
Impetuous Orders come first!
 |
| Western edge of the line |
 |
| Central Shanty Village |
The central Pretas and Nero- my Daturazi- run up to the edge of the central shanty village.
In fact one of the pretas manages to land himself in an alleyway not far from the central objective! You can just make out his claw tip in above picture- poking up between the two buildings. Marc Antony- my specialist has also moved up (that's because this photo was taken out of order- I did make all my impetuous moves first).
 |
| Don't rouse that TAG! |
My final Preta ran forward into the fence line and laid a mine. He was not going to stick his 5 point neck out for a TAG to shoot off!
 |
| Cicero takes aim at the distant ZOND! |
My intent was to protect my hacker from getting blown to smithereens whilst activating the terminal in my western deployment area. It was time to see if Cicero could take down the ZOND staring down at them.
 |
| ZOND destroyed! |
Cicero shoots and hits once with his Double Action (DA) sniper rounds and the ZOND fails both his armour checks. Destroyed! Hooray- first blood to the MAF! Despite the ZOND's total reaction HMG shots, he is outside optimum range AND Cicero is in cover. The ZOND's return fire fails to hit home.
 |
| Poverty hacker of peace!!! |
1 point to the Morats!
|
| TAG hunting time. Crassus is posing out in the open with his shotgun. |
Having never faced a TAG before, I didn't want that thing rampaging across on the enemy turn. I've watched enough Miniwargaming Batreps to know that.
Octavian moved into cover and took a Burst 2 shot with his Panzerfaust- hitting with one round. Being explosive- it caused 3 wounds and being armour piercing, the TAG's normally tough armour wasn't al that. The Lizard, unluckily- failed every armour roll- and was wrecked.
 |
| Crassus is gunned down in ARO! |
In the exchange, the TAG ARO'ed with his HMG at Crassus- who was standing out in the open- with no cover- AND PART OF THE LINK TEAM. The single explosive HMG round hit home and Crassus was turned into pink mist!
Let that be a lesson to you new players- models can ARO any member of the link when they are shot at. Make sure ALL your link members are in cover.
 |
| Covering the eastern approach to the village |
I positioned poorly here- in hindsight, I should have positioned my other Yaogats along that edge so they could all face the enemy. This will be important later.
 |
| Into cover! Whilst Trajan covers. |
Having done his bit for the war, Seneca quickly moves to cover and hops back on the net with his mobile egg internet device. Trajan, the trusty Vanguard, moves up into cover, aiming down the street running the Western edge of the central shanty village.
 |
| Mine laying! |
One my Pretas in central shanty village takes the opportunity to lay a mine near the central terminal just in case of any NOMAD shenanigans. And then quickly crosses the village 'square' onto the southern side of the central shanty village.
 |
| Another mine is laid on the western edge of the village |
 |
| Want to try your luck? |
 |
| Flanking the western NOMAD line |
The Preta on the western flank, now relieved that there is no ZOND, races down the edge of the board. He's not that game however, and ends up taking cover behind the green igloo.
 |
| I totally forgot to move this guy. IMPORTANT! |
TURN 1- NOMADS
I was feeling pretty confident after such a strong turn 1. How little did I know….
|
| Reverend Custodier goes on the rampage! |
The way my toys were positioned meant only Caesar with his spitfire was facing her. His B2 ARO missed and she cut him down mercilessly. It breaks the link…. ooops.
 |
| Brutus gets taken out next! |
She fires again, hits him but Brutus passes his armour save. At least he turns though, but it's not enough, because she nails him with her next burst. Brutus, that Yaogat runt, can't seem to hit anything to save his life- THREE GAMES RUNNING!!!
She moves again into open terrain, sending a burst into Octavian. He too has an attack of the willies and crumples up to bleed out in the green effluent.
 |
| Cicero is always watching! |
Luckily, Cicero spots the offending Reverend Custodier straying into his field of fire and AROs with his DA MSR. Being MSV2- the Custodier's ODD camo counts for naught. Cicero lines her up in his sights as Octavian is knocked out and a single sniper round eliminates her. The single shot that came Cicero's way missed handily!
Thank goodness for MSV2 and long range weapons.
Lesson- always keep a depth position that can overwatch your front line!
But with the Yaogat link team out of the way, the other Reverend Custodier moves forward and seizes the terminal in the NOMAD deployment zone unopposed.
The NOMADs level the score at 1 point each.
 |
| Moderators advance! |
Now it was time for the Moderator link team and the Daktari to try and seize the central shanty village and its 2 point terminal.
 |
| The NOMADS are coming! |
 |
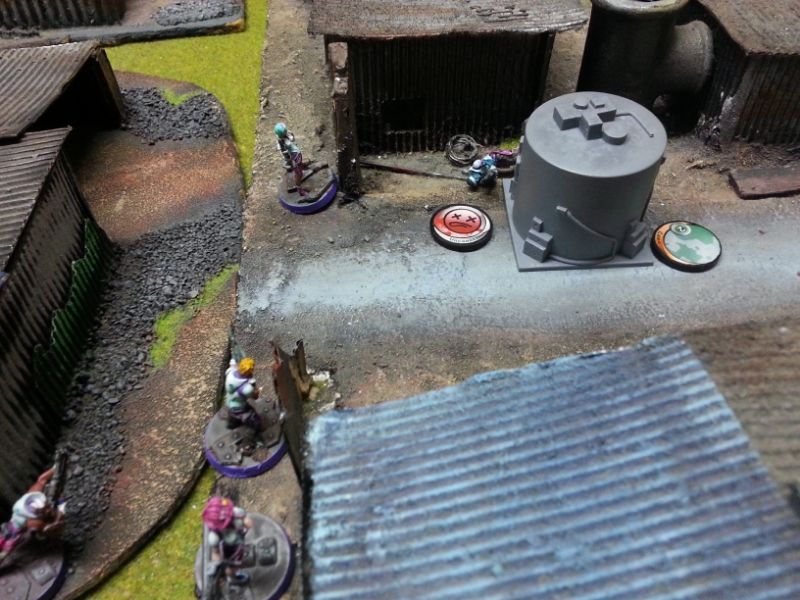
| Link leader warily approaches the grey water tank. |
The bravest Moderator moves forward to advance down the western edge of the village to engage the Preta behind the water tank. He skirts along the western edge of the village and fires his combi-rifle whilst the Preta chain rifles him back. The NOMAD hits the critter and takes him out, but he is knocked unconscious in return.
 |
| Blonde haired Moderator tries his luck. |
Another Moderator moves forward to try and force the western approach to the village. He trades shots with Trajan who is covering down road.
 |
| Trajan taking care of business. |
The NOMAD player rolls poorly this time and Trajan lands a lucky shot and knocking the Moderator unconscious.
I noticed Trajan is really performing well with these long ranged pot shots! That other game he nailed a Myrmidon at long range too. He might be due for a promotion soon!
TURN 2- MAF
I was in Loss of Lieutenant- BAD NEWS!
Luckily the MAF is 100% religious. At this point I wondered if I got my 2 LOL Orders in addition to the religious orders for my men. At the time we said no- (something that turned out to be very important as you will see)- but I have since checked the wiki and the ruling is that you do get the 2 Loss of Lieutenant Orders.
In any case, it was time to close the net on the NOMADS. Impetuous orders to the fore!
 |
| Surprise!!! |
 |
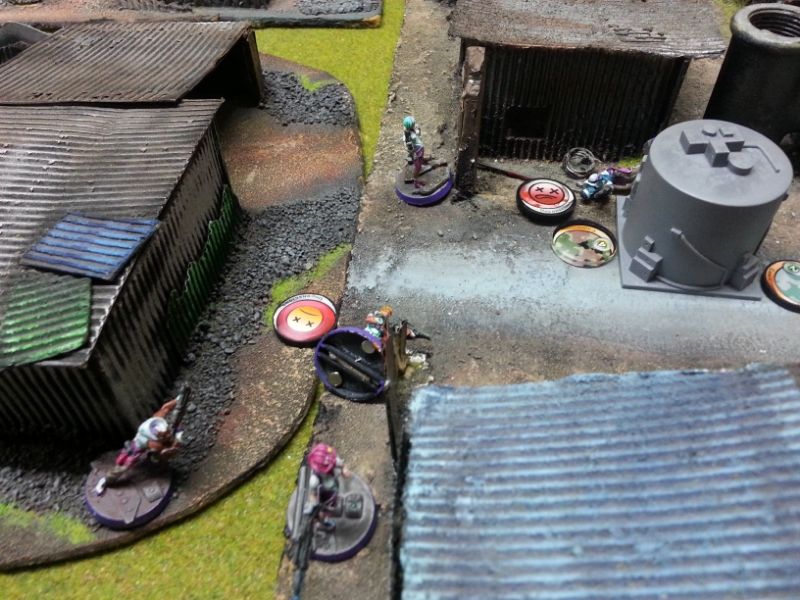
| Killing an unconscious model and taking out another! |
The Preta chain rifled enthusiastically- killing the unconscious blonde moderator and knocking the rear moderator unconscious. ARO fire from the Moderators blew the annoying critter away though. Oh well, not too bad for 5 points!
 |
| He's under the curved hut roof |
 |
| Lay another mine |
 |
| Nero moves into the central shanty village whilst a Preta exits the southern side to engage the Moderators. |
 |
| Flanked again! Another moderator falls! |
After moving my Daturazi, the Preta hiding under curved tin roof on the southern part of the village moves out to engage the Moderators. It chain rifles the nearest moderator and manages to escape being shot in the process. Happy days!
 |
| Marc Antony- an order too far! |
Unfortunately, without knowing about the two LOL orders that come into the generic order pool- he couldn't activate the terminal. If only I knew, I could've had two good attempts at capturing this bloody terminal!!! I could've sealed the match! I'll never forget that rule EVER!
AT THIS POINT…. My opponent told me was in full retreat and conceded that he could not capture the centre terminal. In this scenario, when one side enters full retreat, the game is done at the end of their turn. So I wasn't going to get a TURN 3 to capture the terminal.
FINAL SCORE: 1-1 DRAW
CONCLUSION
Great game against a relaxed opponent!
I really enjoyed this game.
Having objectives makes the game much deeper than straight up death match and I really, really enjoyed the whole experience.
You know who else enjoyed it? Suetonius the Rasyat who sat in his drop ship all game and didn't bother making an appearance. The scallywag. To be honest, I was going to AD him into the battle on my turn 2, but- again- mistakenly believing I didn't get my 2LOL orders- thought it pointless to drop him onto the table and do nothing.
I'll conclude with a few lessons I learned:
1. Link teams- be very aware of team member positioning so that they are ALL in cover when shooting at the enemy, and make sure that they are facing the right way so lots of guns are facing the likely enemy avenues of approach. Having one model pick your link team apart one by one is annoying!
2. When in Loss of Lieutenant- you still get the 2 orders IN ADDITION to your impetuous and religious orders. Don't forget it!
3. Having the Lieutenant in your main combat link team makes him vulnerable to being killed. Maybe hide him somewhere else?
4. Pretas are awesome. Cheap. Fast. Lay mines. Almost auto include in my opinion.
5. Yaogats with MSV2 are another almost auto-include for the fact they can negate ODD. That counts for A LOT.
I hope you enjoyed reading this batrep as much I had fun playing it.
Feel free to leave a comment in the comments below (or in the forum thread if that's where you found the link to this batrep).
Until next time!
No comments:
Post a Comment