
This was the subsequent game to the MAF vs Nomad match at the local gaming club.
The night was getting on, so we didn't change the table terrain but my opponent luckily had a second army ready to play. (A second army)!
We chose a new scenario played at CanCon 2013 called "The Heist".
ARMIES
217th Morat Expeditionary Force
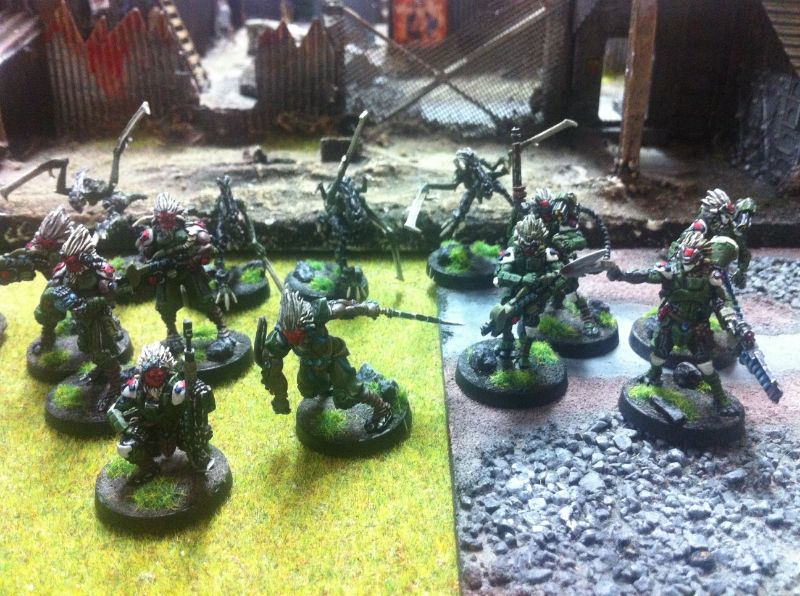
217th Expeditionary Force
Combat Group #1
Vanguard- combi rifle- Trajan
Vanguard- combi-rifle- Marc Antony
Vanguard Hacker- Seneca
Daturazi- chain rifle- Nero
Yaogat- multi-sniper rifle- Cicero
Yaogat- Spitfire- Caesar
Yagoat- Combi-rifle and grenades- Brutus
Yaogat- shotgun and panzerfaust x2- Crassus
Yaogat- Lieutenant (panzerfaust x2)- Octavian
Rasyat- combi-rifle- Suetonius
Combat Group #2
Preta- Chain rifle
Preta- Chain rifle
Preta- Chain rifle
Preta- Chain rifle
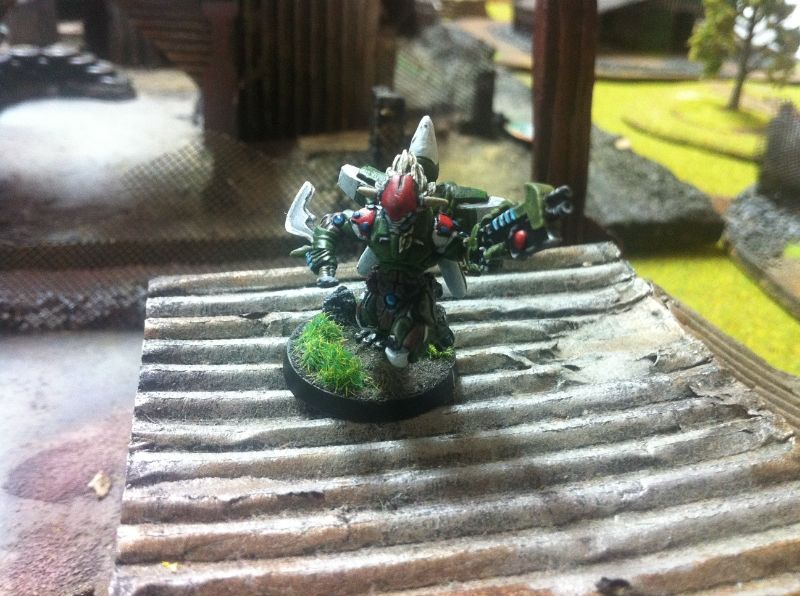 |
| Suetonius…. late to the group photo |
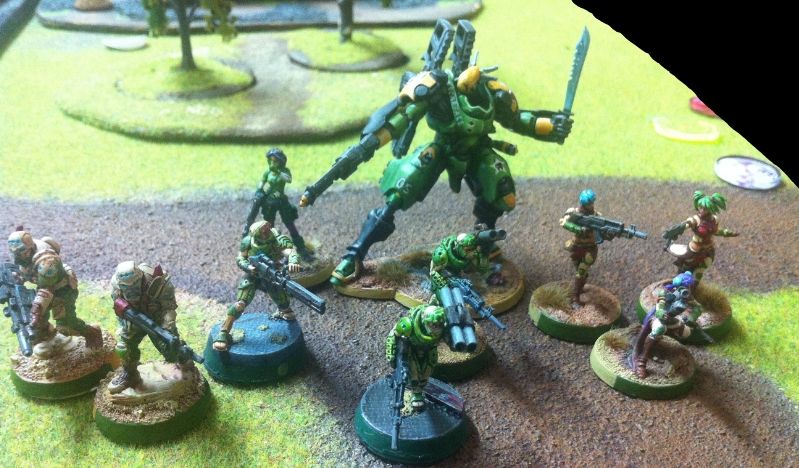 |
| The army of QK |
Azra'il- AP rifle and Panzerfaust x2
Azra'il- AP rifle and Panzerfaust x2
Hafza- rifle
Hafza- rifle
Odalisque- Spitfire
Odalisque- Haris
Odalisque- SMG
TAG- Scarface
Cordelia- engineer
There was no change to the previous board set up.
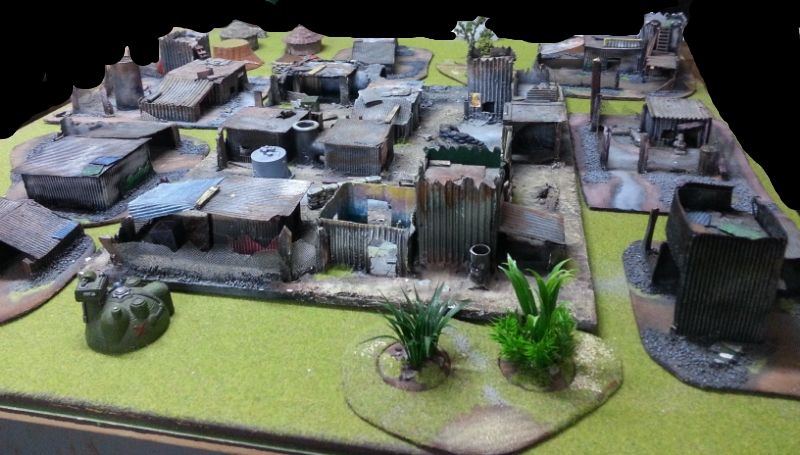
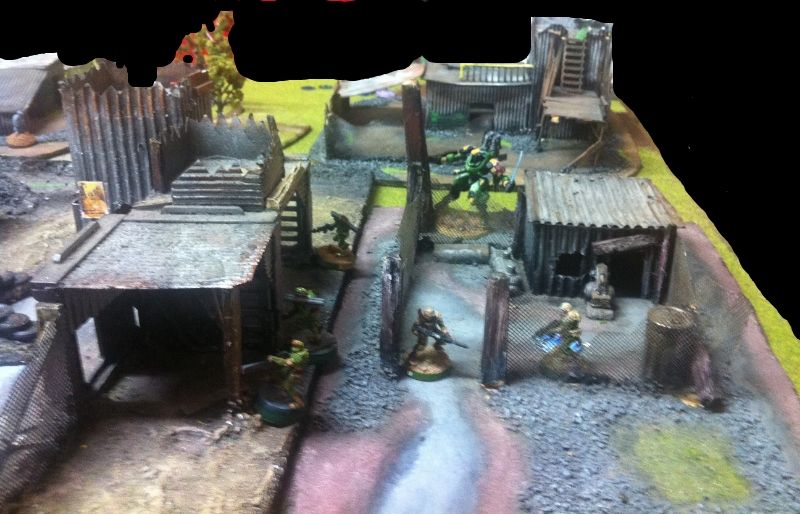
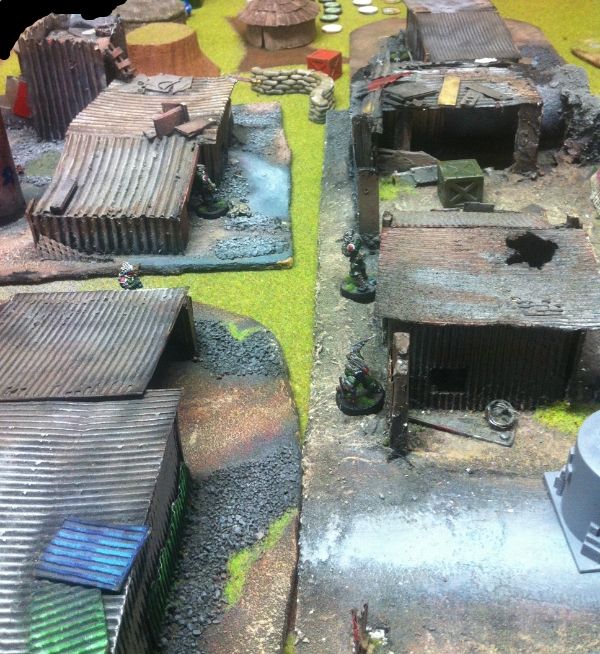
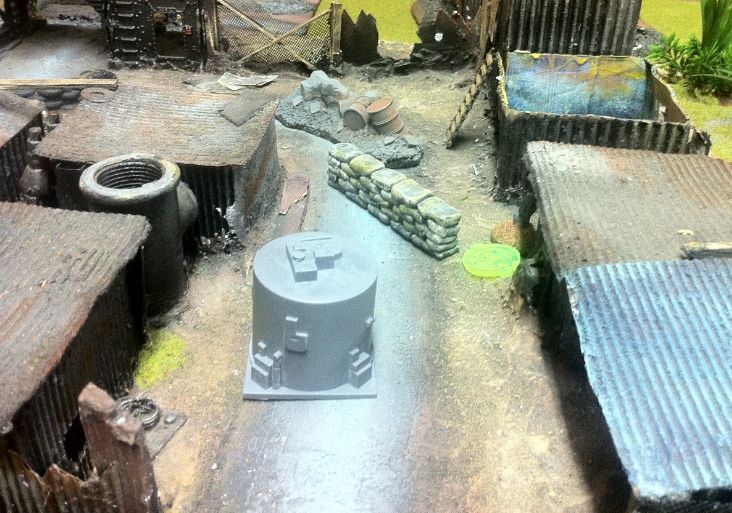
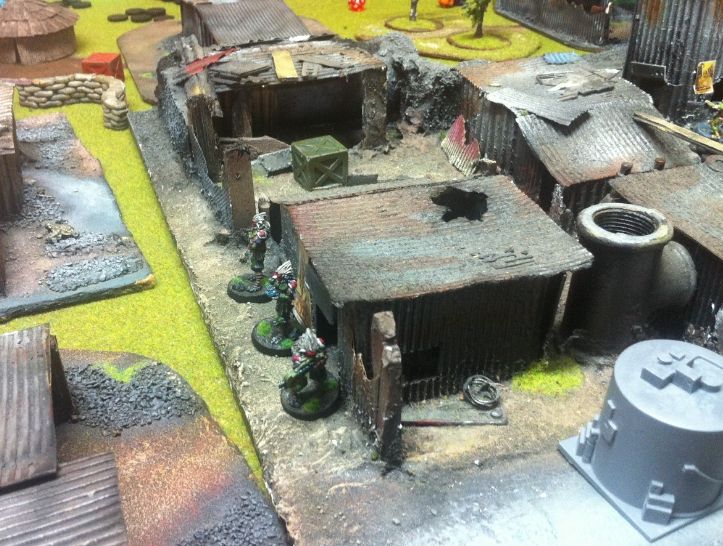
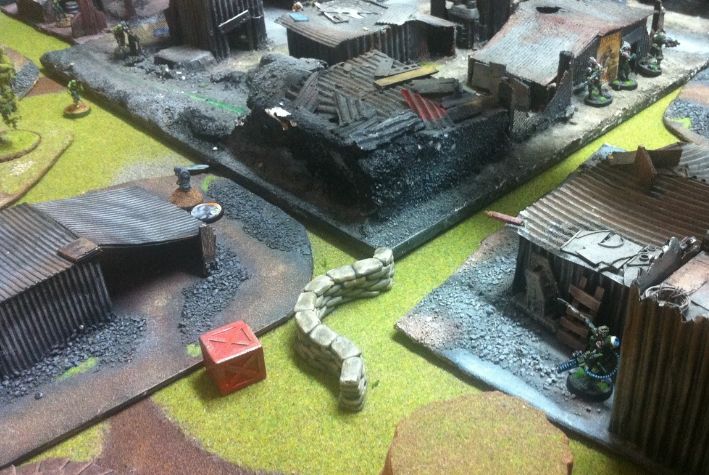
It was a pretty decent board set up with heaps of shanty sheds and such. The view above is looking from the western edge of the board. The Northern edge is on the right. The Southern edge is on the left.
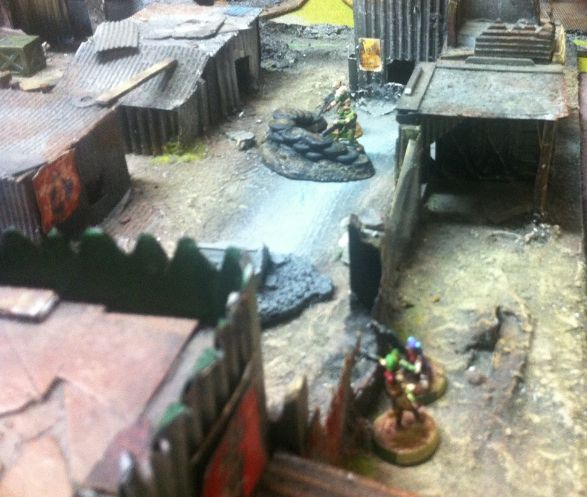
This angle shows a few more the alleyways into and around the centre.
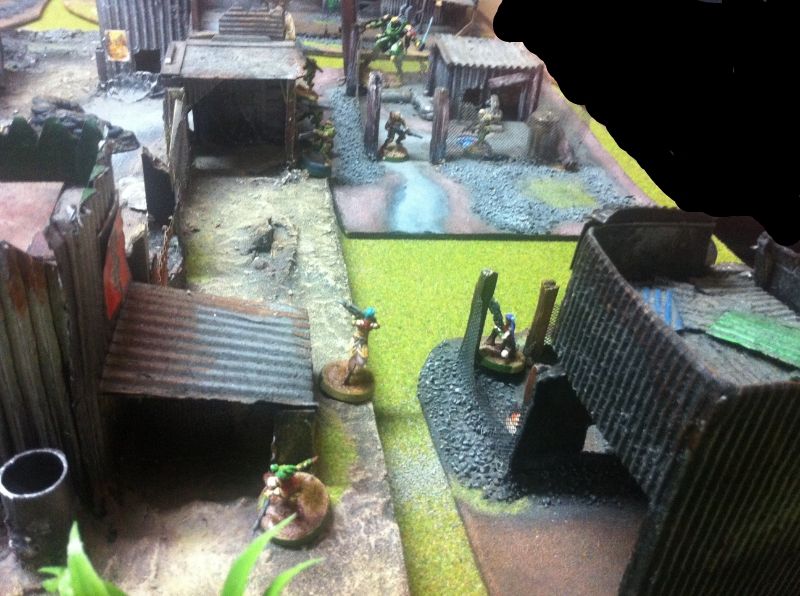
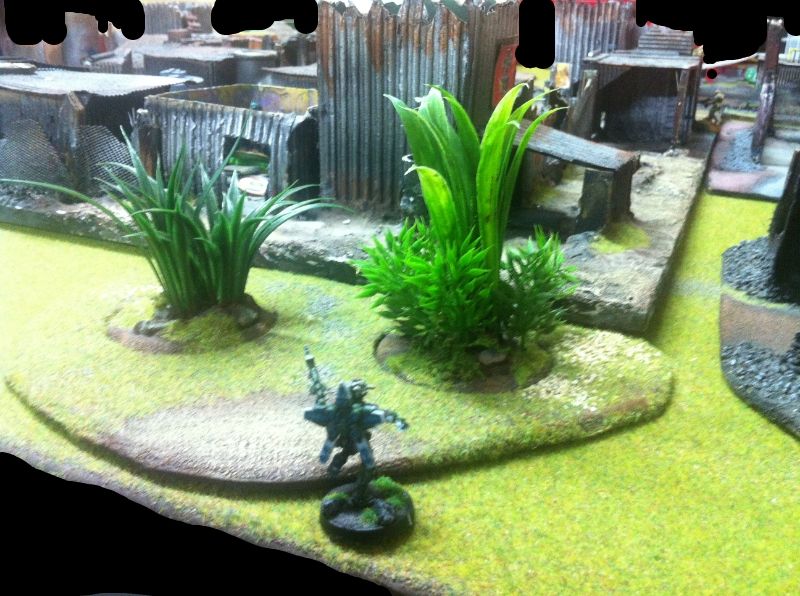
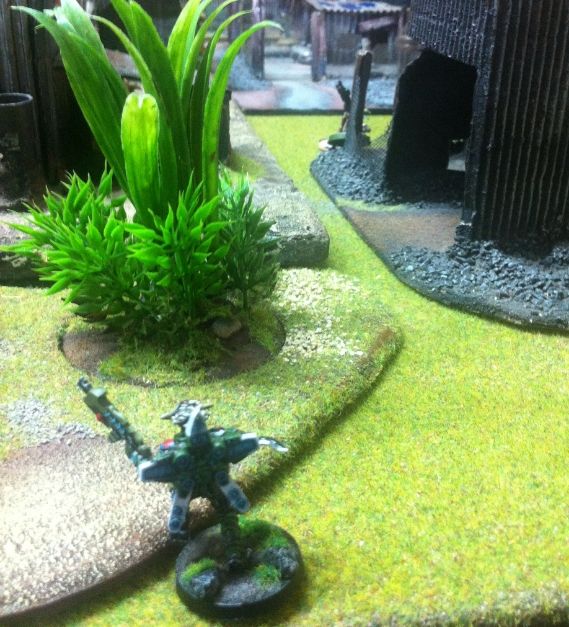
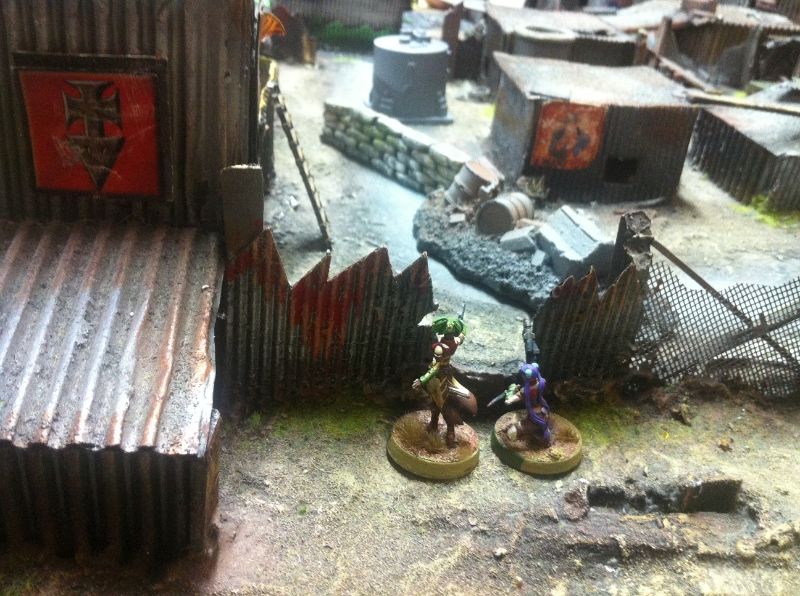
The Odalisque link team was deployed close to the forest, aiming to race forward and kill the courier.
This is what I SHOULD have done right off. Leaving Cicero to be ARO'd to death was a silly mistake.
I can't really speak for my opponent as to his choices- but it was a solid list. Heaps of firepower, order efficient (with two link teams) and of course, a TAG brought along to terrify me at the same time.
MAP
 |
| Shanty town- District 11 |
It was a pretty decent board set up with heaps of shanty sheds and such. The view above is looking from the western edge of the board. The Northern edge is on the right. The Southern edge is on the left.
 |
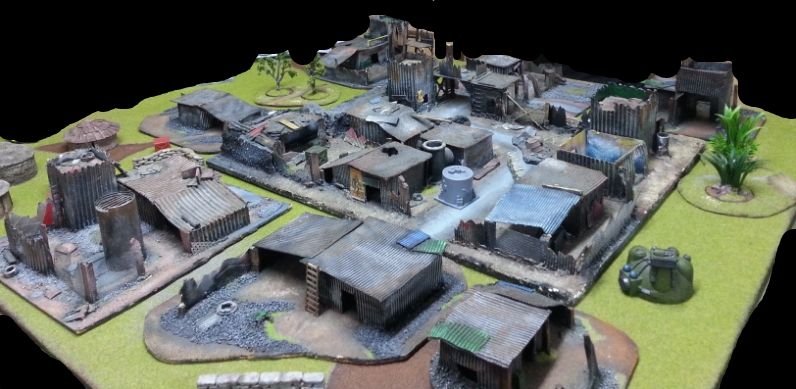
| Another angled view from WEST looking EAST. |
Deployment was on the RIGHT (North) and the LEFT (south).
Important physical features are:
1) HUTS and MESA in the south east corner of the map
 |
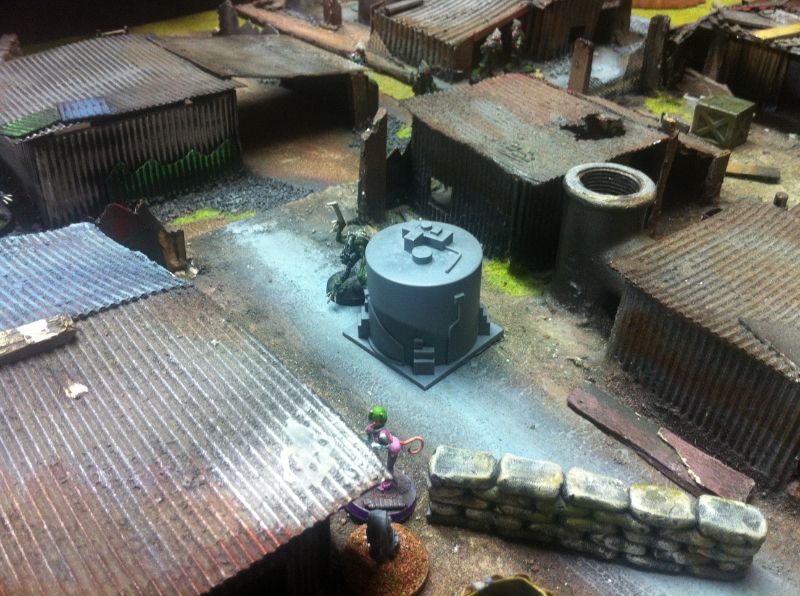
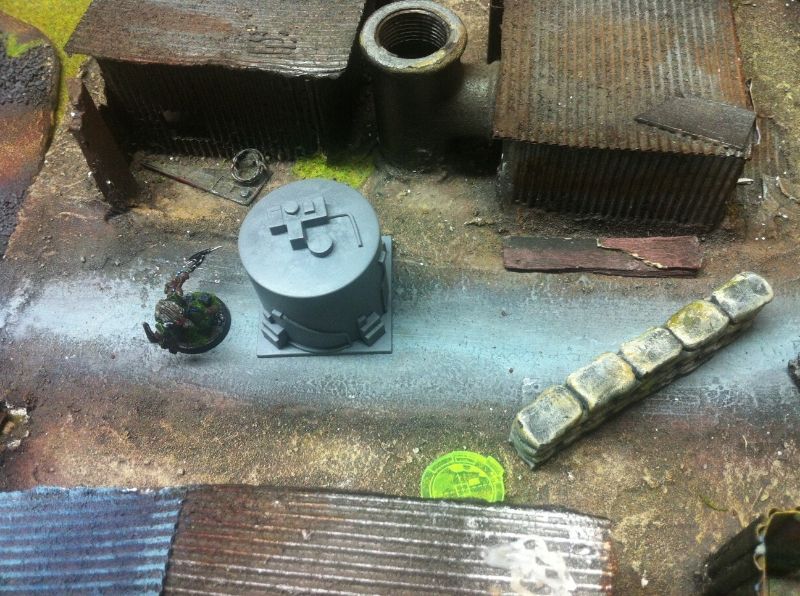
| The grey water tank |
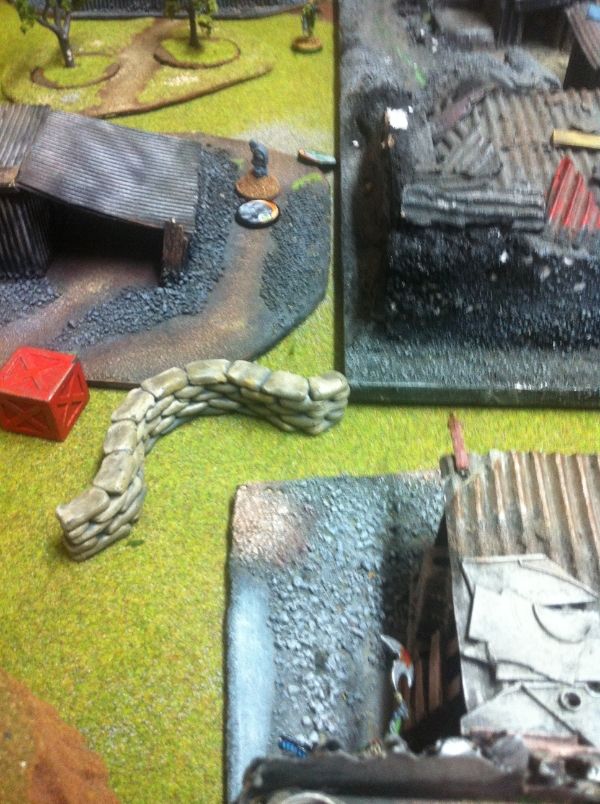
2) CENTRAL SHANTY VILLAGE partially ringed by a road and has a GREY WATER TANK on the western edge. It's eastern edge is formed by a STORM WATER DRAIN (not visible)- leaking green effluent.
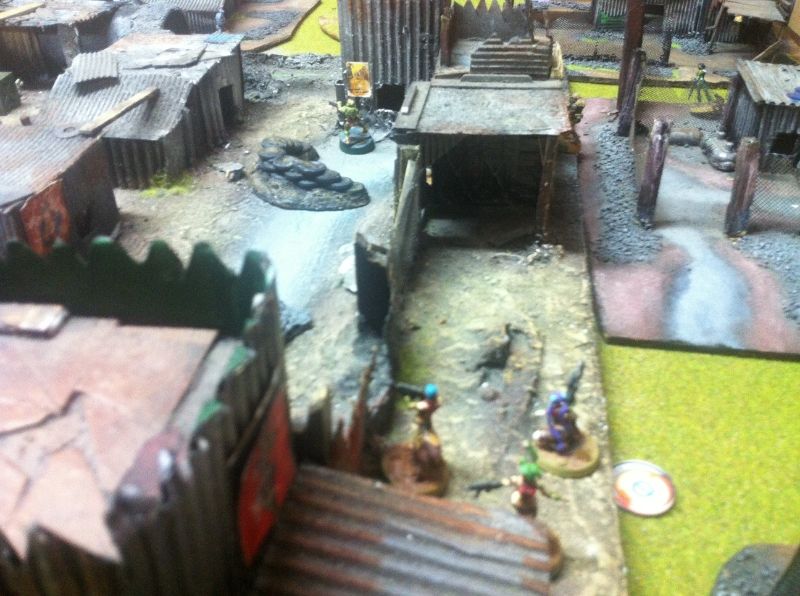
 |
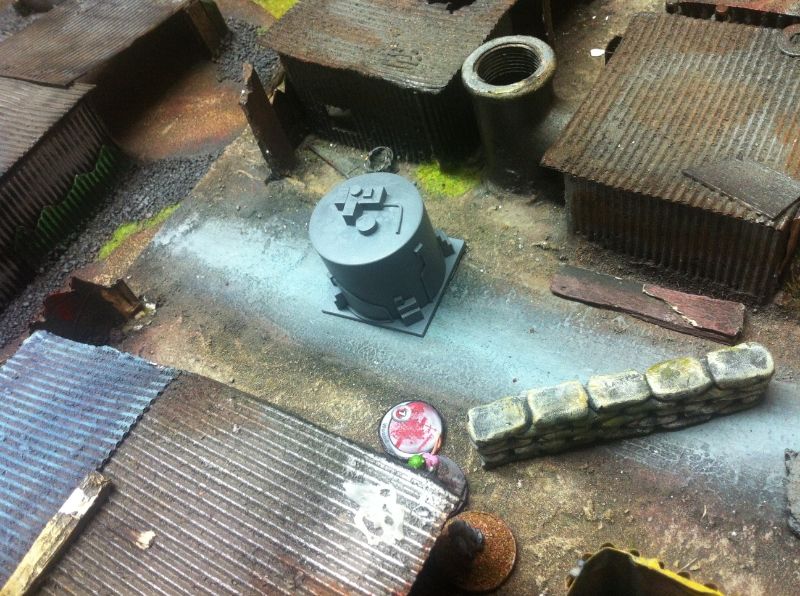
| Village square of Central Shanty Town |
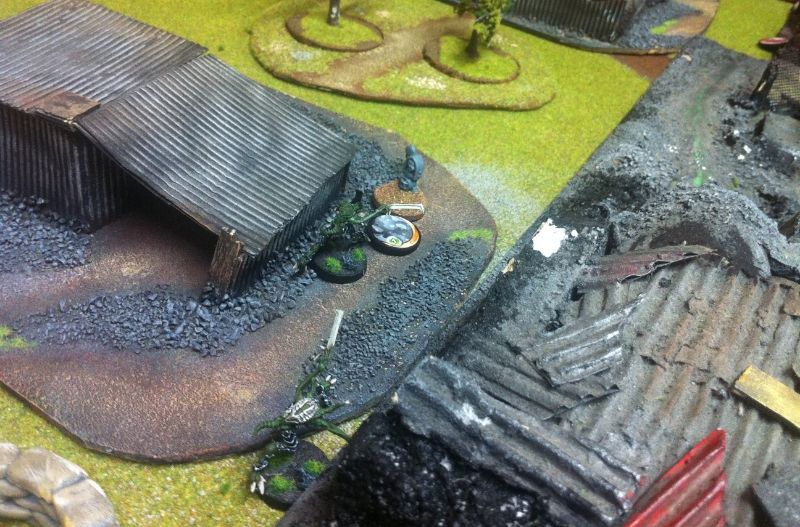
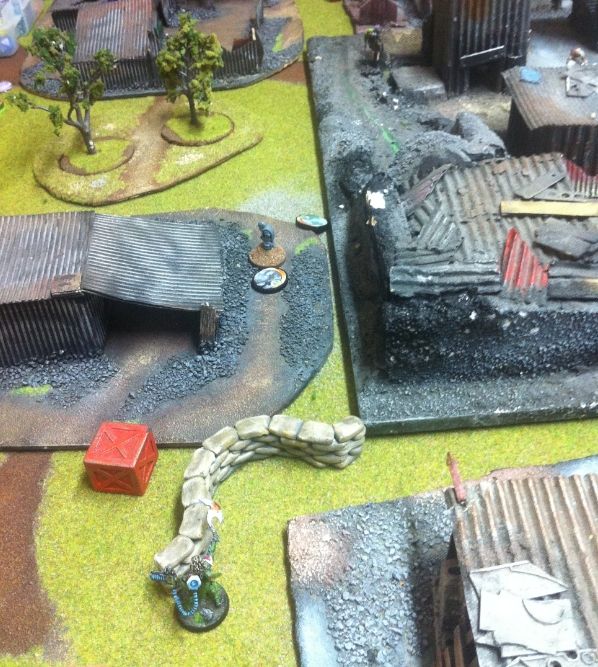
3) FOREST on the western edge
4) Several TOWERS are scattered across the map- most are accessible by ladders.
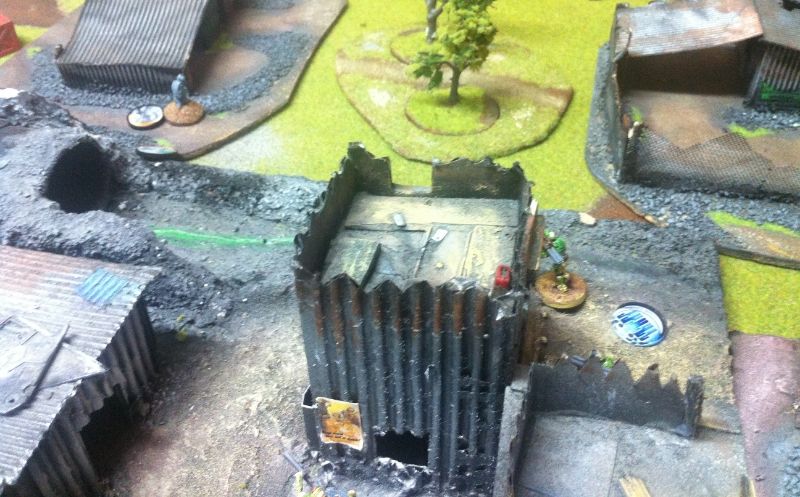
 |
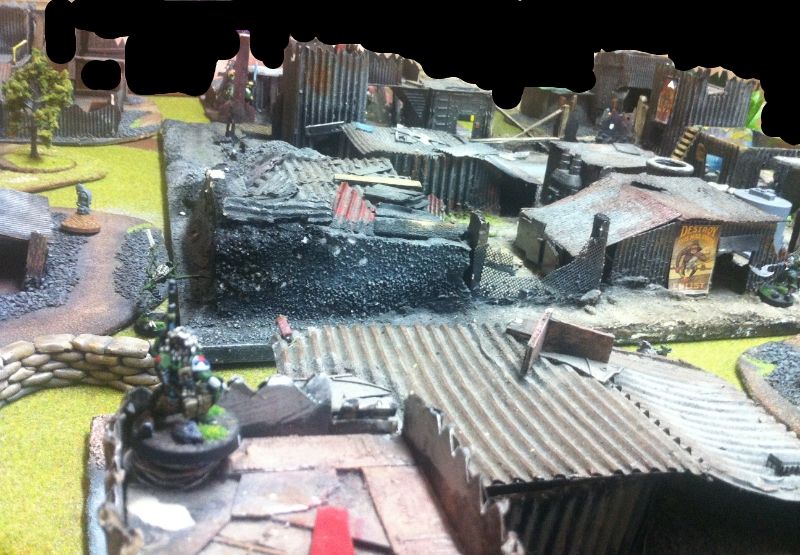
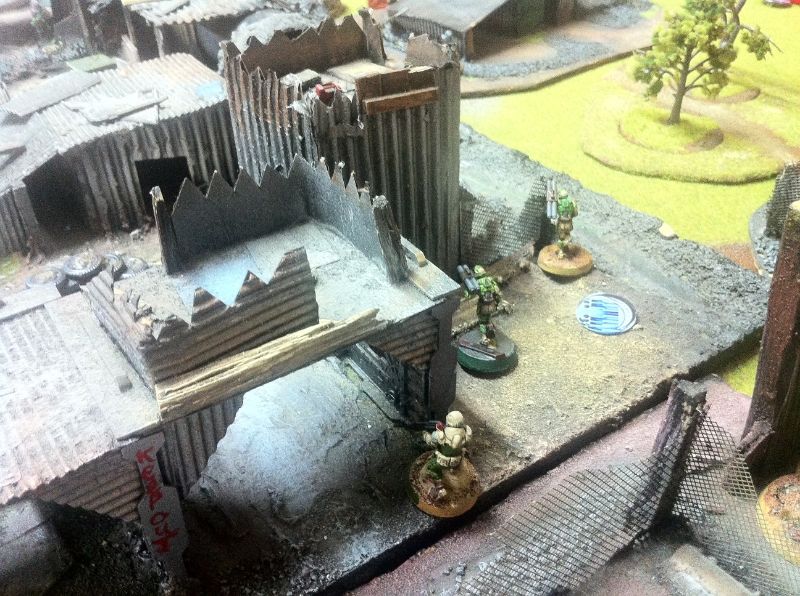
| View from SOUTH WEST looking NORTH EAST |
|
| Perch in North west corner looking South east towards the huts |
MISSION
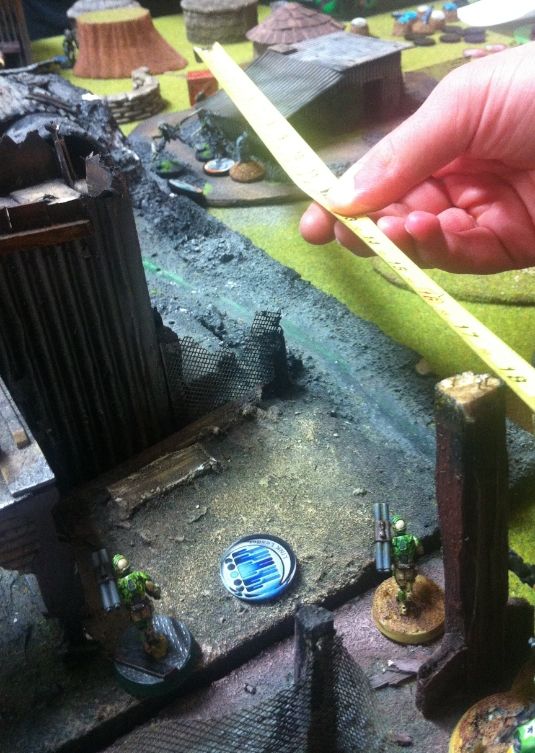
The blue dot represents the COURIER- an independent character carrying some key information. Both sides have to kill the character and then pick up the key with WIP roll. The COURIER is no pushover though, with 2 wounds and a combi-rifle they can be a significant thorn in the side. If killed, the body can be accessed by both sides (so both sides can get their own copies of the key).
Friendly forces must RECOVER critical information from the courier and CAPTURE the terminals.
I didn't get any photos on the mission set up, so I'll have to explain with some photo-shop!
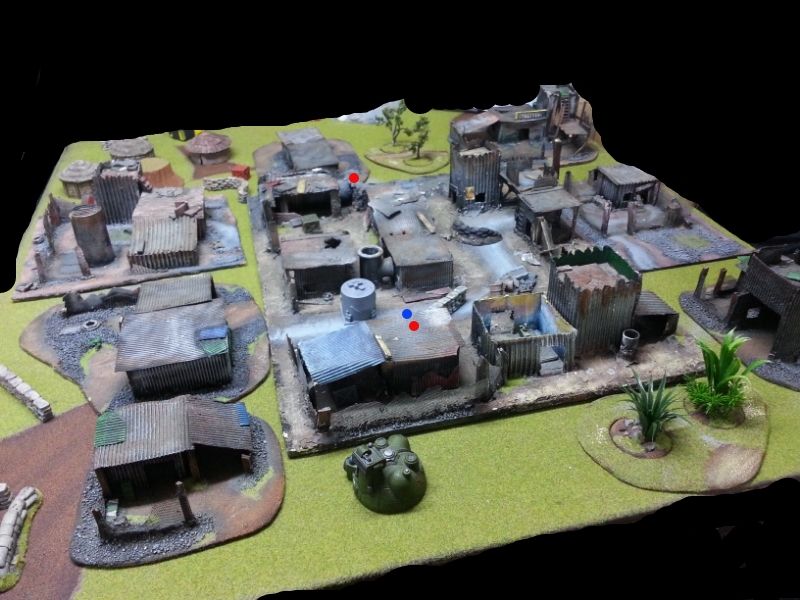 |
| 2 red dots, 1 blue dot |
Once capturing the key, the model with the key must escape the board. This earns 2 POINTS.
The two red dots represent the location of the two terminals. They can be accessed with a WIP roll by the key carrier. Anyone else trying to access the terminal can do so at a -6 WIP roll. And if you fail… shock damage 12. (I think… it was hefty). Capturing a terminal earns 1 POINT.
We forgot to place the courier before deploying- this will be important as we will see….
DEPLOYMENT
MAF
I won the Lt. WIP roll again and chose to go first.
|
| 2 red dots, 1 blue dot |
My opponent got me to deploy first on the southern (left side) of the table.
I didn't take a lot of photos unfortunately so a quick explanation will have to do.
On my left flank, behind the MESA, I placed my Yaogat link team. In the centre of the line, I put my Morat Vanguards and guarding their right flank was my Daturazi. My pretas were spaced evenly along my line.
I held my Yaogat sniper in reserve- and eventually placed him in the tower just to the right of the mesa.
QK
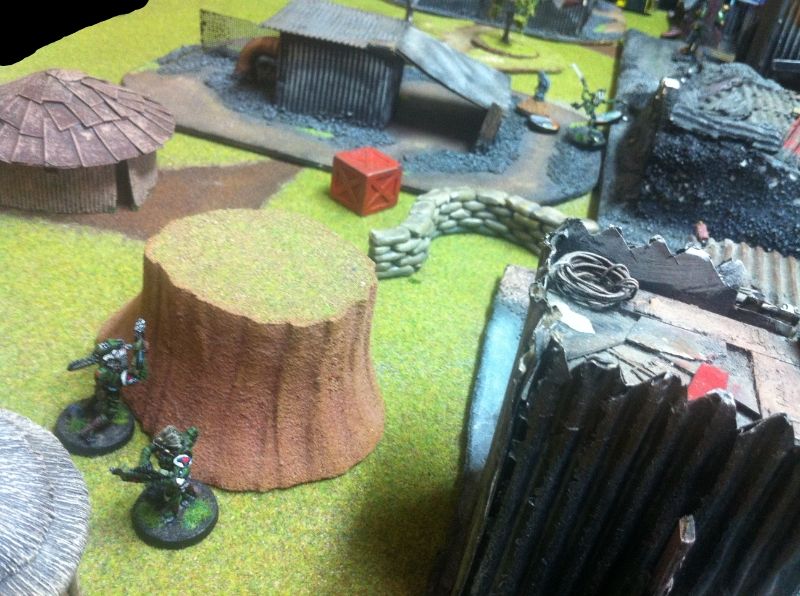
 |
| Odalisques |
 |
| Main force |
The Azra'il link team took up just behind the northern entrance to the central slum village.
Scarface was held in reserve and placed- in cover- to look over the open ground on the eastern edge of the battlefield.
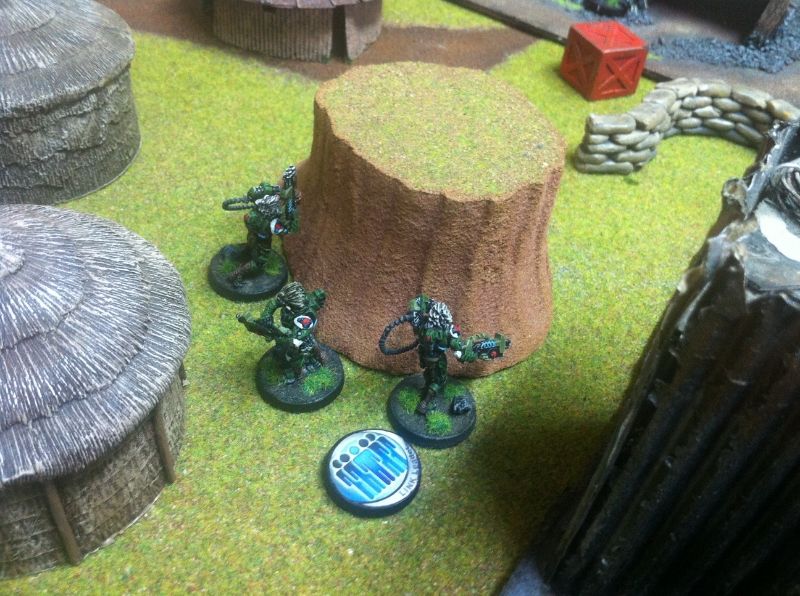
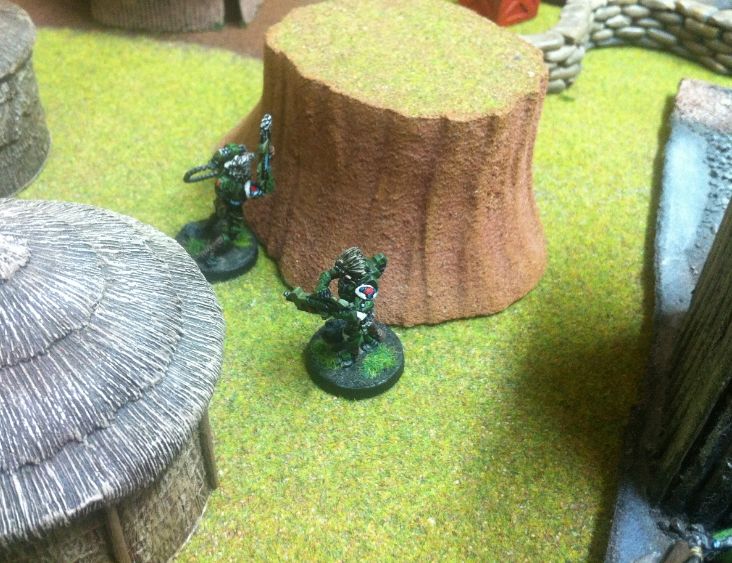
Seeing the courier killed, Nero- the Daturazi- scooted forward, ready to seize the key.
Yes, I got silly.
BATTLE
MAF TURN 1
 |
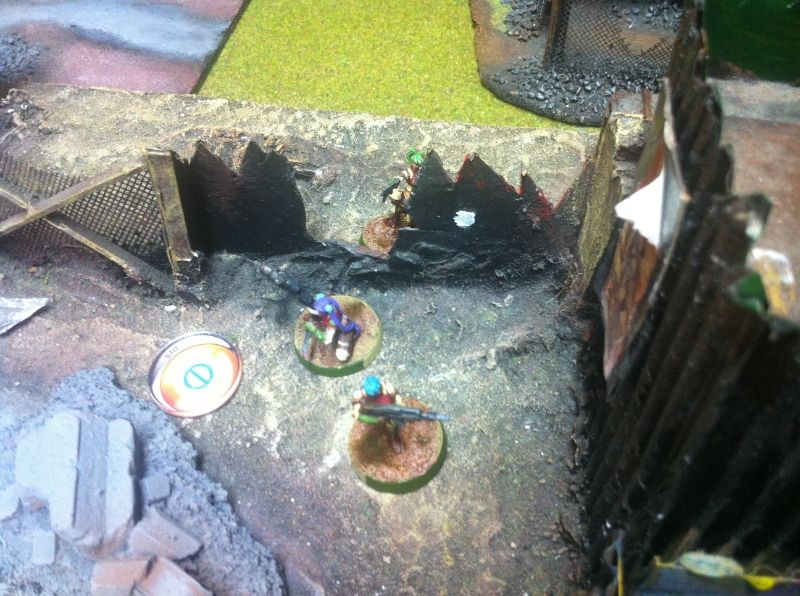
| Pretas forward |
All my pretas moved forward into cover. Except the two closest to the Courier.
The first one snuck in close and chain rifled the courier. The courier was wounded, but their combi-rifle blew the Preta away.
 |
| One more wound to go! |
Another Preta moved up and chain rifled the Courier to death. The courier went down fighting though, cutting killing another one of my Pretas!
 |
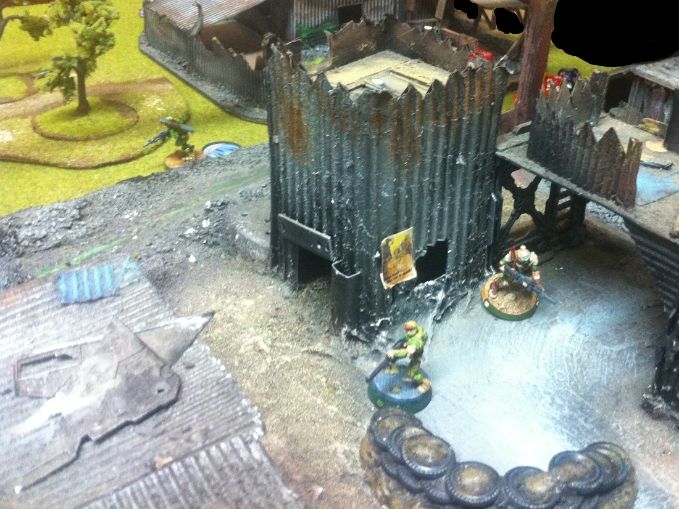
| Nero runs forward with sniper cover. |
With the impetuous orders settled, it was time for the regular order pool.
 |
| Cicero spies an Odalisque… poor choice! |
My MSR Yaogat spied a Odalisque in the distance and took a shot. The Odalisque successfully dodged out of the way and Scarface ARO'd with his panzerfaust. Cicero lost his face to face roll by missing entirely and was blown to smithereens!!
Right… time to correct that mistake.
 |
| Crassus to the fore |
Launching two Panzerfausts, Crassus landed one hit and luckily Scarface missed with his HMG. The panzerfaust- being explosive- forced 3 ARM checks on Scarface…. who passed every single one!
 |
| Let's try that again! |
 |
| Wrecked! |
Despite some lucky rolling, Scarface suffered 3 wounds and was wrecked.
 |
| Finally laid low after 4 panzerfausts! |
What can I say? Bring a stack of panzerfausts guys…. Some of them are bound to hit.
 |
| More cover |
 |
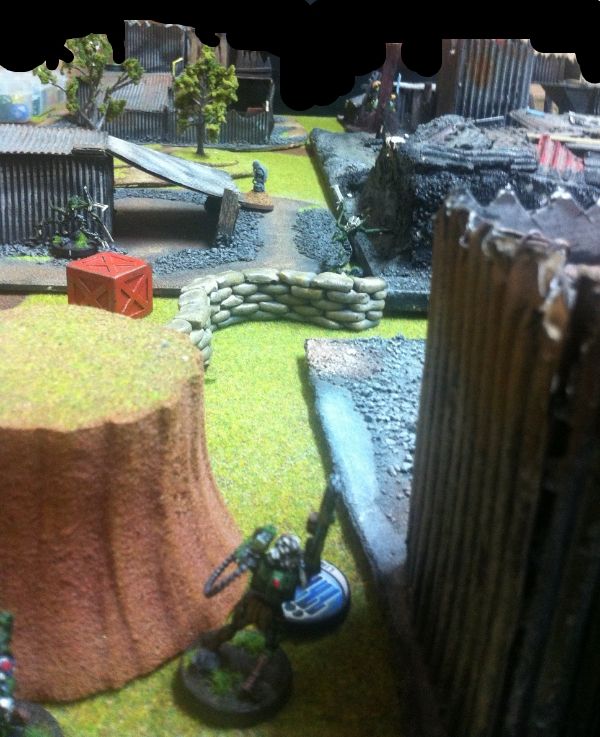
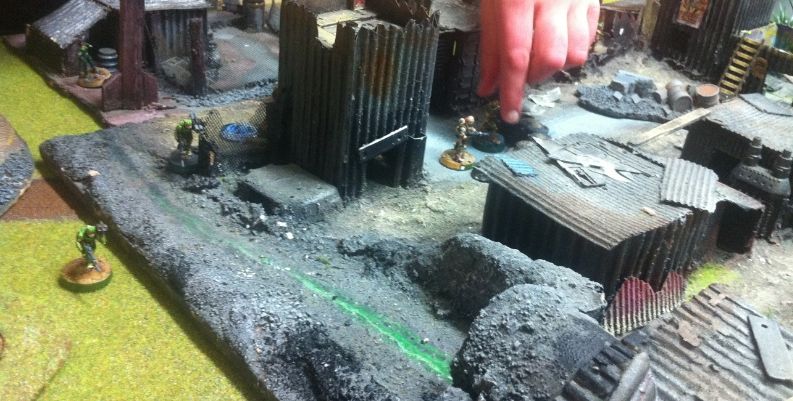
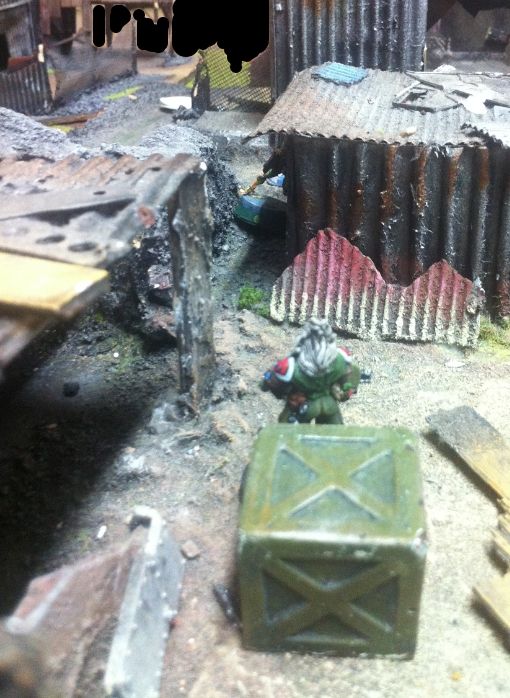
| The glowing key left behind by the dead courier |
 |
| Nero sprints for the key. |
Luckily- Nero picks the key up and eats the last of my regular orders by darting off the board.
In hindsight, I wonder if that was the right move. I could've used those orders to help shape the game- by moving my Yaogat link team into a better position to dominate the open ground and the terminal in front of them and denying it to the enemy. And threatening the enemy link team that was deployed close to Scarface.
The more I think about it, that's what I should've done. But the pressure to escape off the board was overpowering so Nero darted off the board to safety and taking his order with him. Anyways….
 |
| Objective denial. |
My two surviving Pretas, on the left flank, ran forward in front of the Yaogat link team and laid some mines.
QK TURN 1
I was about to be shown how a link team is supposed to be used….
 |
| That's a lot of fire power…. |
 |
| Panzerfausts are flying! |
Yep… my single Yaogat… Octavian, my Lt.- was poking his head out. In a flurry of fire power, Octavian was killed outright- and sending me into Loss of Lieutenant.
 |
| Guess where those Panzerfausts are going. |
 |
| Octavian killed, Pretas next. |
Another Panzerfaust launched from a Azra'il smashed a Preta apart.
It was turning into a shooting gallery down that flank!
 |
| Preta hunting! |
The last Preta was shot at- and luckily he dodged… 2 inches closer to the enemy. Another Panzerfaust was fired in his direction and the Preta chained rifled back… just in range.
Didn't save the little critter though. The Preta was blown into Preta heaven, and the Azra'il shrugged off the chain rifle with his hefty armour save.
 |
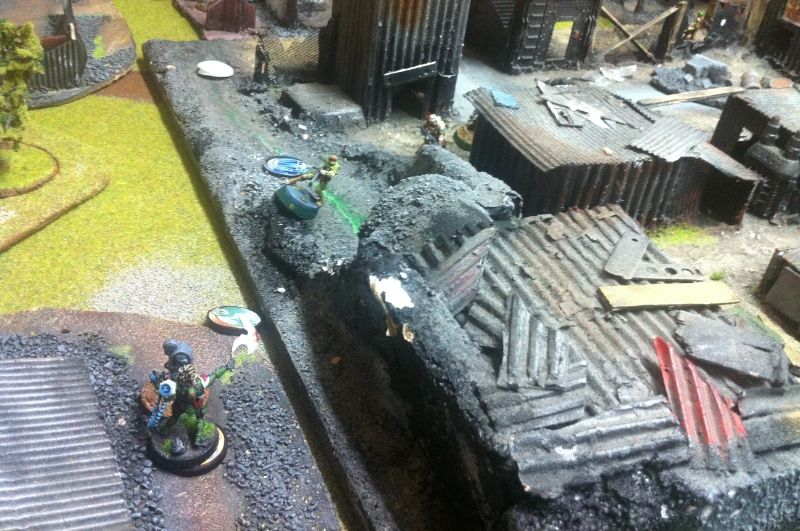
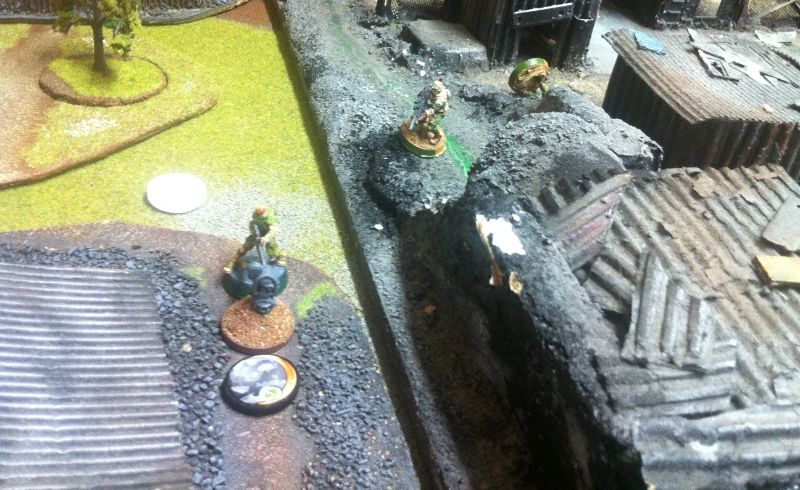
| Odalisques going to the Key. |
 |
| Cautious |
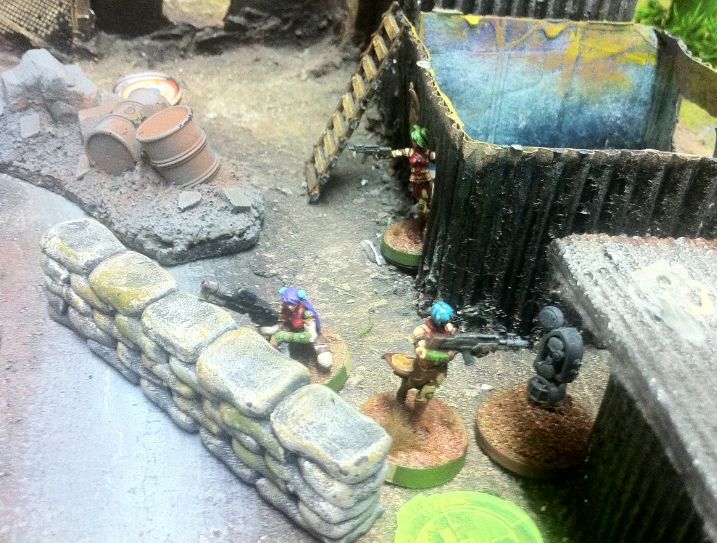 |
| The Odalisques capture the key… oh look there's a terminal…. |
 |
| Critical roll on the terminal! |
 |
| Time to hide with the key |
 |
| Hiding |
 |
| Cordelia fails to repair Scarface… |
TURN 1 SCORE: MAF: 2 QK: 1
TURN 2- MAF
I'm in Loss of Lieutenant…. AGAIN! (And at the time we didn't add the 2 LoL orders to the pool- in addition to the religious orders. Very important Religious players, it can really tip things!)
 |
| Giving up orders for Lt. election. |
 |
| Vanguards move forward |
 |
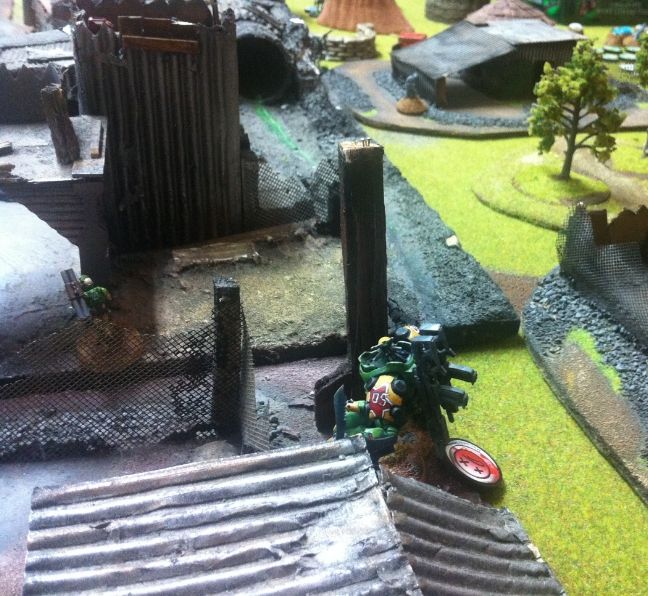
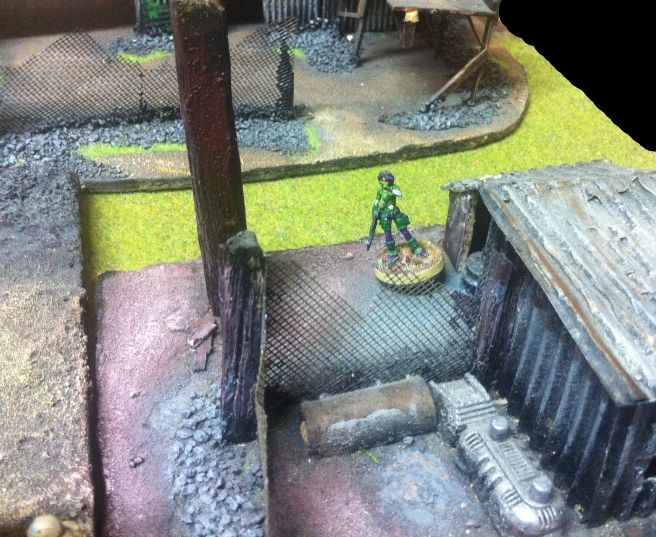
| Suetonius walks on! |
 |
| Watching the Odalisque escape route. |
QK TURN 2
 |
| Odalisques retreat back towards their table edge. |
The Odalisque toting the spitfire moved into a covered position and fired on Suetonius who shot back with a snap shot from his combi-rifle.
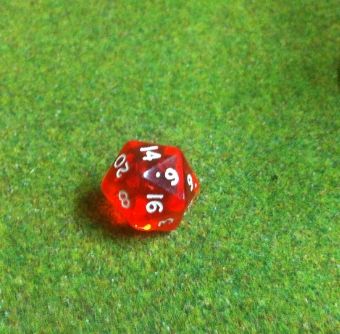
The spitfire cut loose: 16, 14, 6, 4, 2…
Oh wait a sec- Suetonius has a chance!
… And he promptly rolls a 2. Suetonius then fails his armour rolls and is taken off the board.
This Rasyat was clearly still needing his warm up after missing the last game!
 |
| Azra'il advance!! |
 |
| Saucy advance in the open |
 |
| Caesar fails his guts roll and withdraws into the doorway. |
 |
| The Azra'il also cover the QK captured terminal after driving Caesar back. |
TURN 2 SCORE: MAF: 2 QK: 3
Caesar- keen to unleash with his spitfire- steps forward into battle.
Caesar moves into cover and fires at the next Azra'il. The two combatants miss each other completely.
MAF TURN 3
 |
| Caesar comes out to play |
Spotting the closest Azra'il, the Yaogat fires and cuts the human down in a hail of rounds.
 |
| Next! |
Caesar fires again and again- not game to advance into further AROs. He'd learn to slice the pie from the last game. The Azra'il crumples under the fusillade.
 |
| Trying his luck…. |
Luckily, the Yaogat armour holds.
 |
| Lt. moves to cover… to find another Azra'il walk into contact in QK turn 3 |
QK TURN 3
|
| A Feuerbach for you... |
The advance to the remaining terminal begins….
 |
| I challenge YOU! |
The Azra'il fires on Caesar but loses the face to face roll and gets wounded to boot!
He passes his guts roll though and advances towards the terminal undeterred.
One of the mines goes off and kills a Hafza. The other Hafza- luckily- passes his armour roll.
 |
| Caesar falls. |
With one wound left, it was looking tense….
…. until the Azra'il passes his armour save.
The QK trooper then tries to hack the terminal- and gets it with the first roll (even with the -6 WIP modifier).
With that, the game was over.
DEFEAT for the MAF!
GAME: MAF: 2 QK: 4
CONCLUSION
A great game.
A few things I identified that could've helped when writing this batrep included:
1. Better deployment- keeping my troopers closer to the courier and the nearby terminal. This would net me 3 points rather that just 2. And then deny it to the enemy.
2. When shooting- try and shoot with the guys who'll receive the least number of ARO's.
3. Maybe tossing smoke in front of the Yaogats would allow unopposed rolls by the lads, turning down the risk of shooting at the enemy.
4. Remember that even if in LOL- you still get the two LOL orders in addition to each model's religious order. I was planning to AD my Rasyat close the Odalisques, zero V smoke and charge into hand to hand. Without those LOL orders, it wasn't going to happen.
5. If you want to deny an area with your AROs, make sure lots of guns are pointing in that direction.
Hats off to my opponent- who schooled me hard in the use of link teams and who generally outplayed me in every aspect. His link teams models were well positioned to cover all regions of possible aerial deployment and I was effectively shuttered into a corner and playing to not lose, rather than playing to win.
Until next time- Happy gaming!
(BTW- photobucket is saying my bandwidth is close to full, so hopefully all the photos still load!)
No comments:
Post a Comment