
 |
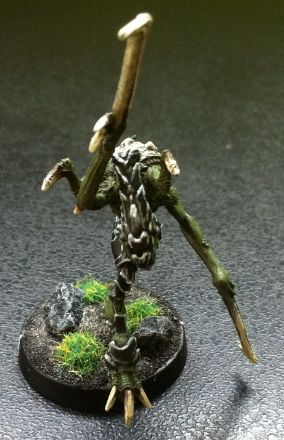
| Skipping across the ground! |
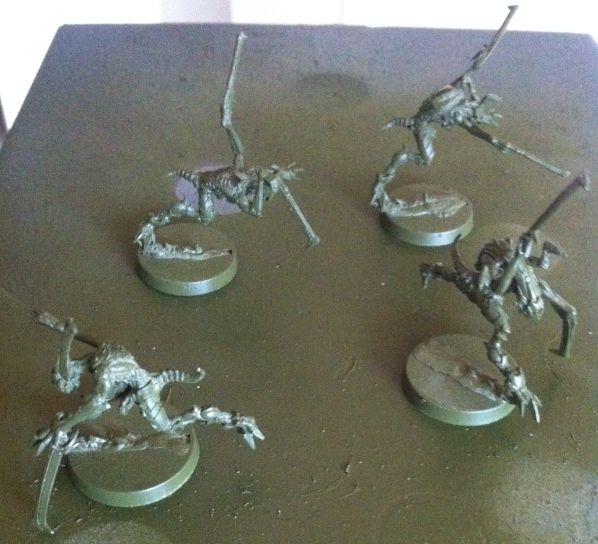
My first Hungry. For only 5 points a piece for a mine laying close combat scourge- they are a bargain. A real pain to put together (you'll need lots of superglue, araldyte and patience) but once assembled, they look very dynamic.
It was hard trying to decide on a colour scheme for these toys. They have a very different design to the Morats and it was going to be a challenge designing a colour scheme that would match my army. It had to similar and different at the same time.
I initially looked at GW Tyranid colour schemes, but schemes that suited the blocky, heavily chitin plated aliens of WH40K wouldn't translate that well to the Hungries… or should I say, would take too much effort to make work. The Hungries have heaps of little bumps and ridges all over their body, making some the layering techniques difficult to do.
So I went back to the drawing board and had a look at a few WH40K Ork colour schemes (they're mostly green) and picked out the Goff Clan scheme to apply. It's similar-ish to the Morat army scheme I've picked- the Green is almost the same, black goes with everything and the bone will be white enough to match.
I started out priming the model with Tamiya Grey Surface Primer (it comes in a can). After working over the model carefully- even tipping it on it's side so I got the under surface- I hit it with another spray. Tamiya Olive Drab 2.
I followed up with a heavy wash of Citadel Athonian Camoshade over the entire model. Once dry, I began dry brushing over the entire model. The first dry brush was with Citadel Death World Forest and then a second lighter dry brush of VMC Uniform Green.
I followed this by base coating the back armour plates and talons with VGC Charred Brown. The main armour plates on the legs and the head crest were painted over with black.
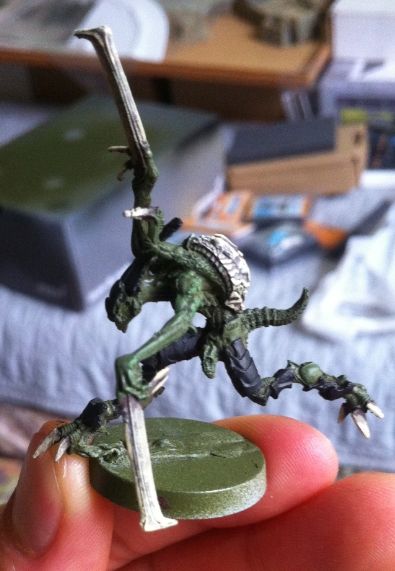
The bone was then painted with Citadel Zandri Dust. I was careful to leave some brown in the recesses. Following this was a dry brush of Citadel Ushabti Bone. I also picked out a few raised surfaces with Ushabti Bone using a wet brush. Finally a very light dry brush of VMC Ivory on the raised areas was applied.
The crest and greaves were lined with VGC Cold Grey- and although it looked OK, i decided to do a further highlight with VGC Ghost Grey. The Ghost Grey was just applied to the pointy bits of the armour and some of the most raised edges. As you can see, there is a big difference between the foreleg and the crest. I figured the extra effort was worth it.
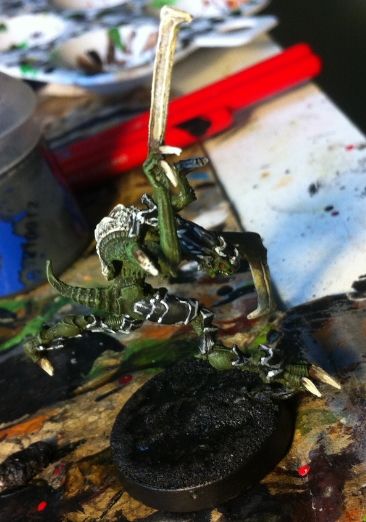
Finally, basing. After PVA gluing some sand to the base, I applied some black ink mixed with PVA glue and soap to seal the lot in. Once dry, I began successively dry brushing VGC Charred Brown, then VMC Medium Grey to get that dirty/ sandy look.
A few granite chips- painted black and dry brushed with Citadel Administratum Grey- were then PVA glued onto the base.
Lastly, a few drops of Zap-a-Gap were put on and sprinkled with green static grass.
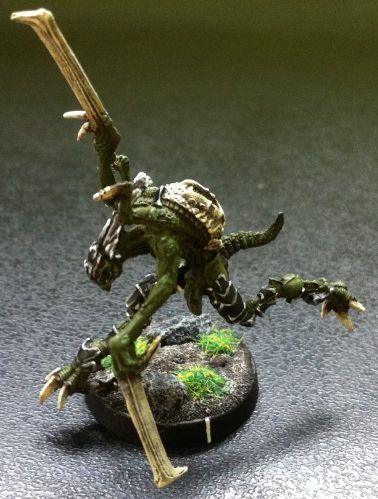
Some final shots of Zergling 1.
*Edited to correct image aspects.
Some final shots of Zergling 1.
 |
| Charging home. |
 |
| Left view. |
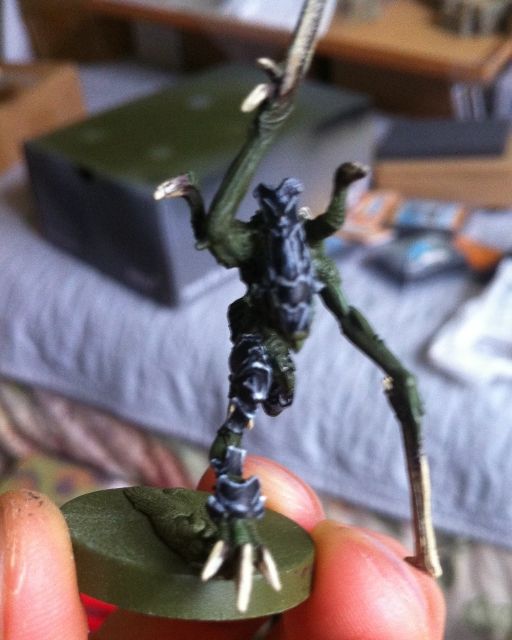
 |
| Headcrab view. Grab the crowbar! |
No comments:
Post a Comment