
 |
| Smoke, smoke, smoke. |
This was the second game I played versus KFC a few weeks ago. I normally try and write these up as soon as I can while the memories are still fresh but life got in the way (as usual!) so now I'm trying to scrape together my vague recollections prompted by the photos that I took.
A big thank you to those of you who commented on my previous post, either here on blogspot, the various forums or the Infinity Australia FB page. KFC and I are still learning and the little tid bits we pick up here and there are very helpful in getting our heads around this skirmish game.
As this was played immediately following the previous game, the various inconsistencies (such as my Yaogat Spitfire being a Lt) haven't been corrected. I value your time, so I'm telling you up now so you can decide for yourselves whether you want to keep reading or not. I think as I continue playing this game and reporting my little AARs that the quality will steadily improve and that you readers will enjoy reading it as much as I liked playing it!
ARMIES
No change from previous.
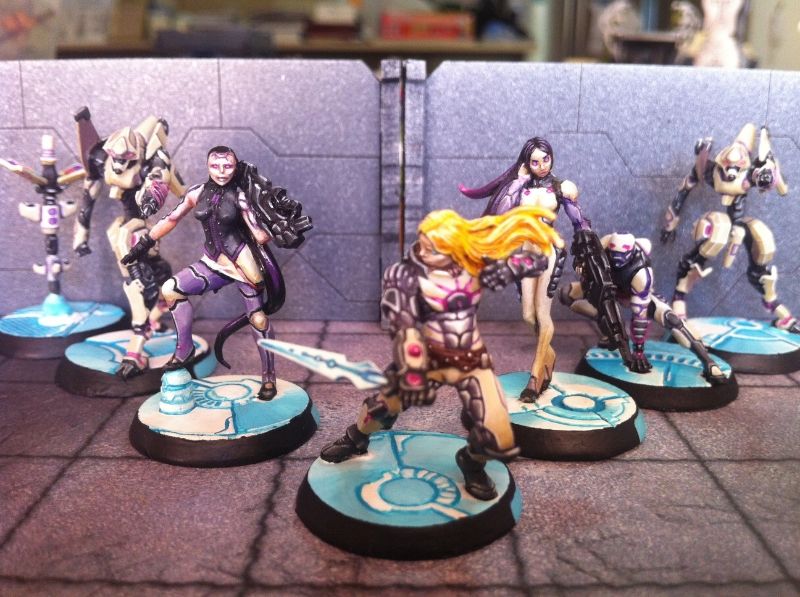
ALEPH- 160 points.
 |
| ALEPH |
Netrod
Tacbot with GL x2
Hacker with combi-rifle
Myrmidon officer with combi-rifle (Lt). Diet Achilles.
Myrmidon with combi-rifle
Daysu with combi-rifle217th Expeditionary Regiment- Morat Aggression Force- 160 points
 |
| MAF |
Yaogat with combi-rifle and panzerfaust- Octavian
Vanguard infantry with combi-rifle- Marc Antony
Yaogat with spitfire (Lt)- Caesar
Yaogat with shotgun and panzerfaust- Crassus
Yaogat with combi-rifle- Brutus
MAP
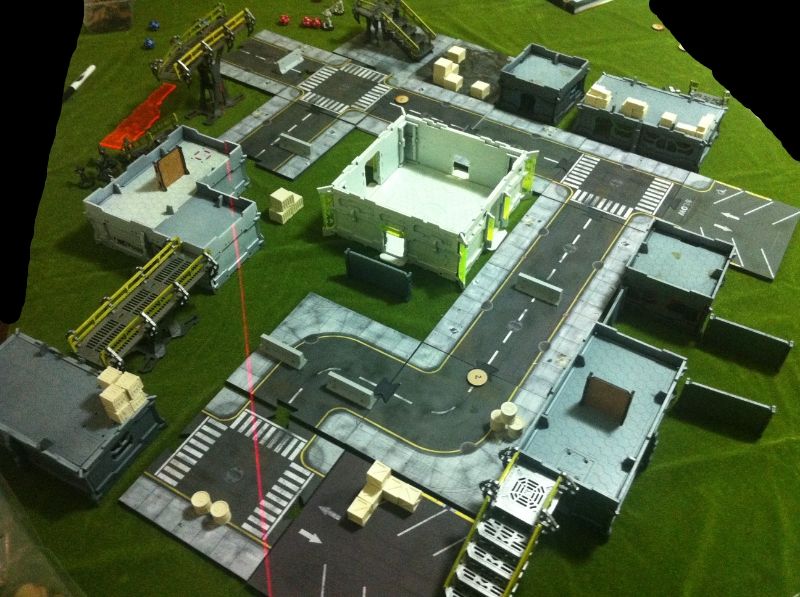 |
| North side deployment zone |
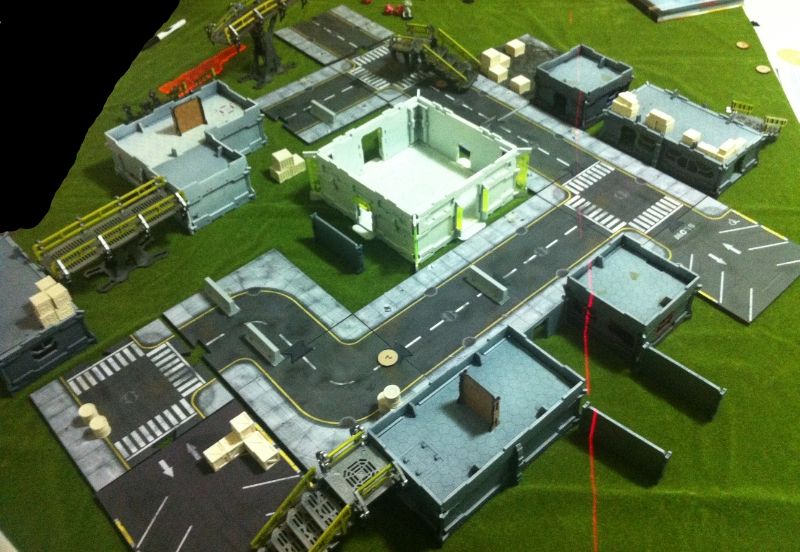 |
| South side deployment zone |
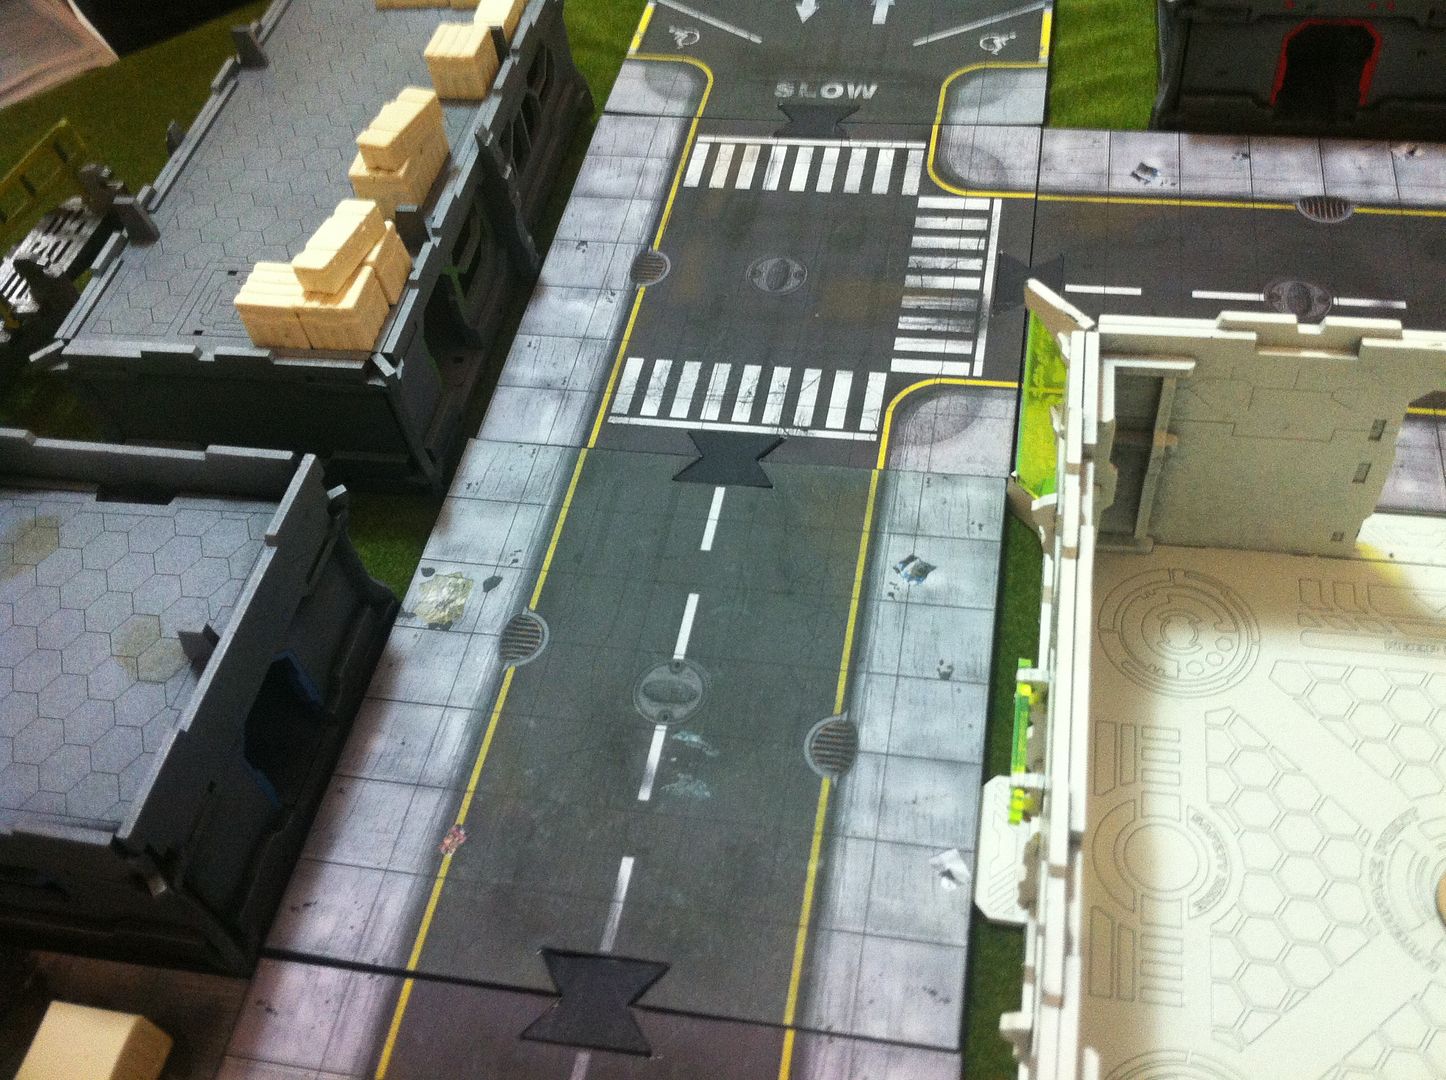
DEPLOYMENT
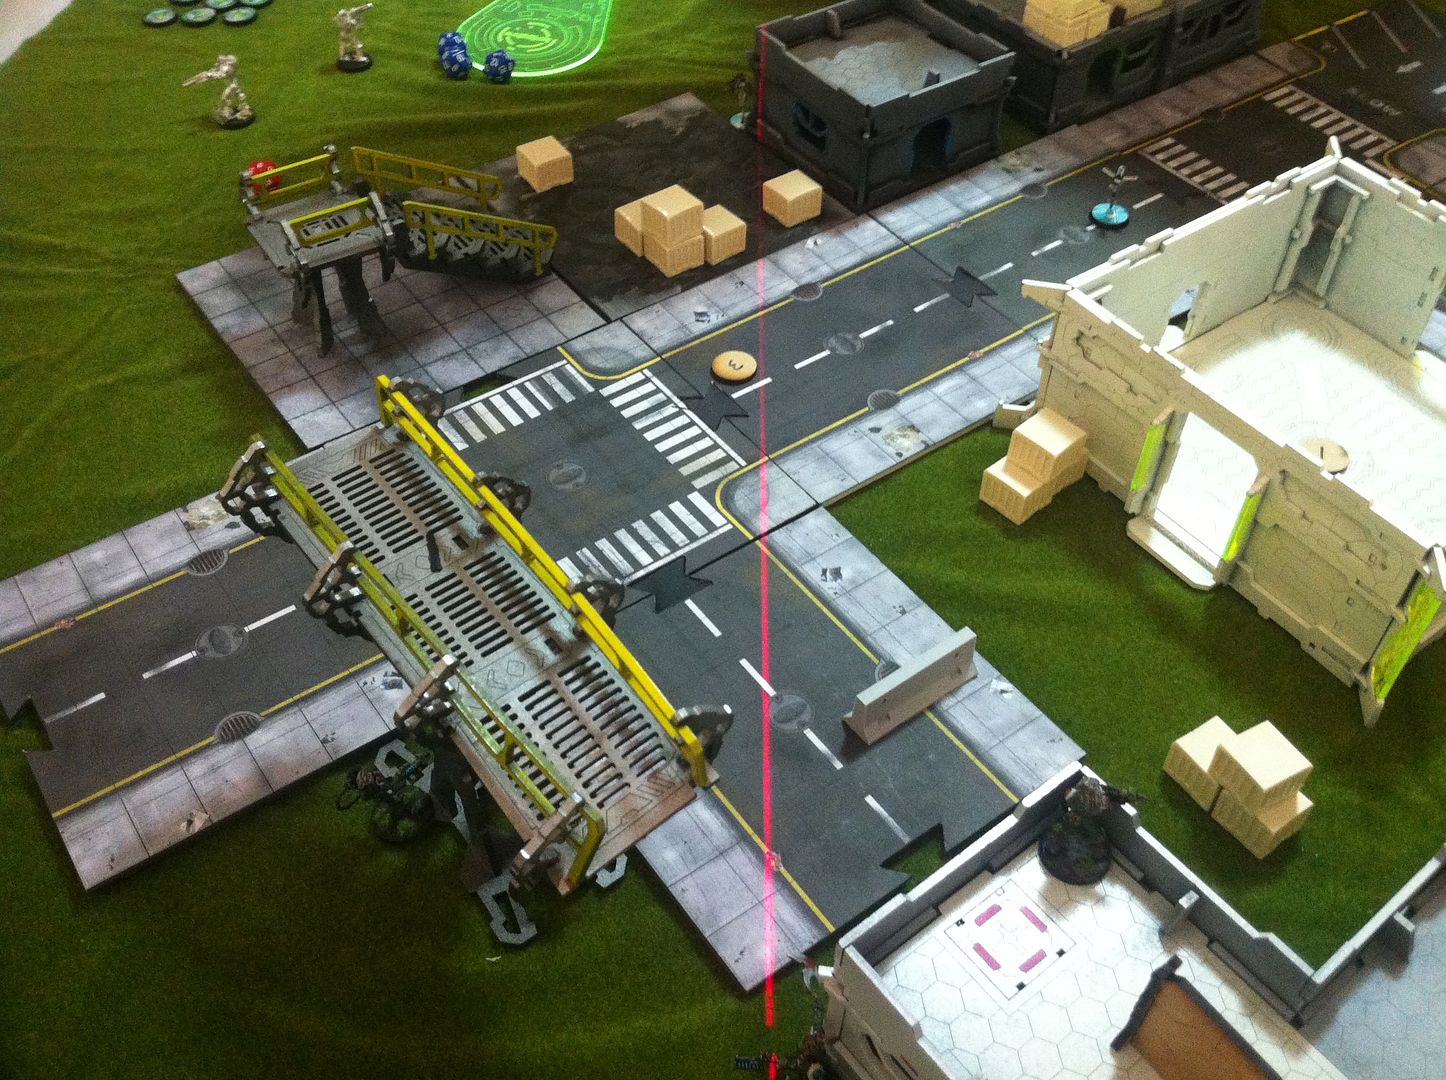
Again, I only took photos of the MAF deployment zone- and even then I wasn't my usual anal self so its incomplete.
I swapped with around with KFC, so he deployed first and I got to deploy second. Then he got the first turn.
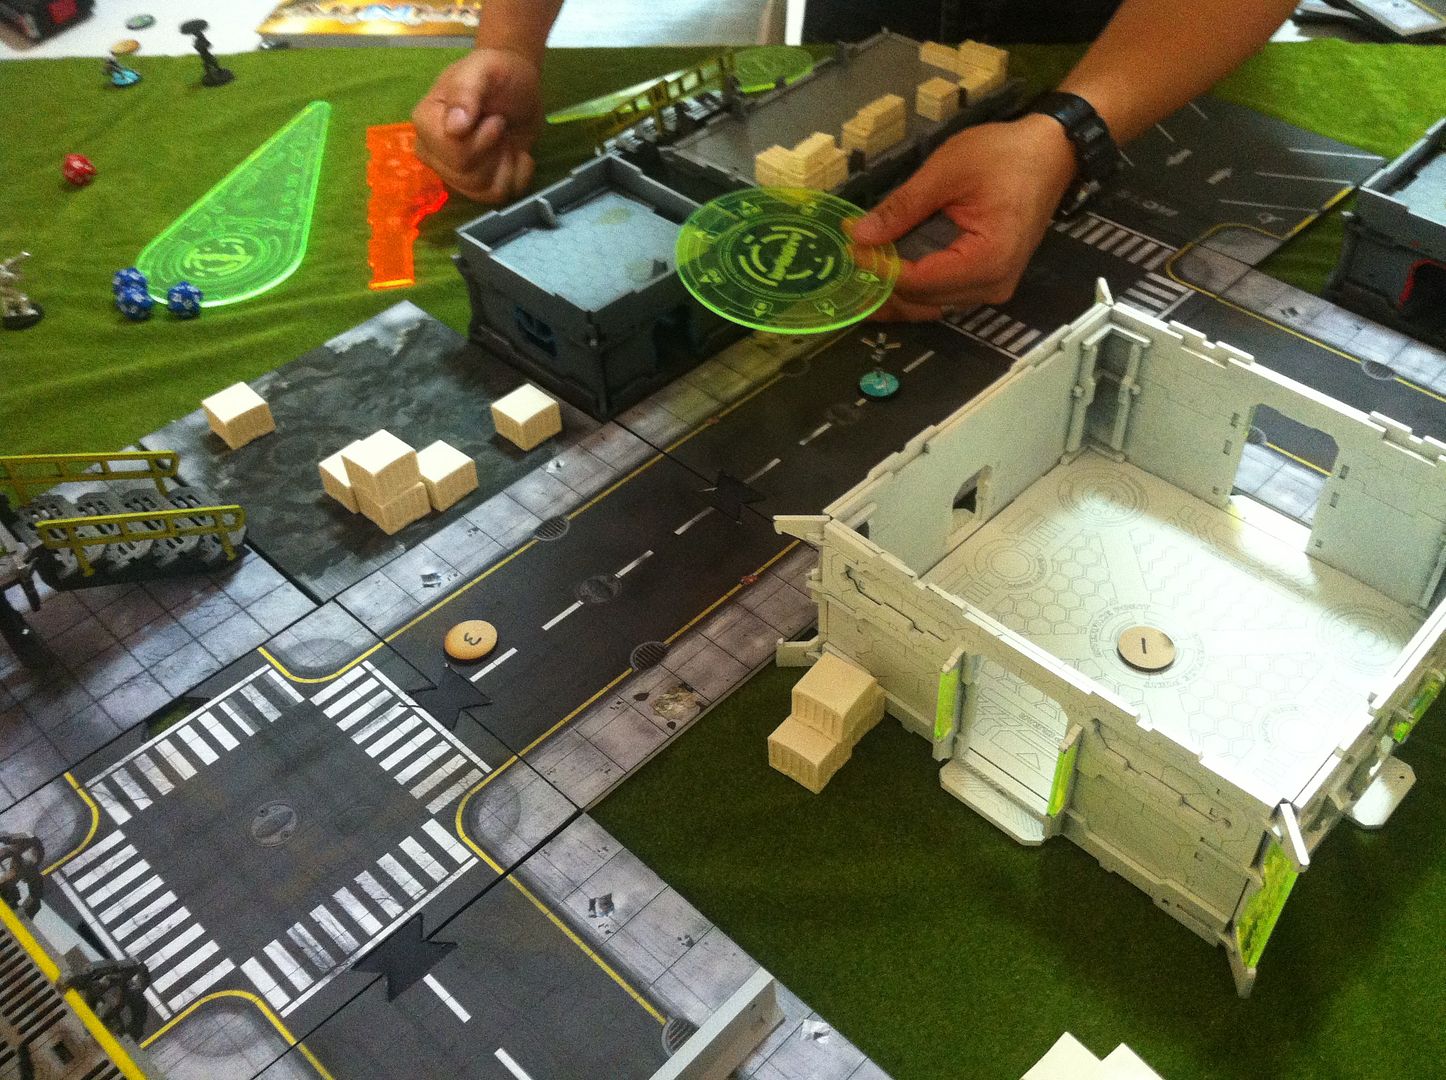
The net rod behaved itself this time and landed solidly in the middle of the street.
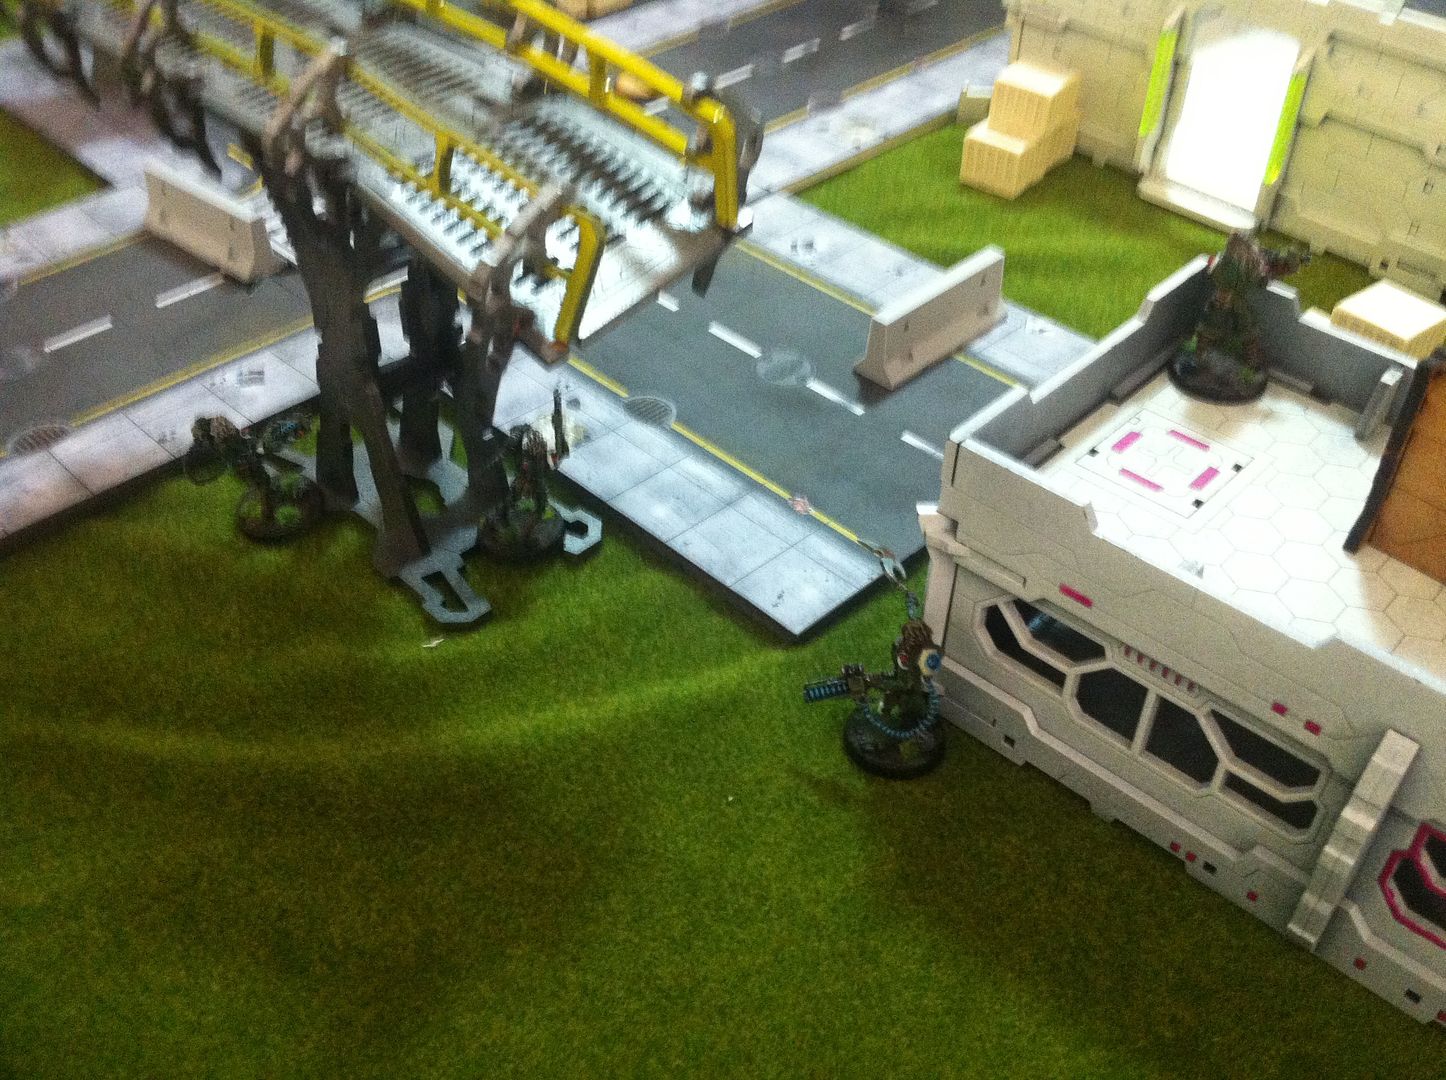 |
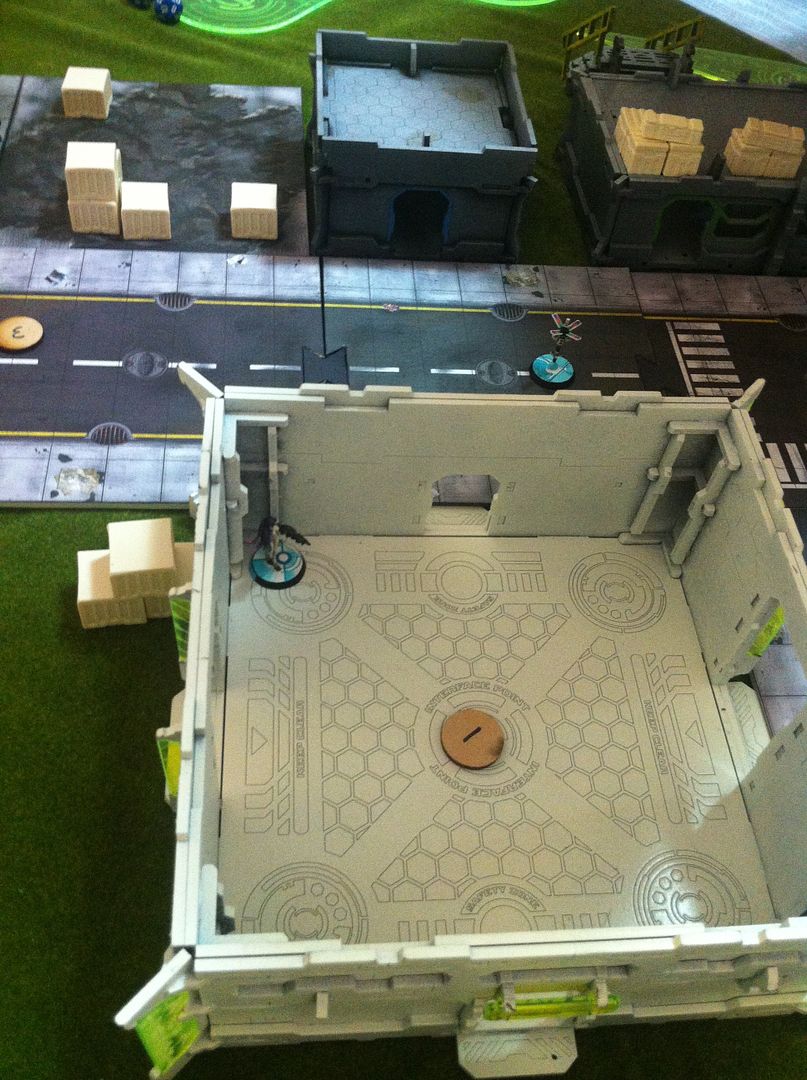
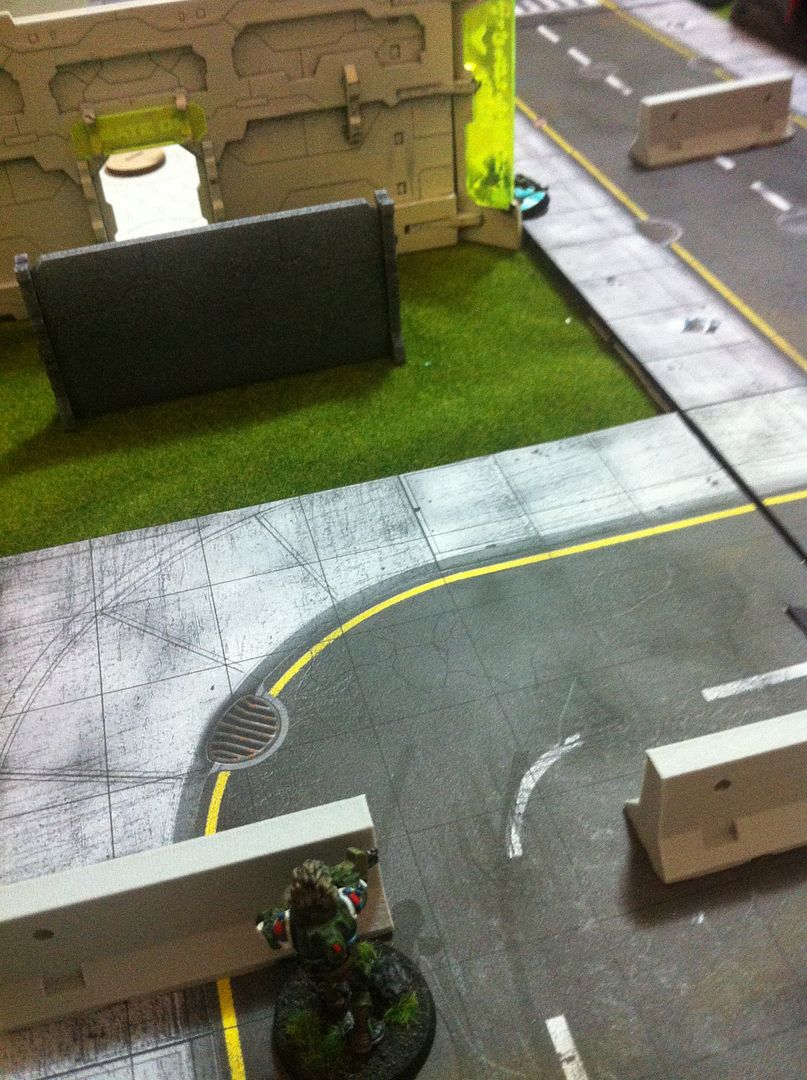
| Yaogats around the walkway and the building. Trajan surveys the medical building. |
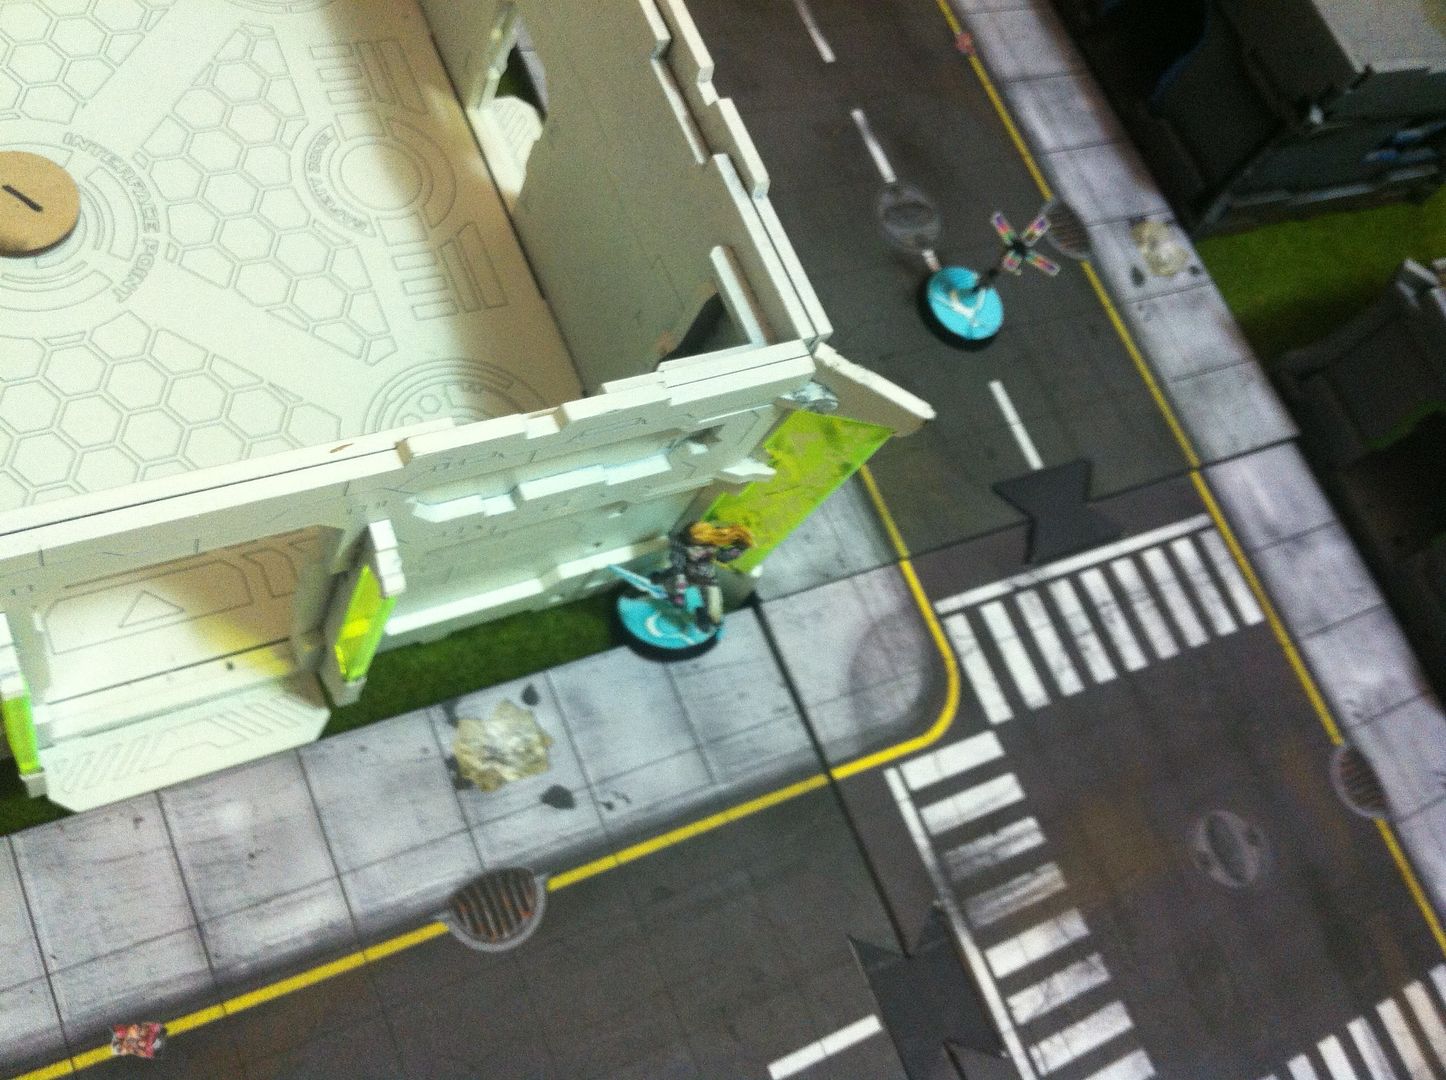
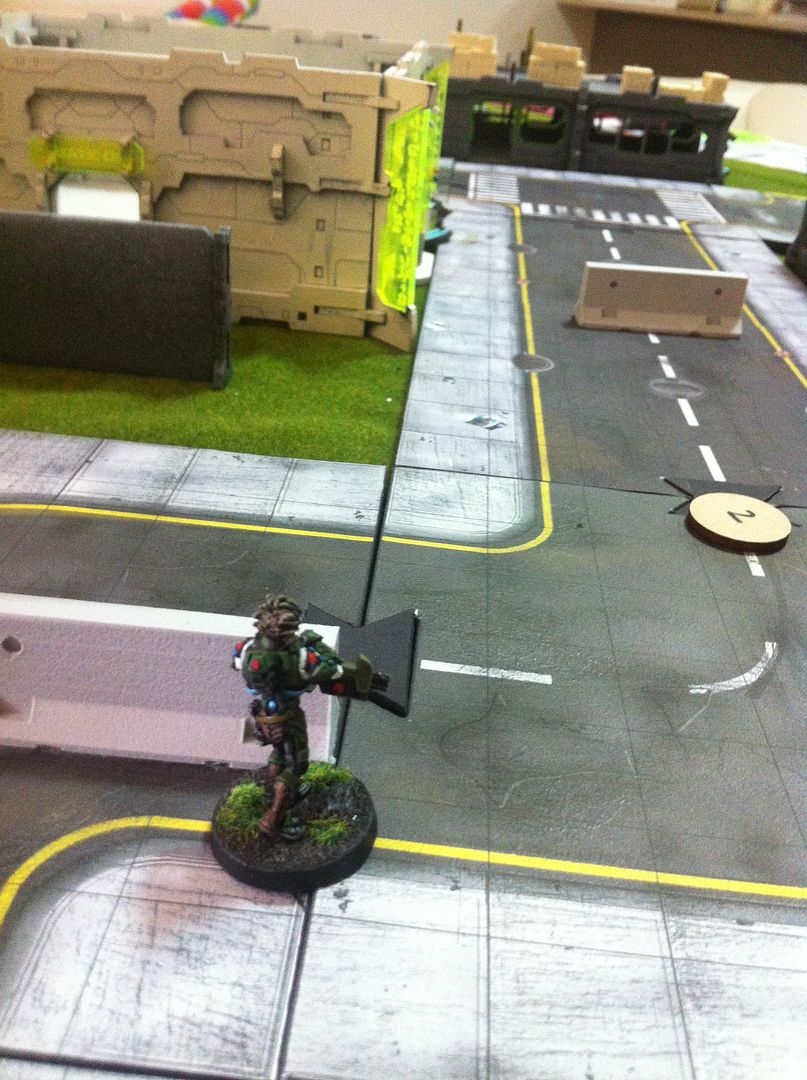
The other two models- Brutus the Yaogat rifleman and Marc Antony the Vanguard rifleman were positioned in cover to the right of the building Trajan was standing on.
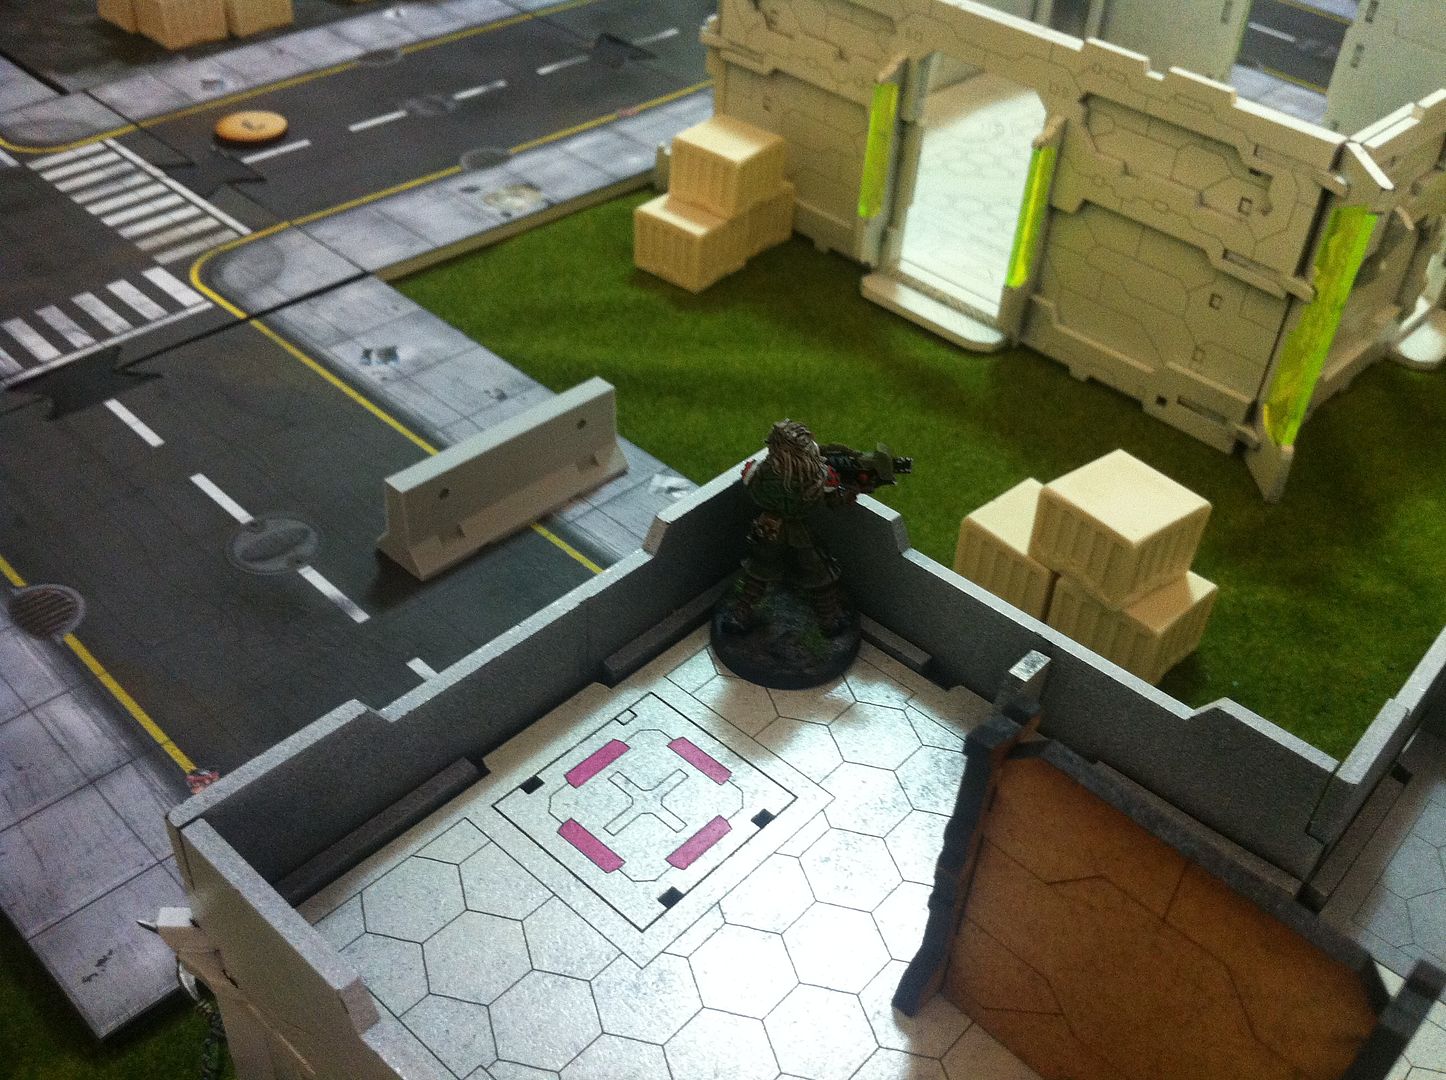 |
| Trajan watches. |
ALEPH gets the first turn.
ALEPH TURN 1
 |
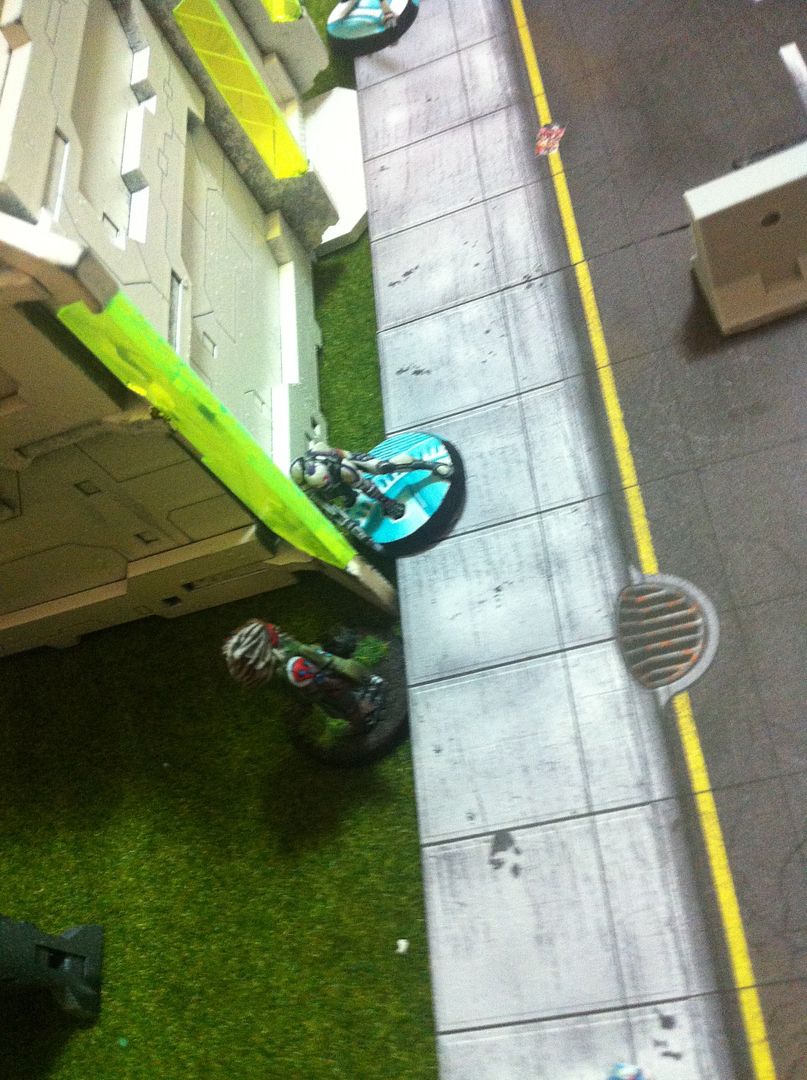
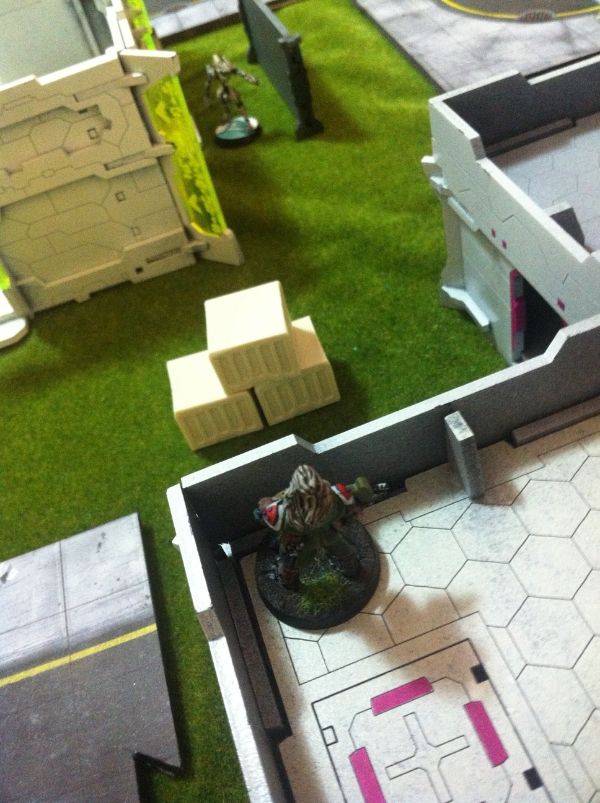
| Myrmidon left exposed. |
 |
| It's confirmed, the Myrmidon has 3 Morat gun barrels pointed in her direction. |
KFC spends several orders throwing Zero-V smoke clouds.
The first lot of smoke covers the exposed Myrmidon allowing her to withdraw further into cover. The next few rounds of smoke are then laid to cover the net rod and the main street.
|
| Zero-V smoke blankets the street. |
Making the most of the smoke cover, the Myrmidon and Diet Achilles sprint across the street, free from any overwatching fire from panzerfausts.
 |
| The Myrmidon makes it into the 'medical' building and hides in a corner. |
 |
| Diet Achilles makes it around the other side of the medical building. |
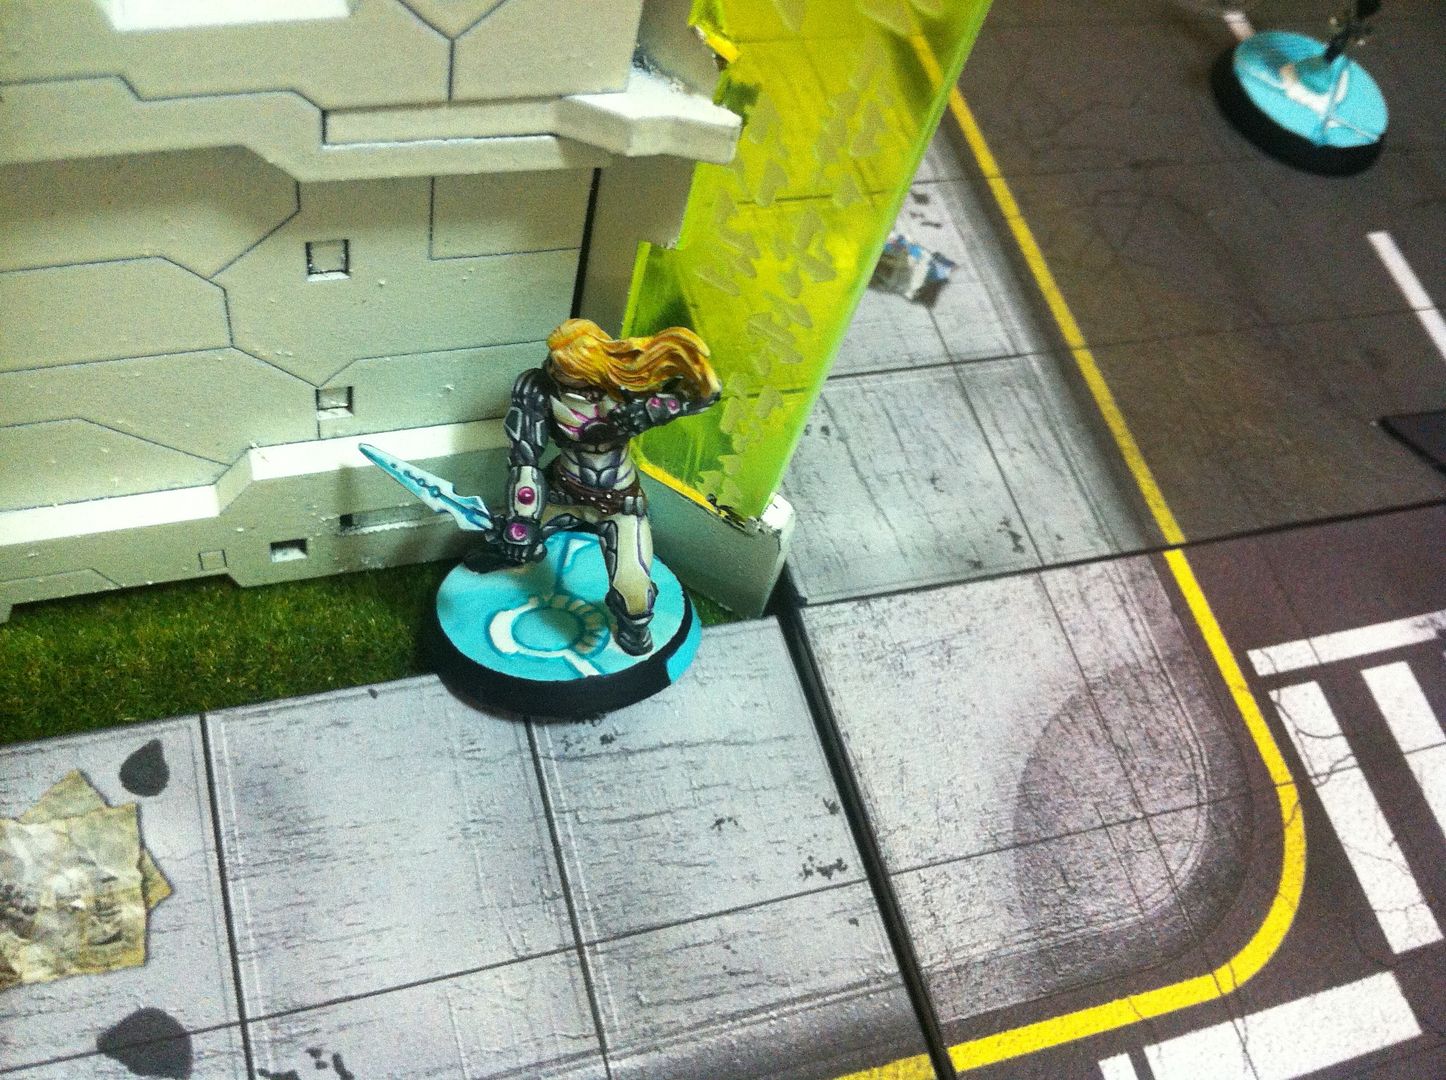 |
| Diet Achilles checking out his purple gems hidden from prying eyes. |
MAF TURN 1
Not many photos here, so it'll be wall of text!
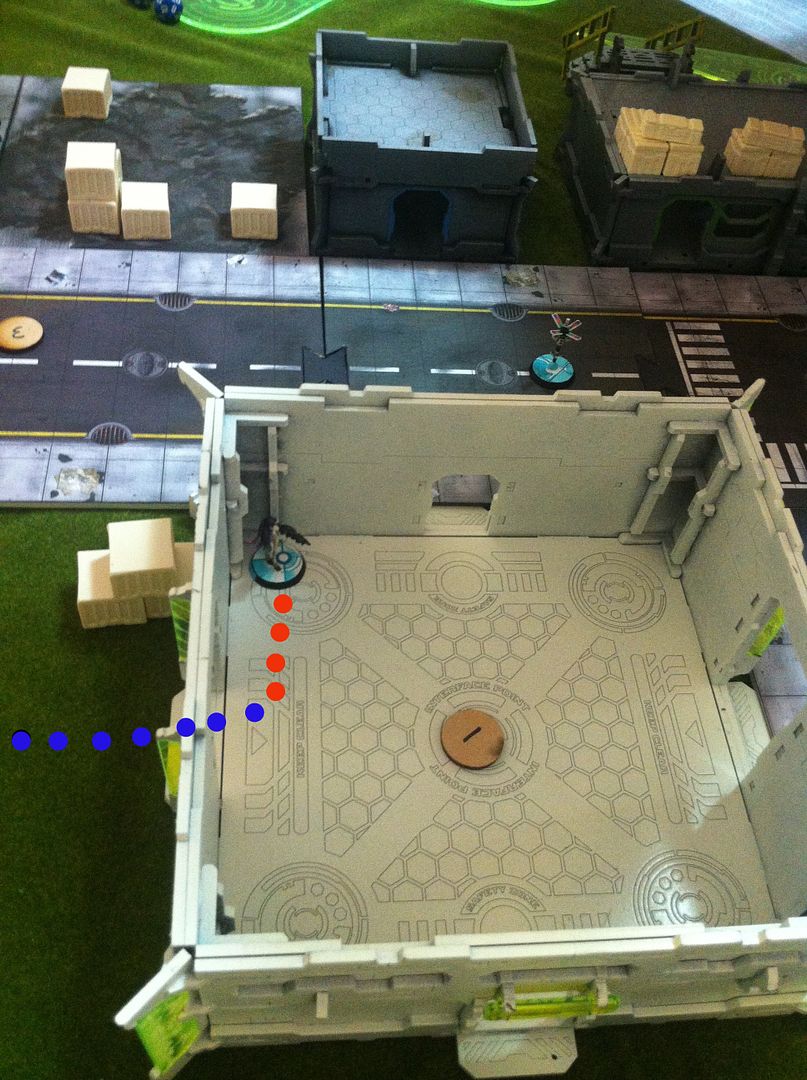 |
| Crassus advances to engage (blue dots). |
Crassus, dying to use his trusty shotgun burns up a few orders to run from his position under the busted walkway to the doorway of the medical building. Peeking his shotgun around the door frame, he fires on the Myrmidon in the corner. Unfortunately for him, the Myrmidon AROs with her nanopulser- an auto-hit template weapon. A flurry of dice rolls later, Crassus is flat on his back with his alien blood leaking out from his Yaogat armour (I can't make armour rolls to save my life). As a small consolation, the double shotgun burst pasted the Myrmidon into the wall.
Caesar, seeing Crassus unconscious at the doorway of the medical building, moves up to storm the building.
 |
| Net rod blown away. |
Octavian, toting his panzerfaust and combi-rifle, also moved out from behind the busted walkway and took up position behind a jersey barrier on the main road. Thinking of saving his panzerfaust for juicier targets, he fired his rifle at the exposed net rod. A lucky hit took the machine down.
ALEPH TURN 2
 |
| Tacbot 1 moves up |
Once again a flurry of zero-V smoke is thrown to blanket the main street, rendering Octavian's MSV2 and overwatching panzerfaust useless.
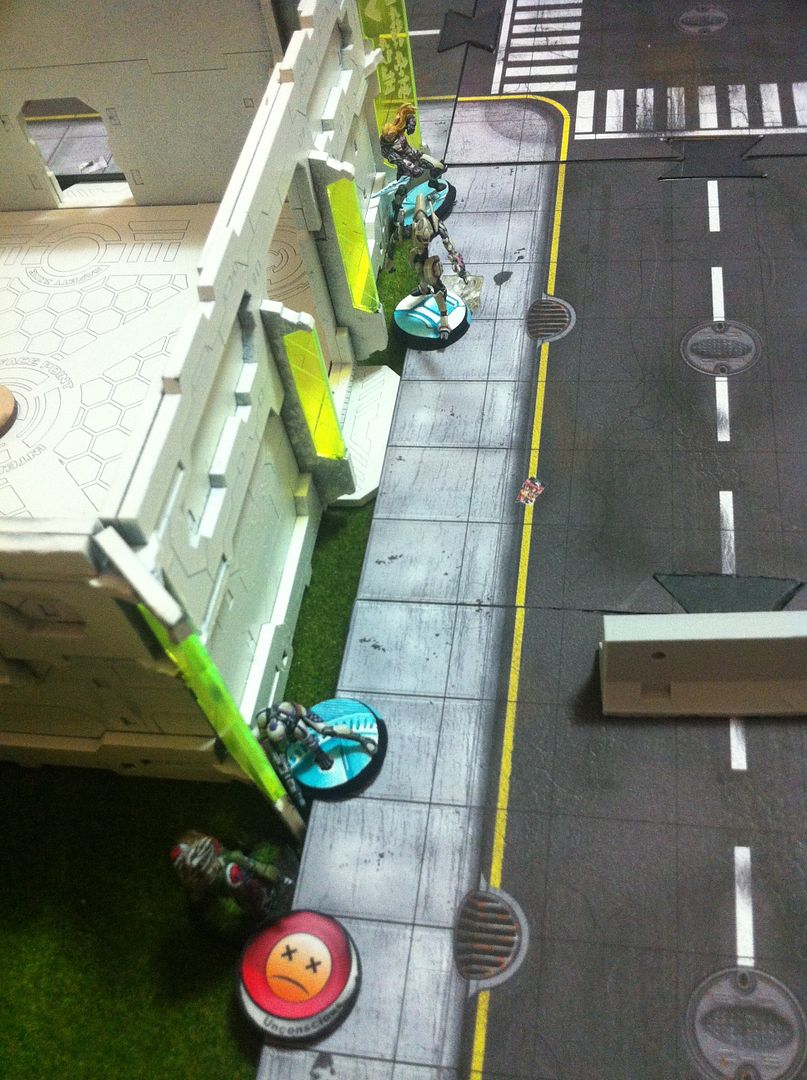
Tacbot 1 darts through the smoke and across the street and just into the doorway of the medical building. Spying through that open doorway and through another open doorway, Tacbot 1 sees Brutus watching from a corner. He fires and hits Brutus easily. Luckily Brutus makes his armour check but then he fails his guts roll and retreats out of sight into full cover. Taking that opportunity to keep Brutus shut away, Tacbot-1 puts down suppressive fire.
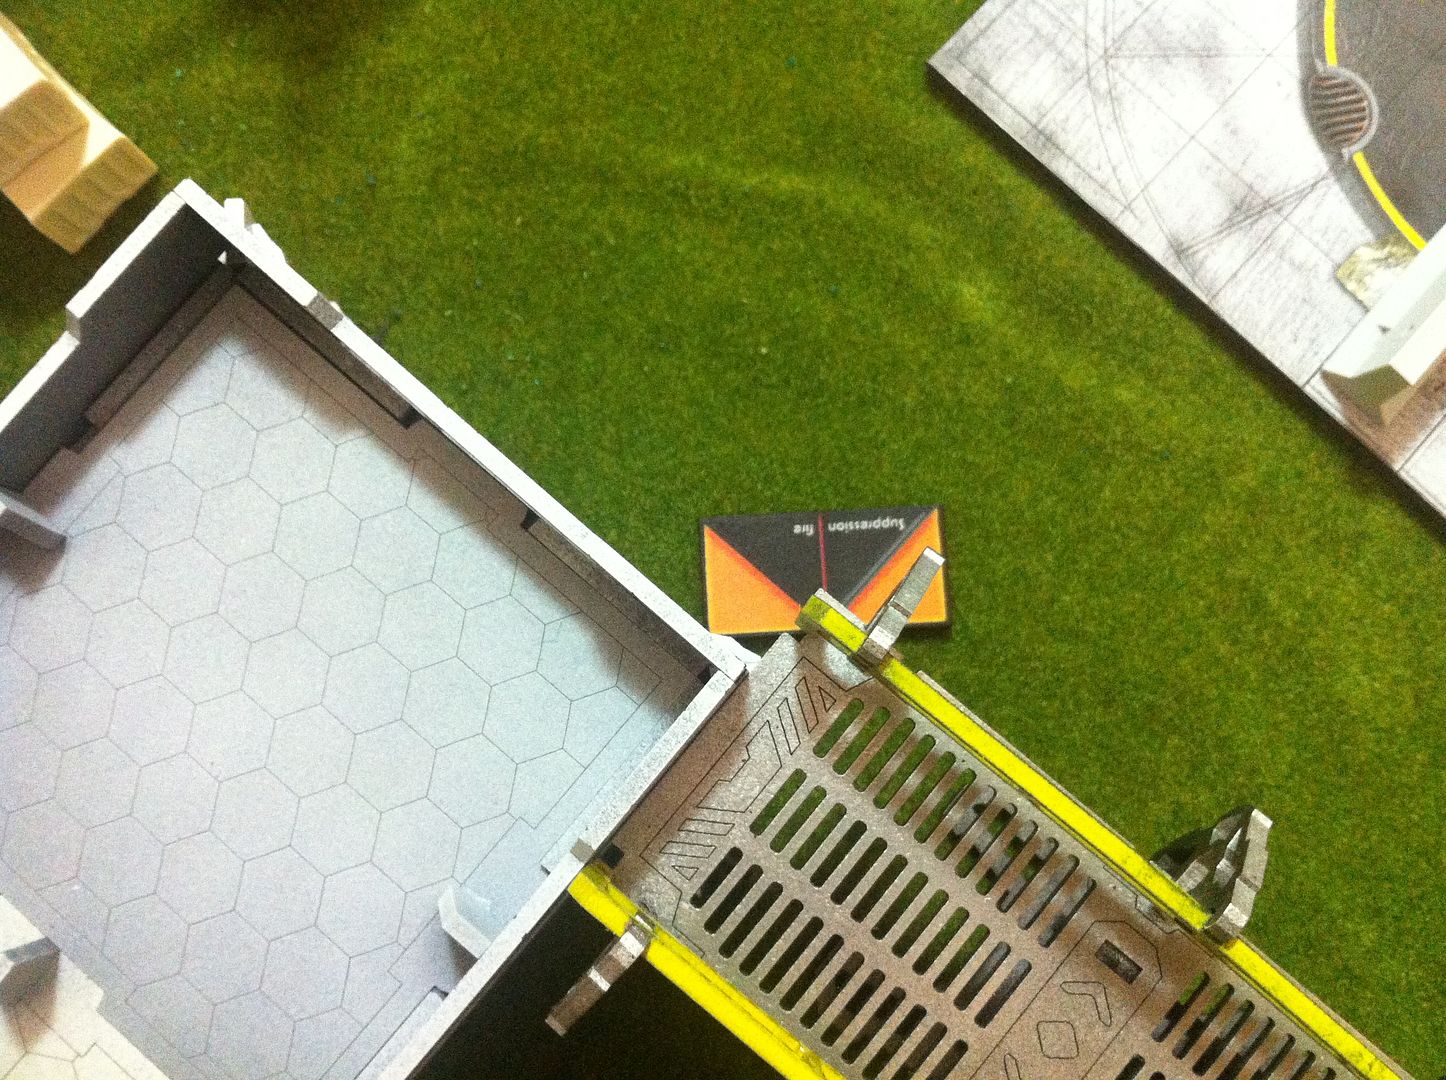 |
| Suppressive fire keeping Brutus behind the corner of the building. |
MAF TURN 2
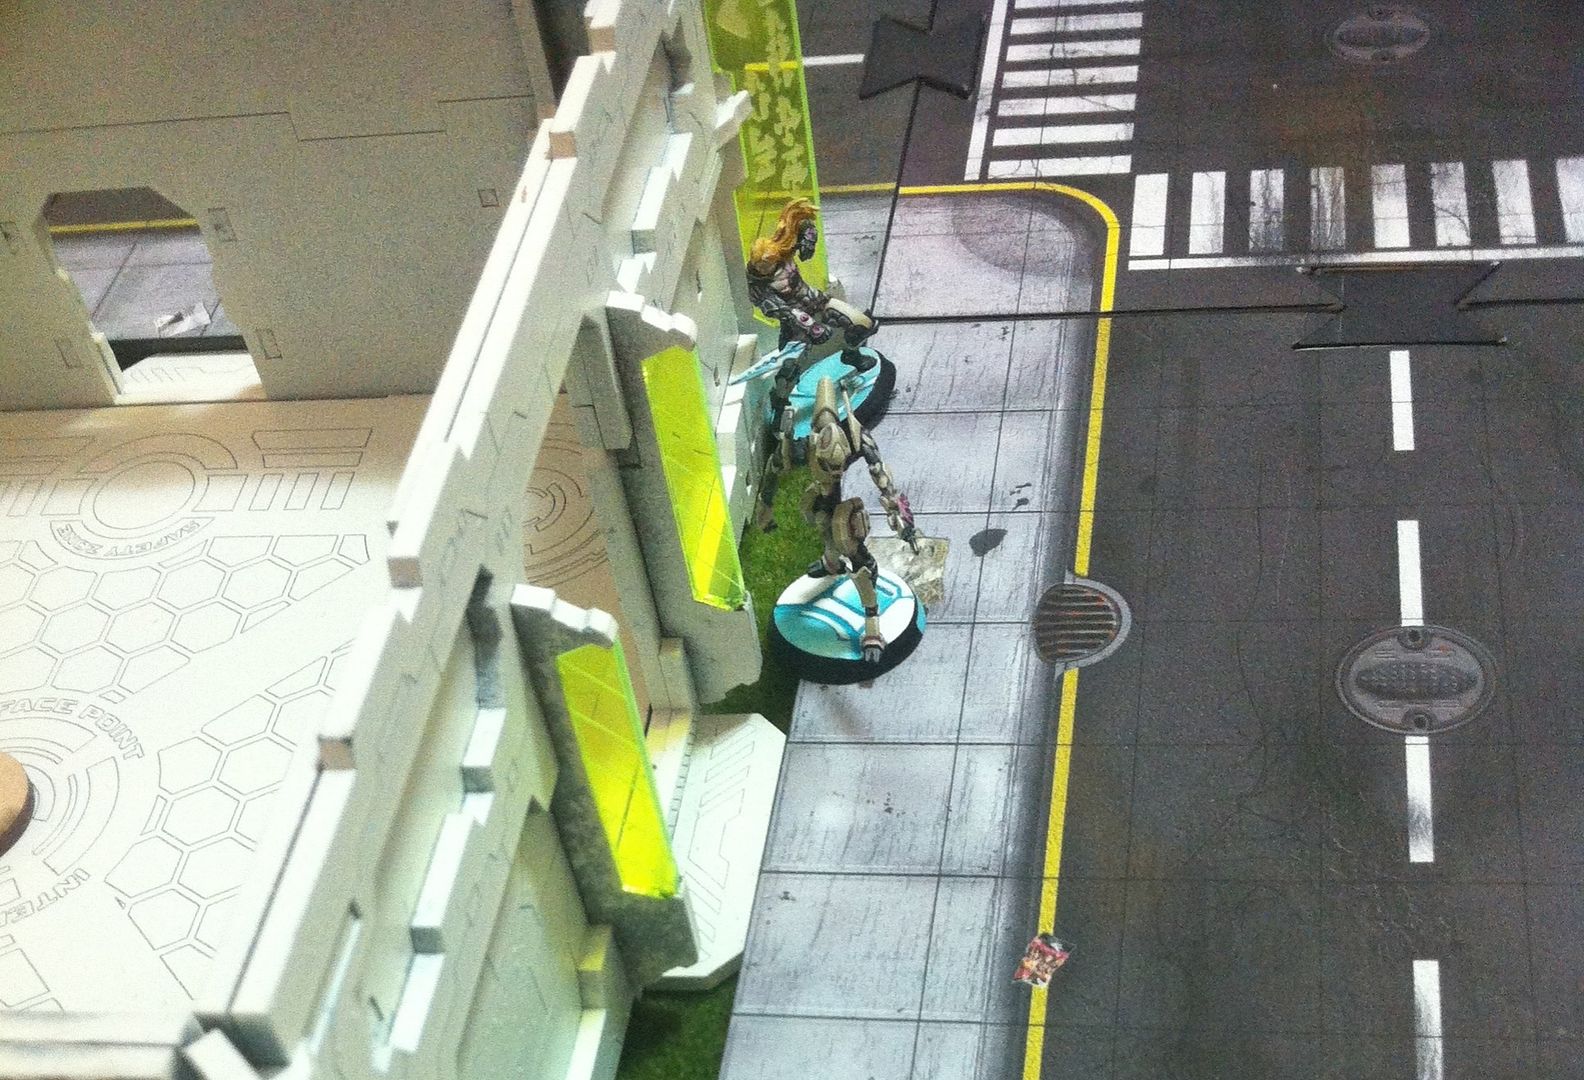
That suppressive fire didn't effect Marc Antony though, who tried to flank Tacbot-1. Leapfrogging from walkway to jersey barrier to the northern corner of the medical building, Marc Antony came around the corner with a triumphant smile and let off a burst at Tacbot-1….
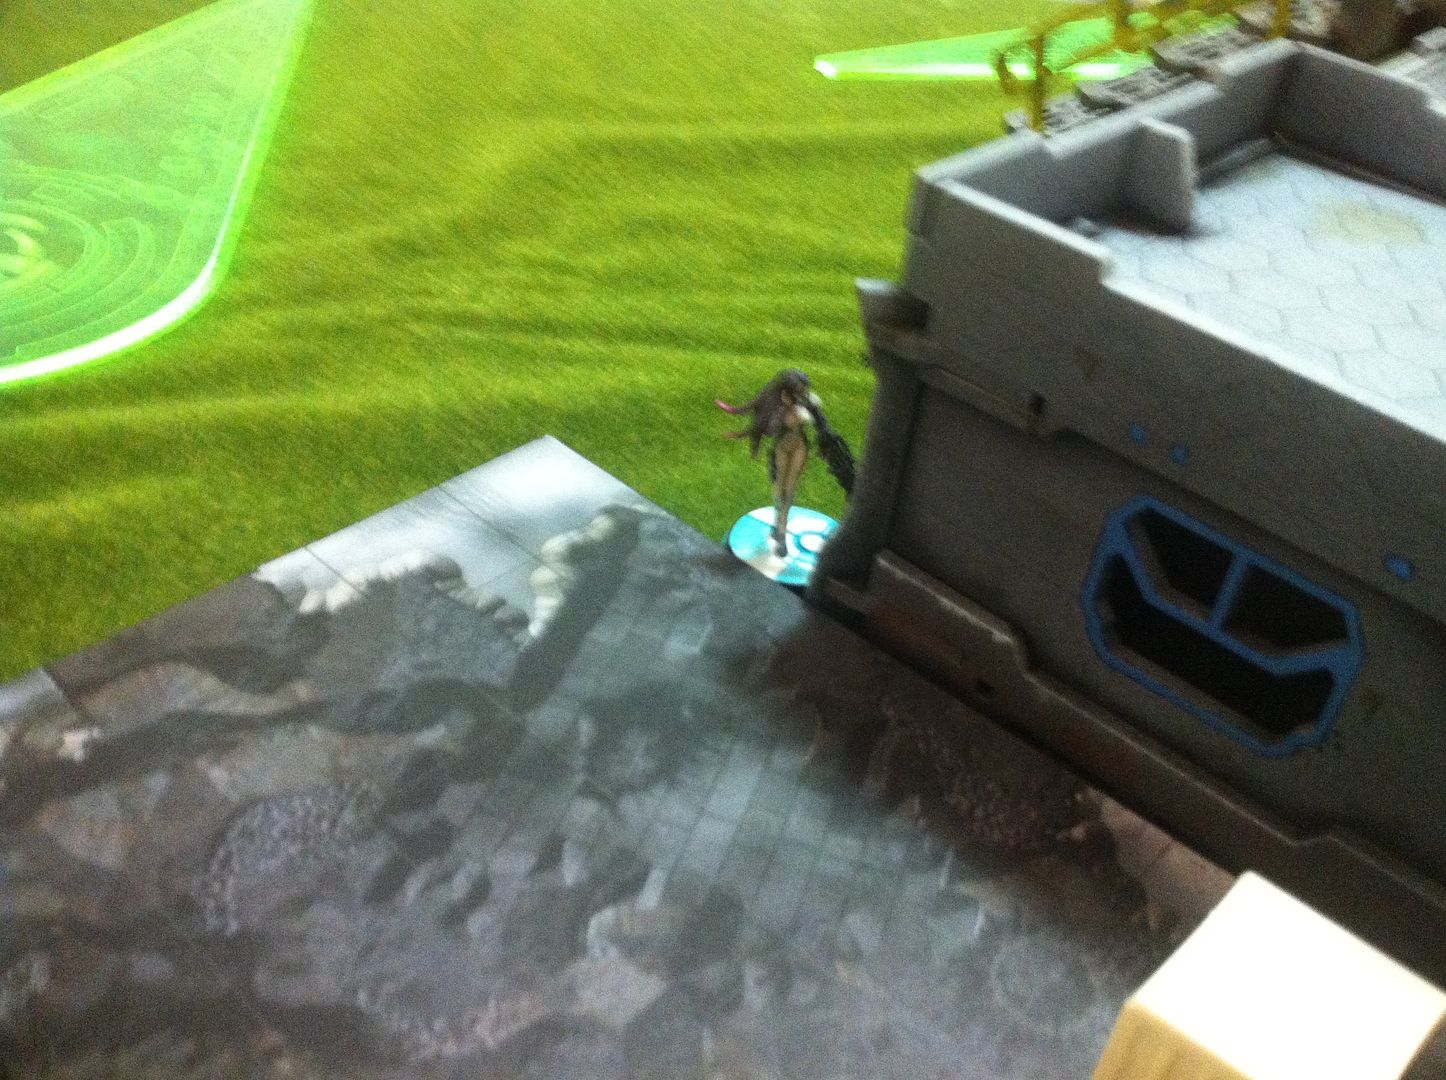
… only to come face to face with a Daysu who materialised out of thin air.
 |
| Surprise…. No, YOU "surprise." |
 |
| Face to face with the Daysu. |
The Daysu dropped a flash-pulse but KFC rolled terribly and the distracting grenade was fumbled somewhere and failed to go off.
Now it was time to resolve the firefight between Marc Antony and Tacbot-1. The Morat was in optimum range and landed 2 (or was it 3?) solid hits. It's looking grim for ALEPH. Tacbot-1 fires back and lands a critical. Marc Antony is blown off his feet and bemoans the unkind dice gods!
 |
| Tacbot-1 scores a critical. |
 |
| Marc Antony is nailed, despite the element of surprise! |
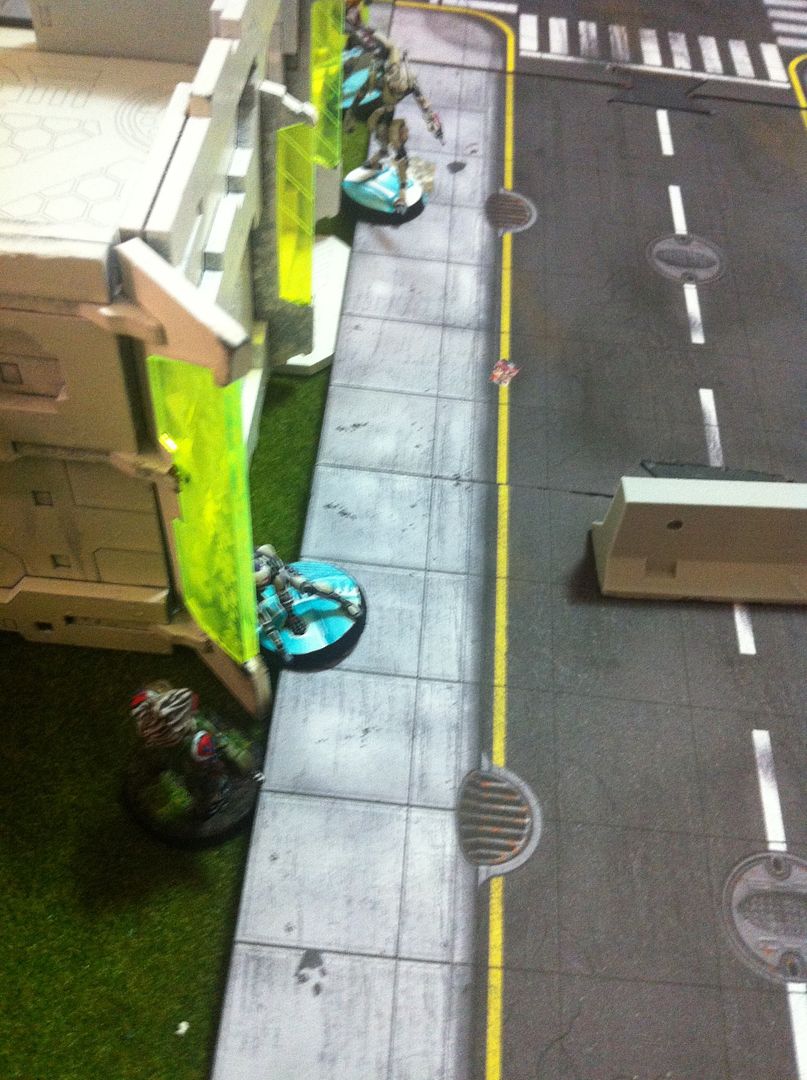
With Tacbot-1 lifting the suppression fire to respond to Marc Antony, Brutus charges his armoured body into the fray.
 |
| Running from the building corner to the jersey barrier. |
 |
| Spying the Daysu! |
Brutus lines up the Daysu with his rifle sights and fires. The Daysu crumbles to the ground bleeding out.
Now with one ALEPH taken out, Caesar comes round the corner of the medical building to fire through the doorway at Tacbot-1.
 |
| Spitfire versus Tacbot-1 |
 |
| Tacbot-1's ARO beats Caesar's burst 4 spitfire! |
Caesar fails his armour save- (oh come on!!!!)- and drops to the floor cursing the fickle dice gods for an appalling run of luck.
ALEPH TURN 3
Once again a flurry of zero-V smoke blankets the board, this time thrown into the medical room. Taking advantage of the cover, Tacbot-1 moves in.
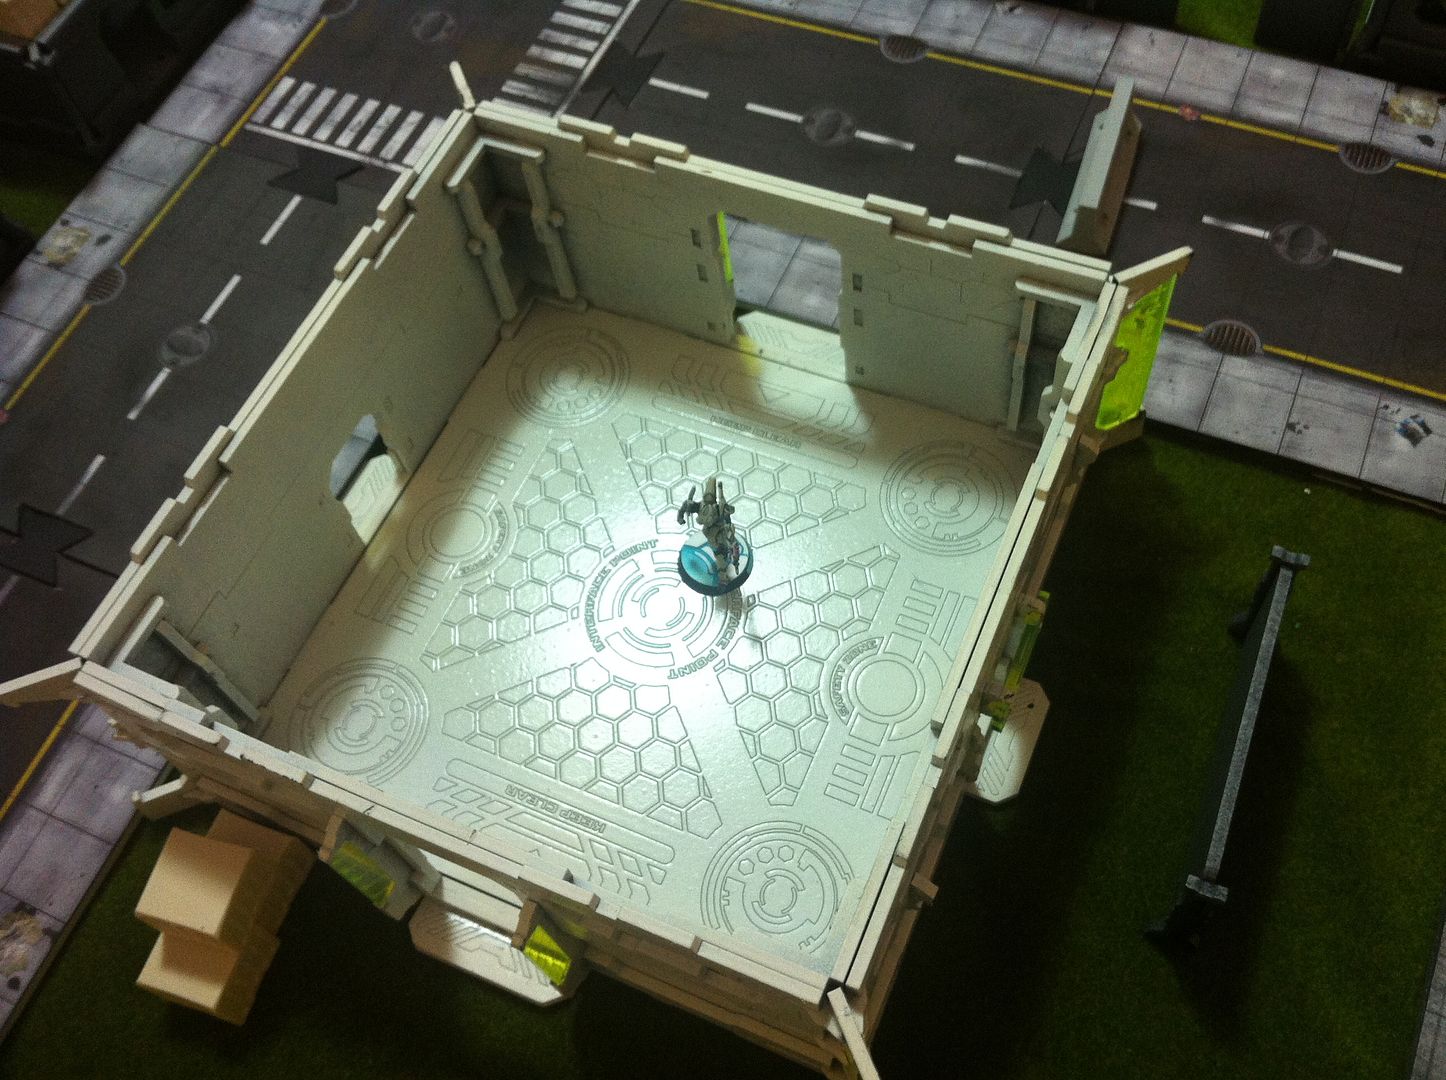 |
| Tacbot-1 moves unopposed into the medical building and seizes Objective 1. |
Not having seized enough glory- Tacbot-1 then moves out of the medical building and engages Trajan standing on the roof of a nearby building. With the Morat lacking the MSV of his Yaogat brethren, he's easy meat and is KO'd.
 |
| Trajan is shot down. Blast that mimetism! |
MAF TURN 3
Being religious, the MAF threw a final die. Brutus moved to a new jersey barrier and fired off an angry burst at the Myrmidon officer.
 |
| Long ranged pot shots…. |
Unfortunately for Brutus, the Myrmidon Officer ARO'd with dropping zero V smoke. Diet Achilles rolled successfully- and high enough to beat the two shots that would've hit home otherwise.
With that, I conceded the game.
Victory to ALEPH.
CONCLUSION AND COMMENTS
Another tight and tense game. A bit of bad luck destroyed my plan unfortunately. I was really cheering when I had lined up the three ALEPH figures along the side of the medical building with Marc Antony (after the Daysu's flash pulse failed to go off).
Unfortunately a critical from Tacbot 1 put an end to that plan! And then that same figure wrecked my Spitfire Yaogat in ARO! Frustrating. Being the active player doesn't quite grant you the immunity you think it does.
Ah well, it would seem the dice gods spat in my face and I was chasing a dream at that point. Brutus' long range shots at the Myrmidon officer were hoping for too much and with my army reduced to two models- it was time to call it quits.
Very exciting game and goes to show that even on the defensive with AROs you can turn the game around unexpectedly. (I wouldn't bet on it, but it's a nice bonus when it happens).
Until next time, happy gaming.
Tacbot-1 OP pls nerf
ReplyDeleteDefinitely got the MVP award that game.
Delete